
IRQ stands for Interupt Requests. When an IRQ conflict occurs, you may want to change their channels. The IRQ can be changed easily to correct any errors.
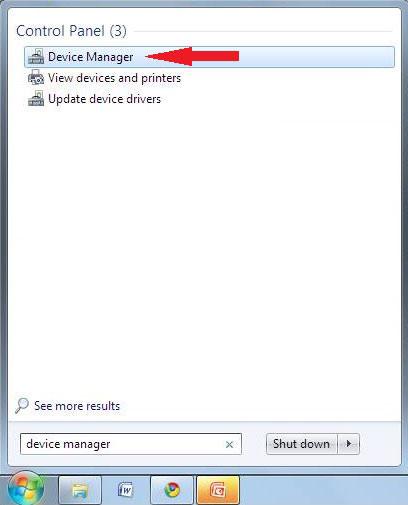
1) Click on the ‘Start’ button, and type ‘device manager’ in the search box. Click on the ‘Device Manager’ link under the ‘Control Panel’ heading in the search result.
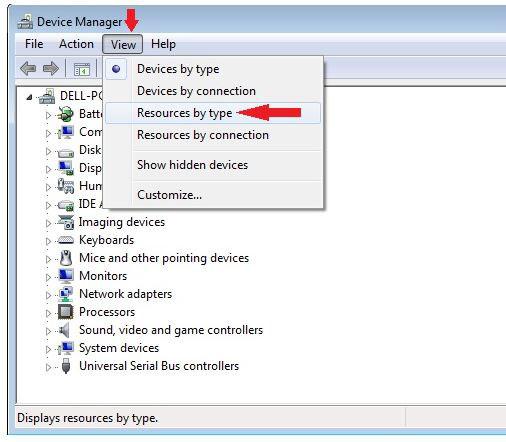
2) In the ‘Device Manager’ window, click on the “View” menu and the select the “Resources by type” menu option.
3) Then, in the next window, right click on the device which you want to configure and select “Properties“.

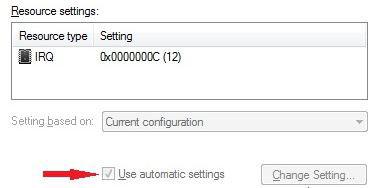
4) In the ‘Properties’ window for the device, click on the ‘Resources’ tab panel. If there exists any conflicts for the device, the “Use automatic settings” will be active. You can tick that and then click on “Change Setting”.
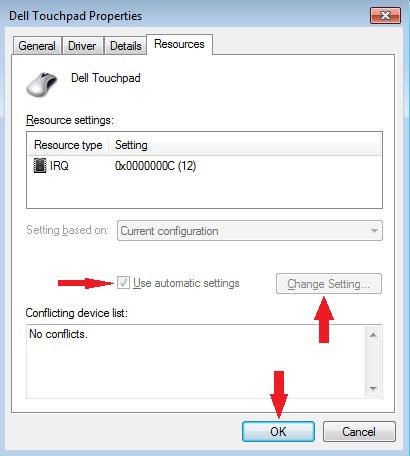
5) Select a configuration which will not cause conflict from the box.
6) Click on ‘OK’ to continue. Your setting is now saved.
Changing such system resources can be done easily. However, changing it incorrectly can cause your computer to malfunction too. Hence, always make a note of the original settings before any changes so that they can be restored if needed.