
Learn how to change the OEM info in Windows 7 after the break. A guest post by Uttam.
Steps to change network password in Windows 7
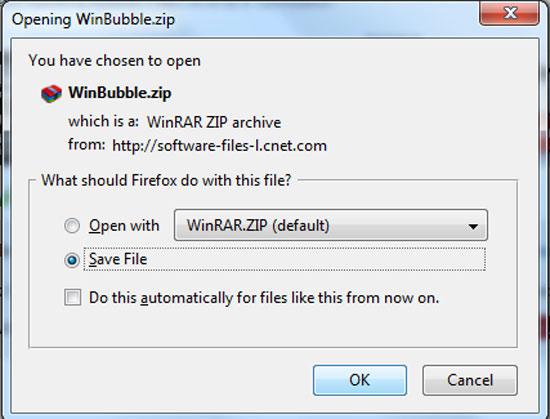
1. Step First download the software WinBubble from CNET
Click ‘Download Now’ and you will be asked to save file. Choose Save file and Click OK. In my case, I have saved software WinBubble to my desktop.
2. Step Open the just downloaded zip file (WinBubble) either by double clicking on it or by right click >> open.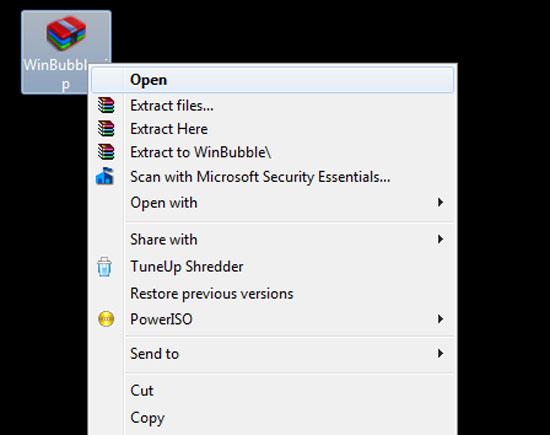
3. Step Double click on WinBubble2037 to open it seen inside the just opened zip file.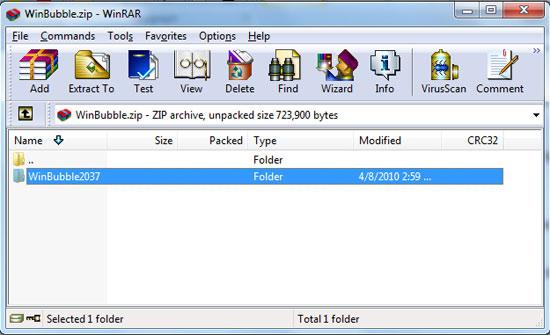
4. Step Again double click on WinBubbles.zip file appearing after opening WinBubble2037 folder.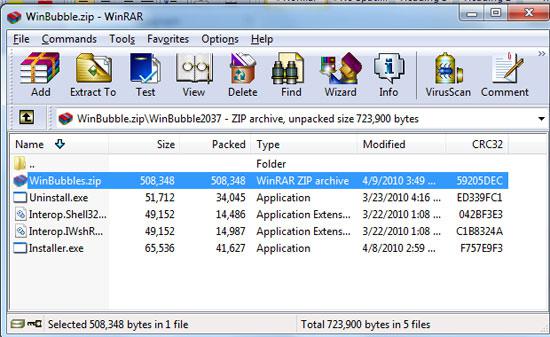
5. Step Then you will see a folder named WinBubble 2. Double click on it to open it.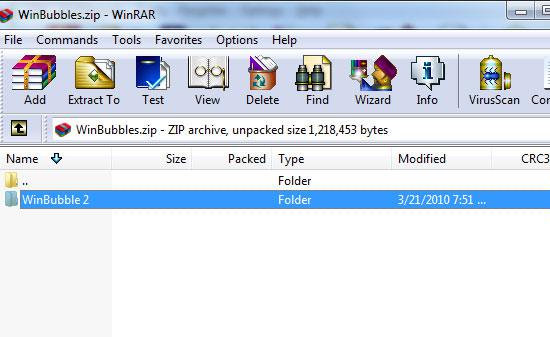
6. Step Lastly double click on WinBubbles.exe.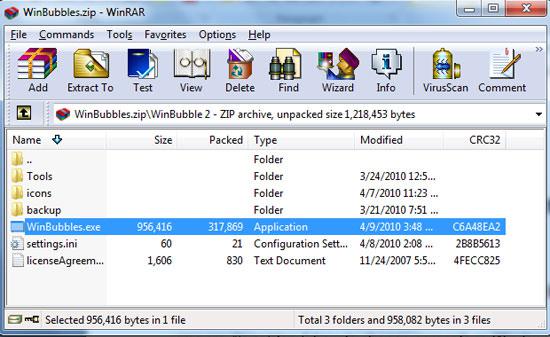
7. Step Finally you will see a window opened where you can modify the OEM settings. Give the manufacturer name, model, website etc and you can even change the picture by clicking change button next to the oem settings text box. After you make changes click Apply.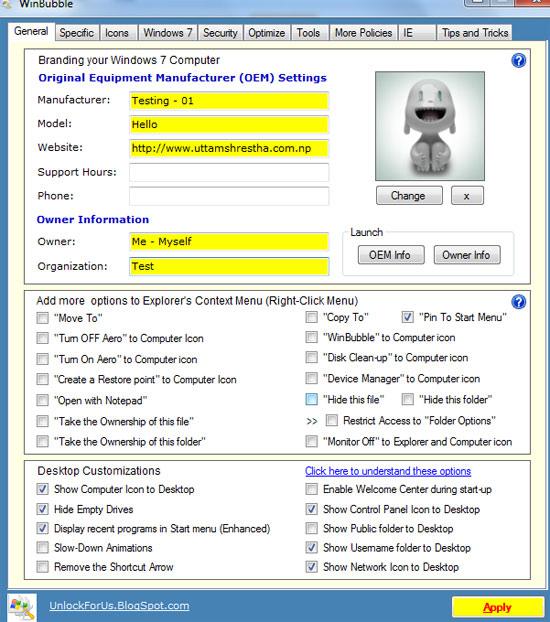
8. Step Now to see the changes you have made, right click on the ‘Computer’ in your desktop and select ‘Properties’.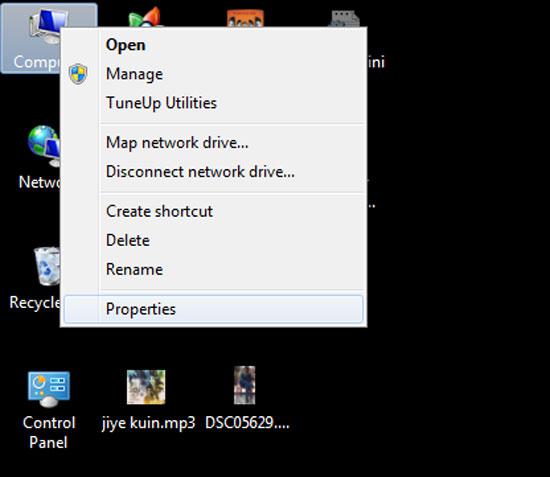
8. Step Now to see the changes you have made, right click on the ‘Computer’ in your desktop and select ‘Properties’.
9. Step In the opend ‘system’ window, under system section, you will see the OEM information changes that you have just made. That’s all.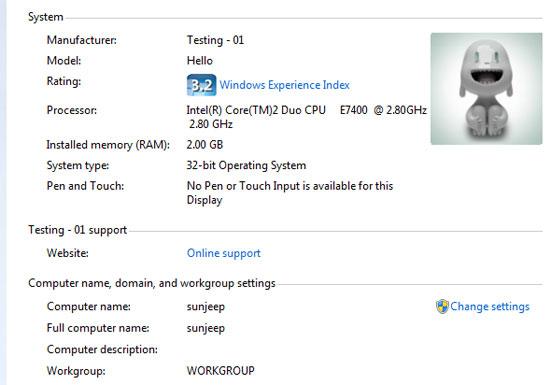
Video
If you ever wanted to change the OEM (Original Equipment Manufacturer) settings, then simply follow the steps provided with this tutorial.