If you want to connect a network printer in Windows 7, follow our tutorial.
Installing A Network Printer on Your Network Drive With USB Port
If you have a network drive like the Iomega Home Media Network Drive you can easily install a network printer.
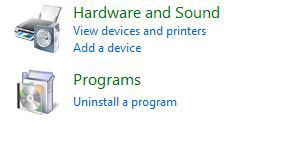
1. Step Open the Control Panel
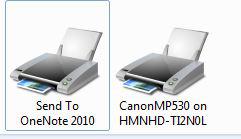
2. Step The link View devices and printers below Hardware and Sound will lead you to your connected devices
3. Step Right-click on the white area and click on Add printer:

4. Step A window will open, select Add a network printer:
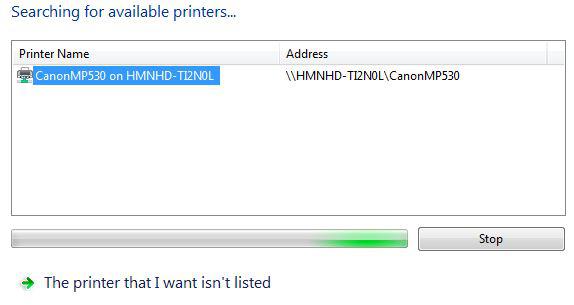
5. Step Windows 7 will now find your network printer. Click on Next
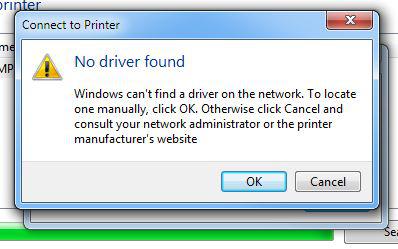
No Driver Found
6. Step You might get the error message No driver found – Windows can’t find a driver on the network:
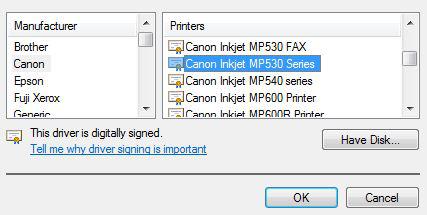
7. Step Click on and select your printer model. If you have a popular printer you can find it on the list, e.g. Canon MP530 Series
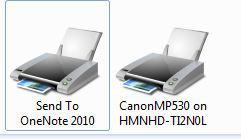
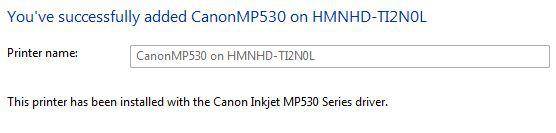
8. Step Congratz you have successfully installed a network printer
Installing A Network Printer on your Broadband Router
If you want to install a network printer on your broadband router it gets a bit more complicated:
1. Step Open the Control Panel
2. StepThe link View devices and printers below Hardware and Sound will lead you to your connected devices
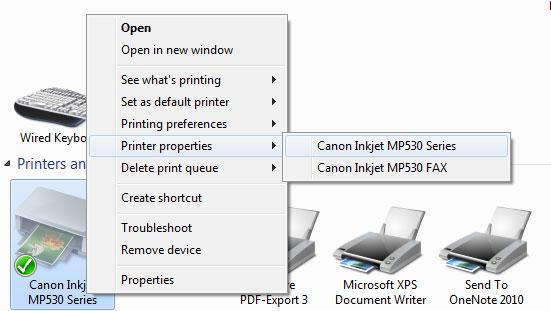
3. Step Right-click on your printer and then go to Printer properties – Your Printer
4. Step On the General tab at the bottom click on the button with the elevated admin icon Change properties
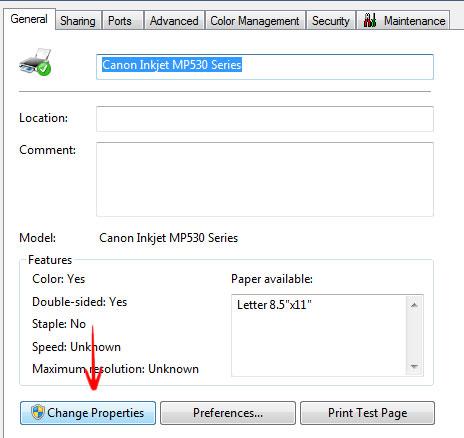
5. Step Confirm the UAC prompt
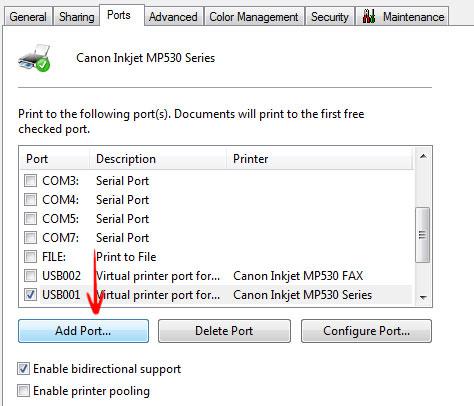
6. Step Go to the tab Ports
7. Step Click on Add Port at the bottom:
8. Step Select Standard TCP/IP Port and click on New Port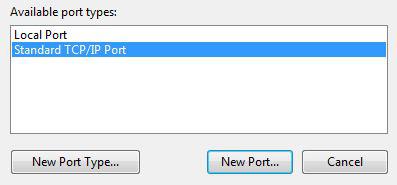
9. Step Enter the IP address of your printer e.g. 192.168.x.x
10. Step If you’re lucky Windows 7 will find the network printer. If not, click on Settings
11. Check Protocol Raw and enter the Port 9100 – 9100 is the TCP printing port
12. Confirm with OK and follow the instructions