A Windows 7 tutorial that explains how to create a password reset disk in Windows 7: By Vivek N
Password Reset Disk is a feature in Windows 7 that allows users to create a floppy disk that can reset their passwords in case they forget them. The process for creating Password Reset Disk in Windows 7 does not require any elevated privileges and therefore even a normal user can create the disk. This means that the process is user specific and every user of the computer needs to create his/her own Password Reset Disk. However only one disk can be used at a time and if another Password Reset Disk is created, the previous one gets outdated and becomes no more recognizable by the system. As a Windows 7 user if you want to create Password Reset Disk you are required to follow the steps as given below:
1 Logon to the computer.
2 Click on Start button and from the menu click on Control Panel.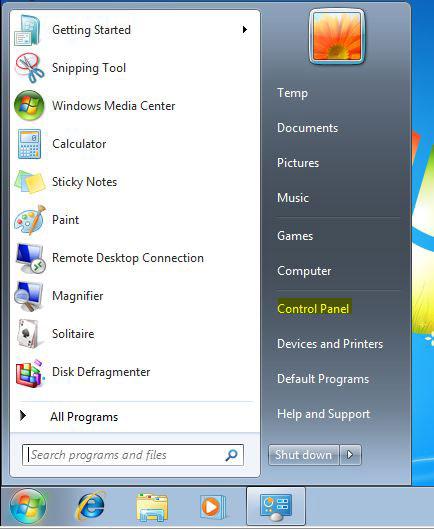
3 On the opened window click on User Accounts and Family Safety link and on the next page click on User Accounts.

4 On Make changes to your user account page in the left pane click on Create a password reset disk link.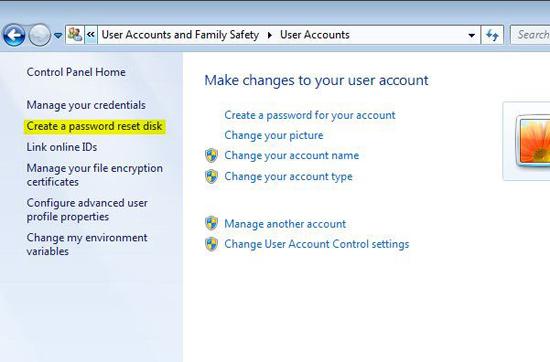
5 On the appeared welcome page click on Next button.
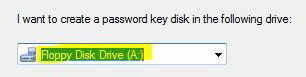
6 On Create a Password Reset Disk page make sure that Floppy Disk Drive (A:) is selected in the drop-down list. Also ensure that a blank floppy disk is inserted into floppy disk drive. Once everything is done click on Next button.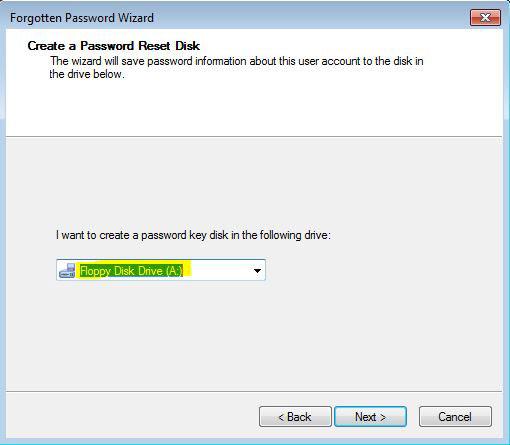
7 On the next page type the current password in the available space and click on Next button.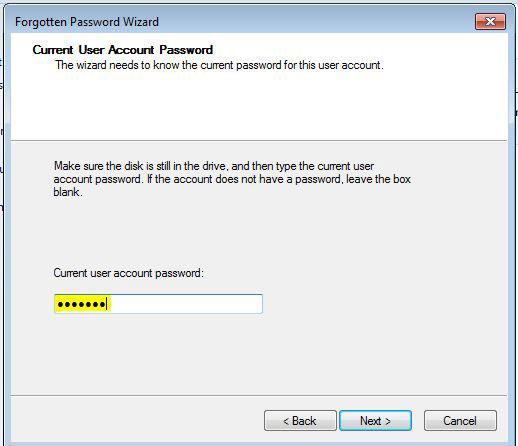
8 Once the progress bar is 100% completed click on Next button and on the next page click on Finish button to close the wizard.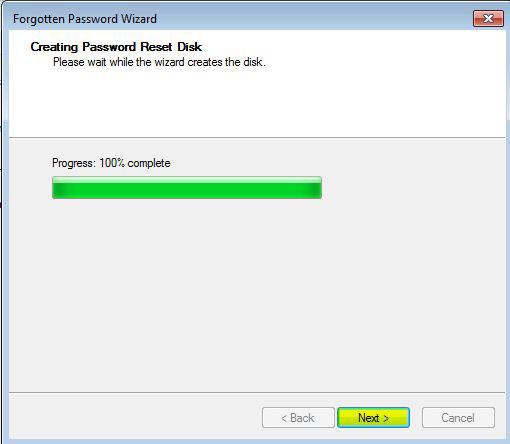
Note: You can test the password reset disk by typing the wrong password immediately while attempting to logon to the computer with the user account for which you are created Password Reset Disk.