
Read this tutorial to get rid of the annoying Capslock triggering and disable capslock in Windows 7.

How to Disable Capslock in Windows 7
Capslock enables you to toggle between capital and small alphabets. However sometimes while working on your Laptop keyboard with tight squeezed keys, you may hit the Capslock key often and have lots of text with capital letters. To disable the capslock key follow the steps below.
1. Step Download and Install the AutoHotHey program Here.
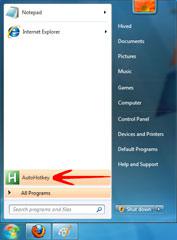
2. Step After the Installation of AutoHotKey, launch the Program from the Start Menu.
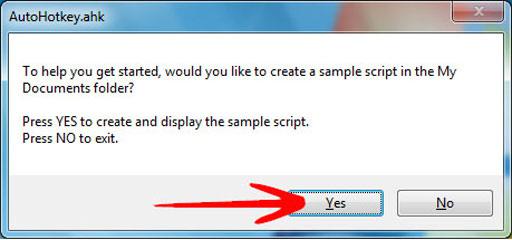
3. Step A Dialog Box will appear asking you to Create and Display the Sample script. Click Yes.
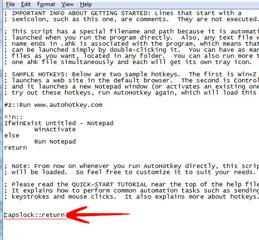
4. Step Notepad will display AutoHotkey.ahk script as a text fil. Lines starting with a semi-colon (;) are comments. All you need is to add Capslock::return at the end and save the file.

5. Step The above step will Disable Capslock. The AutoHotKey program is visible and accessible from the System Tray.
The AutoHotKey is a useful utility with numerous uses. More Information is available at http://www.autohotkey.com.
If you still can’t disable capslock, post a comment below