With a few tools you can “print to PDF” in Windows 7/8 quite easily.

Steps to create PDF in Windows 8
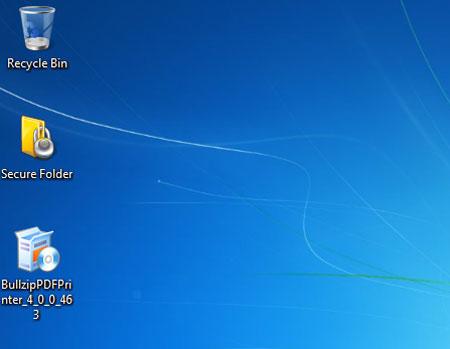
1. Step First of all download an aplication to print to pdf in Windows 8. We are using Bullzip PDF Printer. You can download Bullzip PDF Printer from here. Save it to somewhere. Here i am saving it to my desktop.
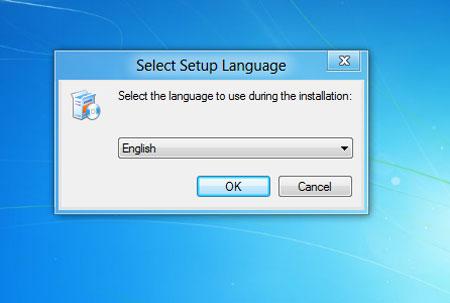
2. Step Double click on it and the installation starts. Select English as a setup language and Click on the OK button.
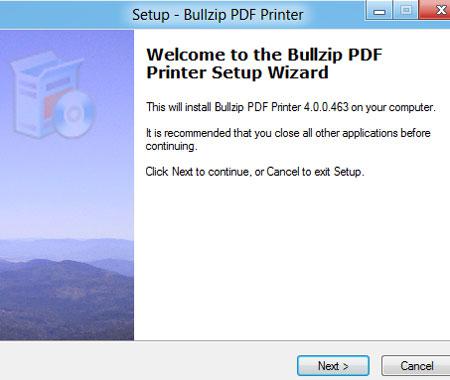
3. Step Click on the Next button.
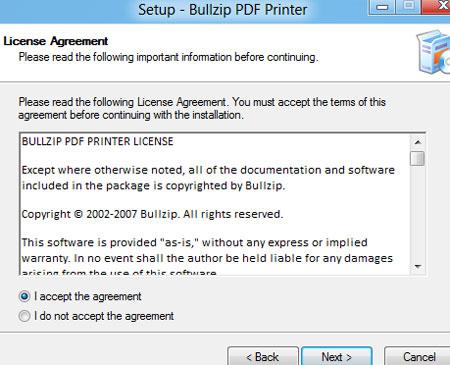
4. Step Next, check ‘I accept the agreement’ and click on the Next button.
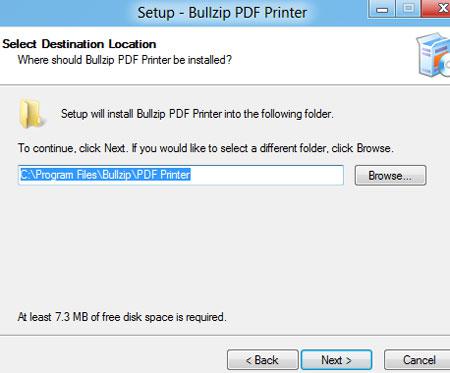
5. Step Select folder and click Next. If you want to keep default then click on next without choosing folder.
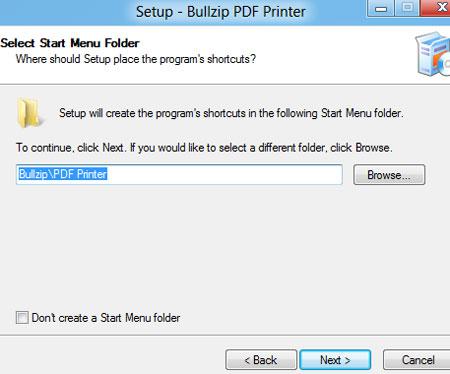
6. Step Then click on the Next button.
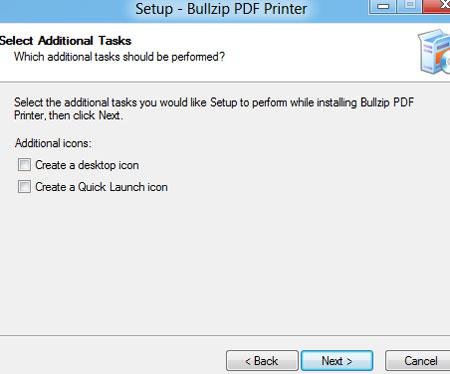
7. Step Again, click on the Next button.
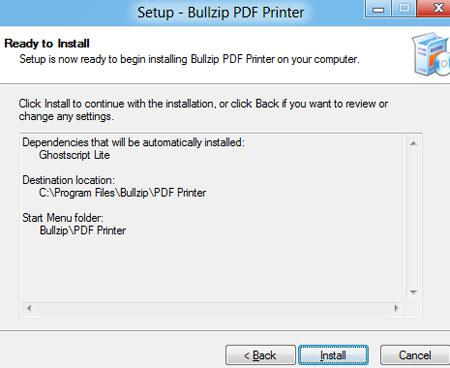
8. Step You will have to download a dependencies i.e Ghostscript Lite to run Bullzip PDF Printer. It will be downloaded automatically during installation. Check / Select Download and install Ghostscript Lite. Then click on the Next button.

9. Step Next, Click on the Install button.
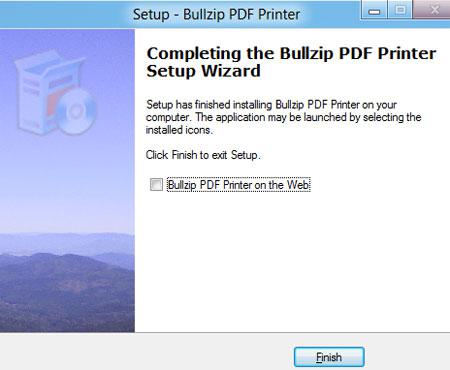
10. Step The installation process progresses automatically and the Ghostscript Lite is downloaded and installed automatically. Make sure your system has internet connection. Finally click on the Finish button.
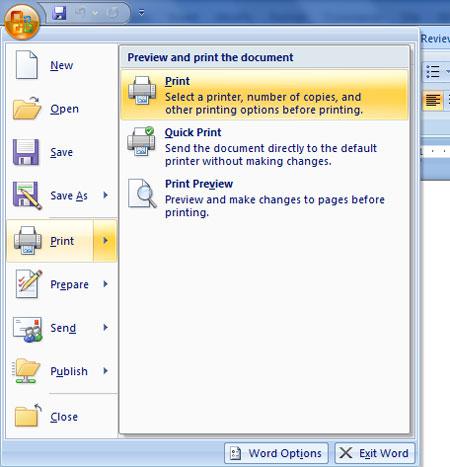
11. The pdf printer has been installed. You may see it in Device and Printers. Now to print to pdf open Microsoft Word and click on the Office Button > Print > Print
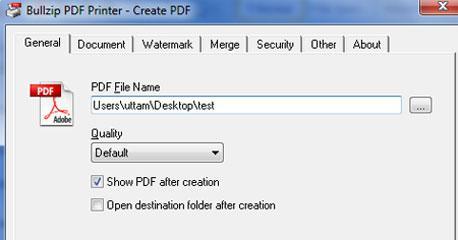
12. Select Bullzip PDF Printer from the Printer list and click on OK button.
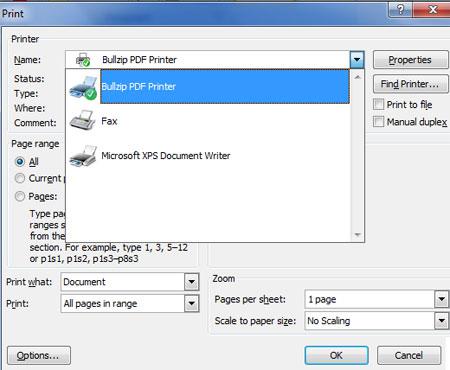
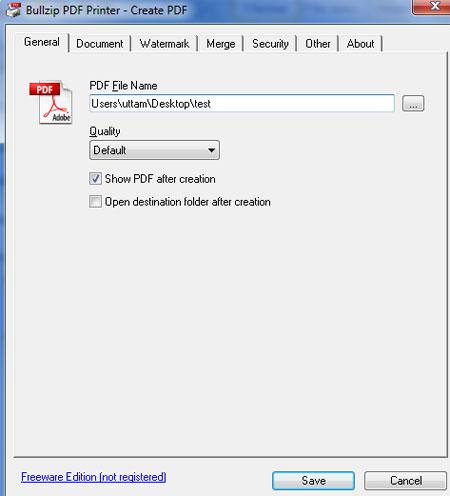
13. Next, give the pdf filename and click Save button. That are the complete steps to print to pdf in Windows 8.
Conclusion
Saving your file in PDF format is usually preferred when you want your reader just to read your content not allowing them to edit it, so a print to PDF option is very handy for this job.