
Creating folder for toolbar
1. Step Let’s create a folder for the quick launch toolbar, open the Windows explorer by pressing Windows key + E
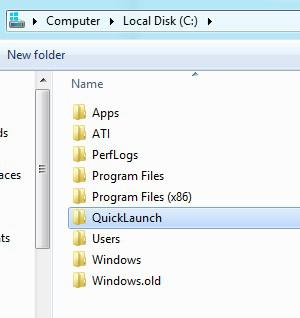
2. Step Go to C: and create a new folder either by using the shortcut CTRL + Shift + N or by clicking the icon at the top. Give it a name e.g. QuickLaunch
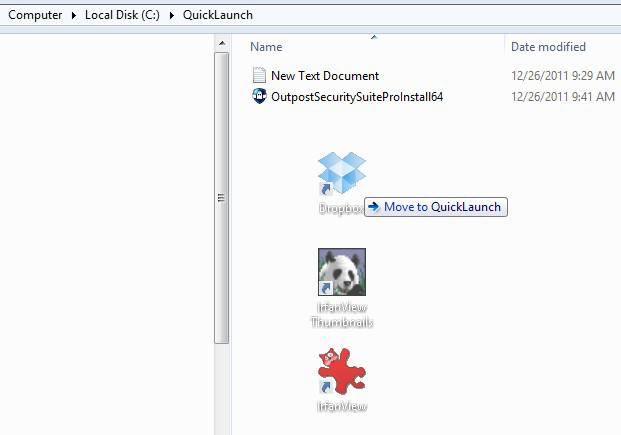
3. Step Copy all shortcuts that you want on the quicklaunch toolbar to this location or simply drag them into the folder:
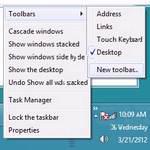
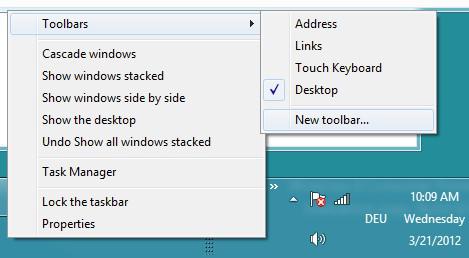
Adding a new toolbar
4. Step Now right-click on Windows 8 taskbar and select, Toolbars -> New toolbar ….
5. Step Find the folder C:\QuickLaunch that we created in step 2 and click on Select Folder
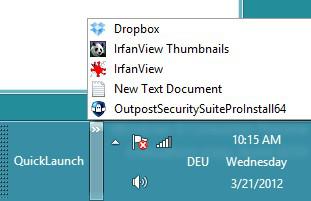
6. Step You should now have something like this to quickly access all shortcuts in that folder:
7. Step Obviously that doesn’t look very good. We can simply disable the text and and title, right-click on the word QuickLaunch and uncheck the options Show text and Show title
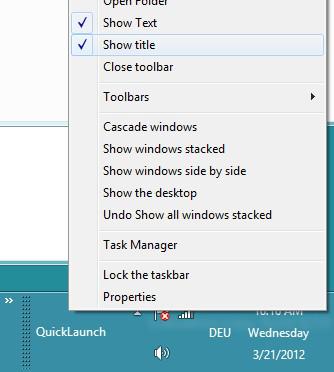
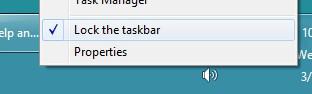
8. Step If you haven’t done that already, right-click on the taskbar (blank area on the taskbar) and then make sure that Lock taskbar is NOT checked
9. Step You can now see a dotted bar that you can drag by left-clicking on it – when you do that you can increase or decrease the size of the toolbar

10. Step You can now resize the taskbar so that there is enough room for the QuickLaunch toolbar to be put below the other icons on the taskbar. To do that you would hover over the very top edge of the taskbar until a resize arrows appears, then hold the left-mouse and drag it up to increase the height of the taskbar
11. Finally, you can click on the dotted bar of our QuickLaunch toolbar and drag it down so that it will jump below the other icons.
The Final QuickLaunch Toolbar:
