
Adding an X-ray effect can be cool. If you want to X-ray a picture in Photoshop read more about it after the break.

Steps to X-Ray a picture in Photoshop
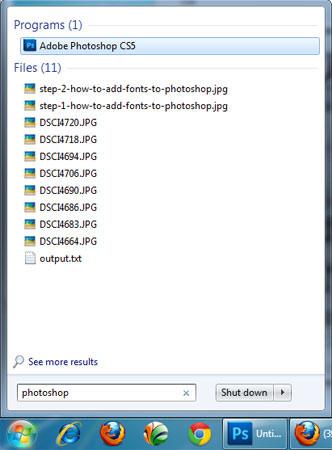
1. Step Open Photoshop program. Click on Start and type ‘photoshop’ in Search programs and files and press Enter. Alternatively, you can also open the Photoshop by clicking Start >> All Programs >> Adobe Photoshop
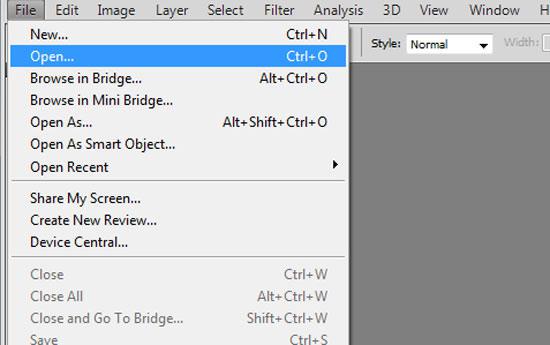
2. Step Open the image. To open, click on File >> Open
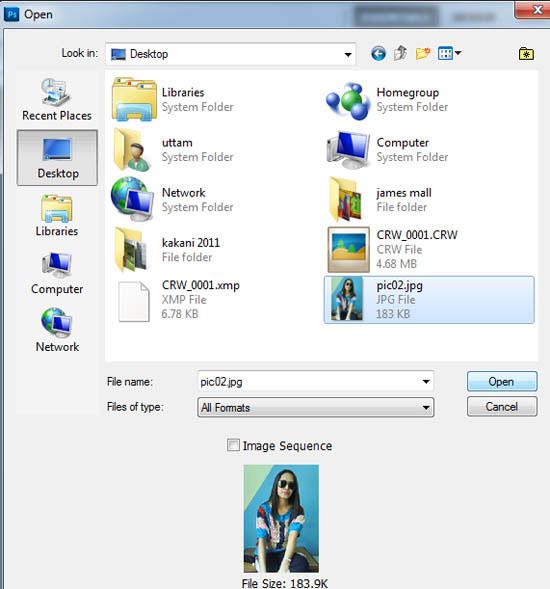
3. Step In the opened “open dialog box” locate and select the image you want to open. Then click Open
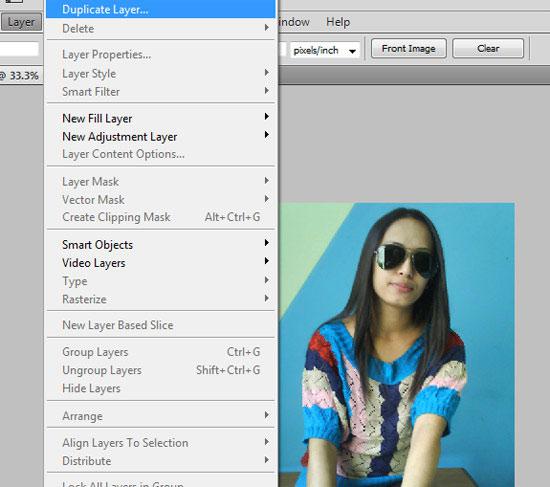
4. Step Click on the Layer >> Duplicate Layer and click OK to duplicate the layer
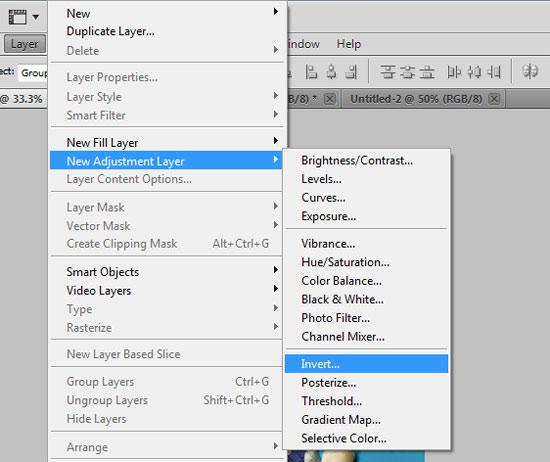
5. Step Click on the Layer >> New Adjustment Layer >> Invert and click OK.
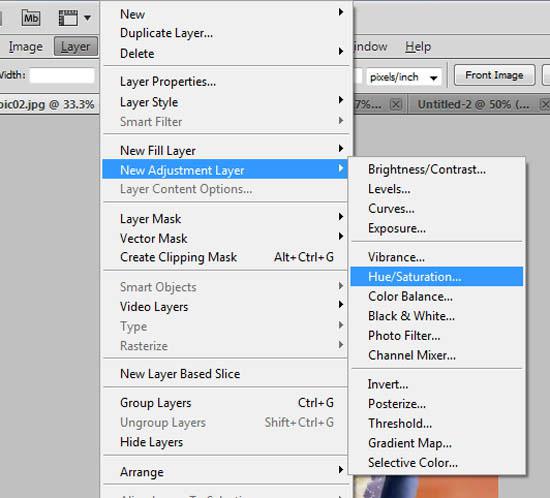
6. Step Click on the Layer >> New Adjustment Layer >> Hue/Saturation and click OK.
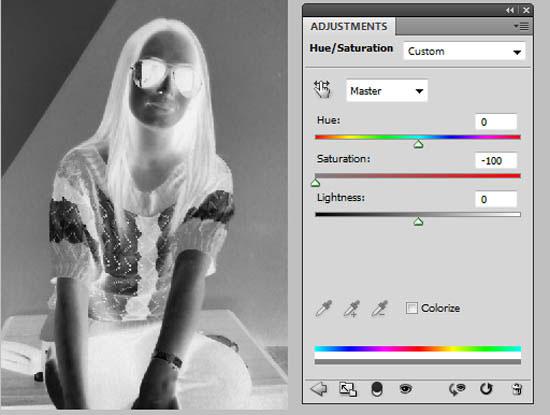
7. Step In the opened Adjustment window, set Saturation = -100.
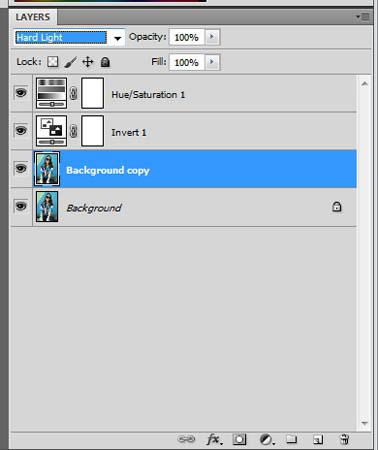
8. Step In the Layer Palette, click the duplicated layer to select it and then in it’s blending mode dropdown, select hard light
9. Step Finally, you should see like this. That are the complete steps to xray a picture in Photoshop.
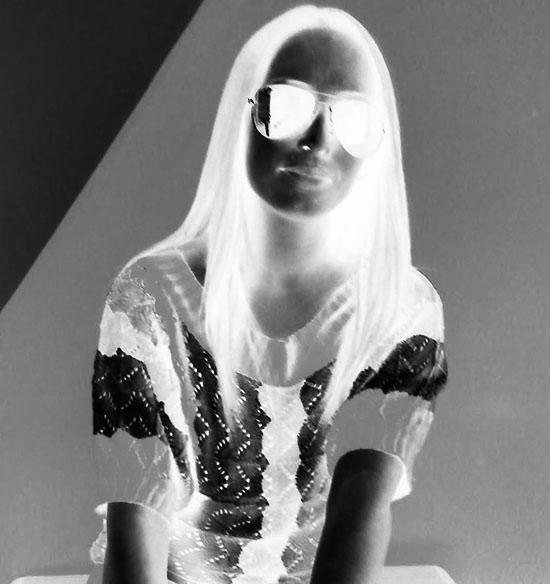
X-ray effect is quite interesting to have on your picture. You can achieve x-ray effects by following the simple steps given in this tutorial.