If you want to be able to print documents from various computers on your network, you could add a network printer. This is still possible on Windows 8, read this guide to get started.
![]()
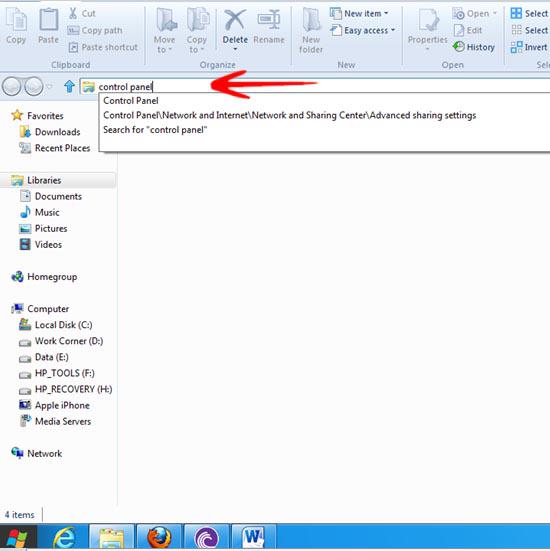
1. Step Open the real Desktop, click on the Windows Explorer icon. (the Start button will be gone in Windows 8 Consumer Preview and higher)
![]()
2. Step Open the Control Panel by typing Control Panel in the search bar.
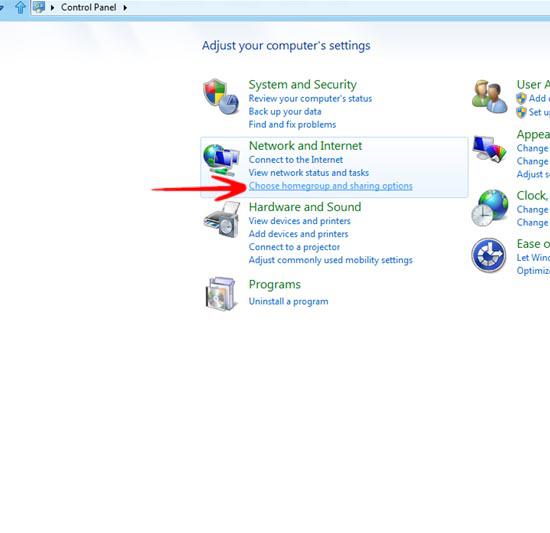
3. StepClick on Home group and sharing options.
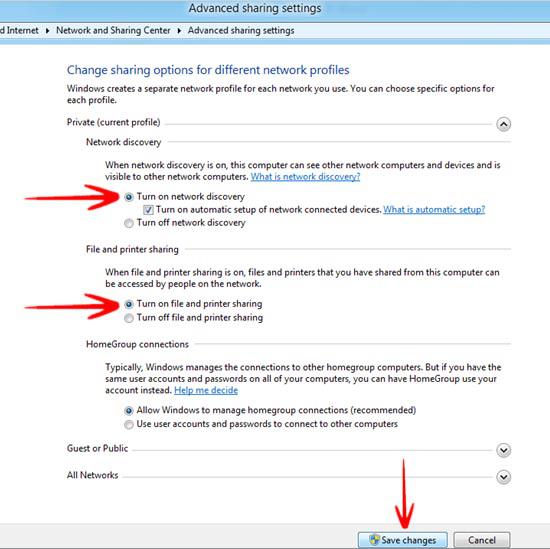
4. Step Click Change Advanced sharing settings. You would be prompted with a list of options to choose from. Now, select Turn on network discovery and check Turn on automatic setup of network connected devices. In the File and printer sharing tab, select Turn on file and printer sharing and click Save changes. This step is VERY VERY important to add a network printer or else the printer might not install.
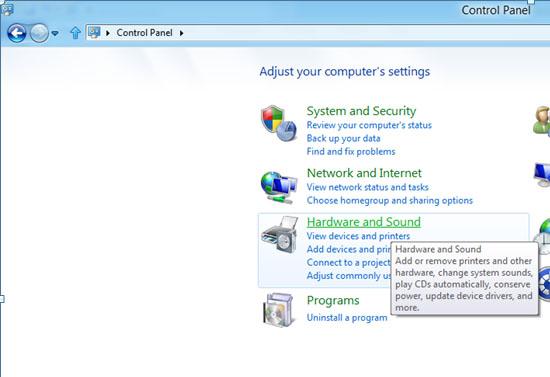
5. Step After you have saved the changes, click Control Panel on the top. Switch to show more icons by clicking Small icons on the View by options. Click Hardware and Sound.
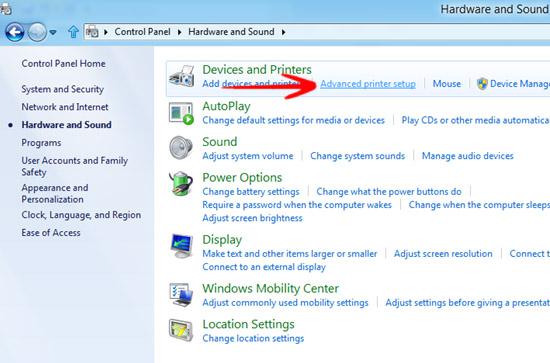
6. Step On the top, click Advanced Printer Setup.
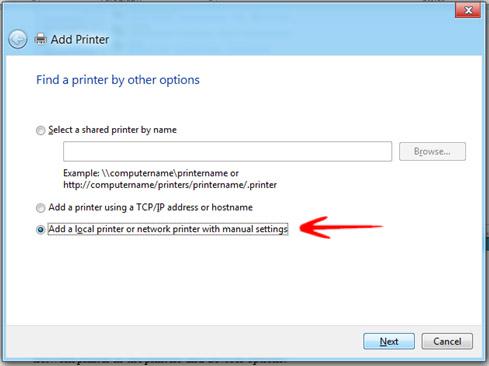
7. Step A new pop up window would guide you for the installation. Select Add a local printer or network printer with manual settings and click Next.
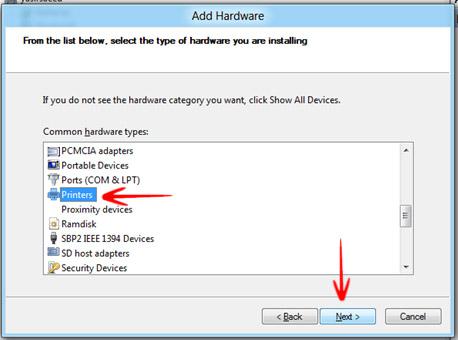
8. Step You can either opt to install the driver from the list of manufacturers and drivers shown or click the Have Disk option.
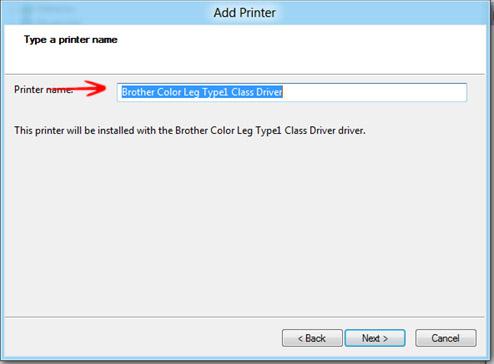
9. Step You would now be given the option to name your printer. Just type the printer name in Type a Printer Name tab.
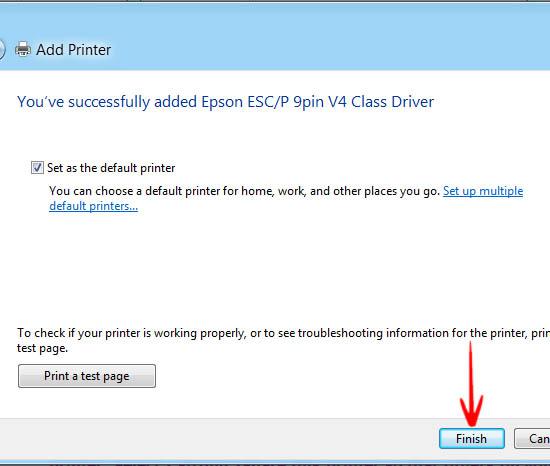
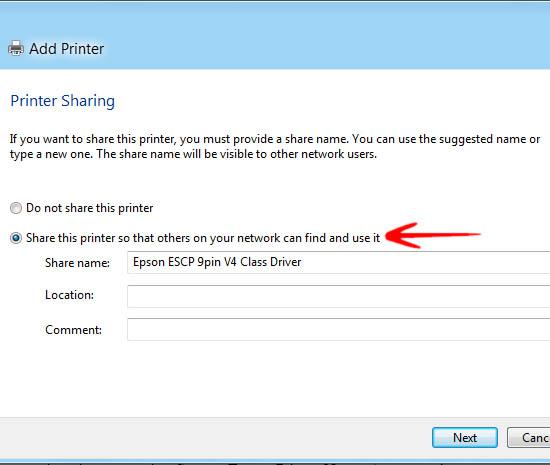
10. Step Windows should take some time to install your new driver. When installation gets completed, you would be prompted to share the printer. Select Share this printer so that others on your network can find and use it and click Next.
11. You should be notified that you have successfully added the printer. It is up to you if you want to set it as your default printer and click Finish