To learn how to add a printer in Windows 8 manually read the steps below. (This is needed when the printer is not recognized)
Why Printer Installation is Required?
Whenever a new print device is attached to any computer, for example Windows 8, it is automatically detected by the operating system and if possible its drivers are automatically installed as well. In rare cases users are required to insert driver installation discs in the drives in order to manually install printer drivers so that the attached printers can perform well.
There are also times when printers are not at all detected by the operating systems and in such cases administrators are required to manually add hardware drivers for print devices so that they can be recognized by the operating systems.
Add Hardware wizard was easily available in Control Panel in earlier versions of Windows for example Microsoft Windows XP however in Microsoft Windows Vista, Windows 7 and Windows 8 Add Hardware wizard is no more available in Control Panel and if as a Windows 8 user you want to use Add Hardware wizard to install a print device manually you are required to follow the steps given below:
1 Logon to your Windows 8 computer with administrator account.
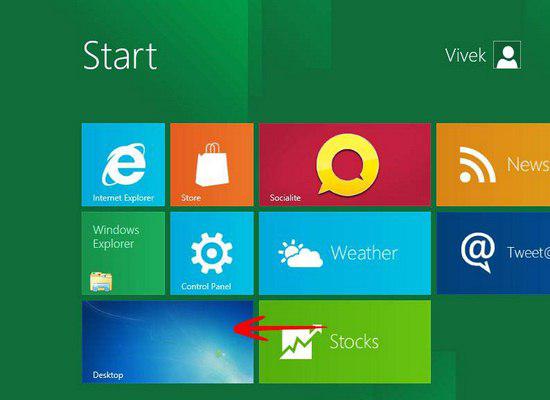
2 From the available options on the screen click on Desktop.
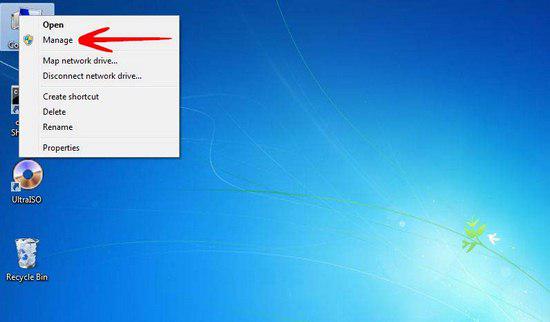
3 Right click on Computer icon available on the desktop and from the context menu click on Manage option. (In case Computer icon is not available on the desktop you can initiate Run command box by pressing Windows + R keys simultaneously and in the available field typing COMPMGMT.MSC and hitting enter key).
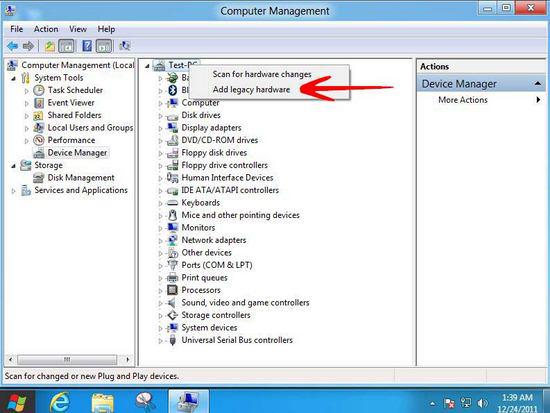
4 On Computer Management snap-in click on Device Manager from the left pane and from the right pane right click on the name of your computer that is displayed on the top of the tree.
5 From the available context menu click on Add legacy hardware option.
6 On Add Hardware welcome page click on Next button.
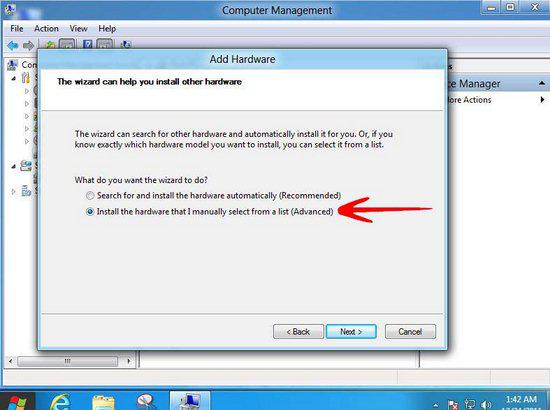
7 On the next page choose Install the hardware that I manually select from a list (Advanced) radio button and click on Next button.
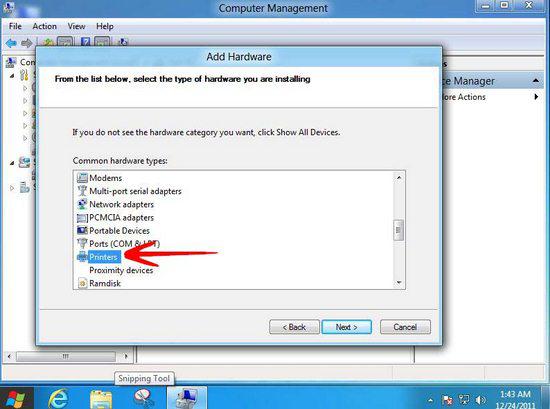
8 From the available list of hardware devices on the next page click on Printers and then click on Next button to continue.
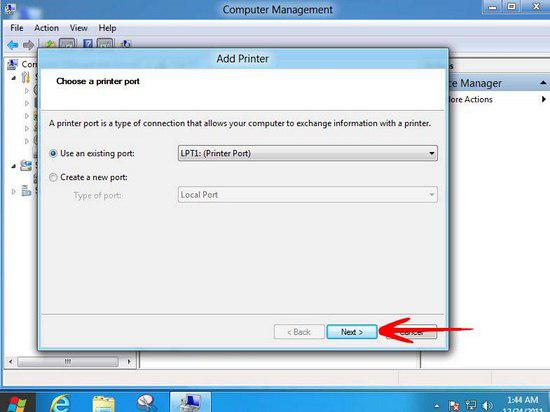
9 On Choose the printer port window leave everything as default and click on Next button.
10 On Install the printer driver window click on Have Disk button if you have installation disc with you. In case you do not have one you can select the name of printer manufacturer from the list in the left pane and then choose the appropriate model from the right pane.
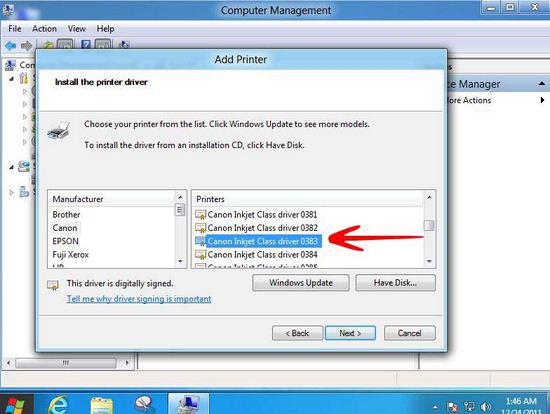
Click on Next button to continue.
11 On the next page type the name of the printer as desired or leave it as default if you want the printer to be named as it is and click on Next button.
12 On Printer Sharing window choose the appropriate radio button as desired, that is, if you want to share the printer populate the displayed fields with appropriate information and if you do not want to share you can click on Do not share this printer radio button.
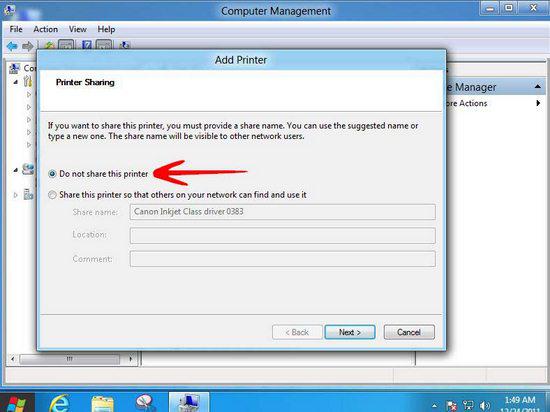
13 Click on Next button to continue.
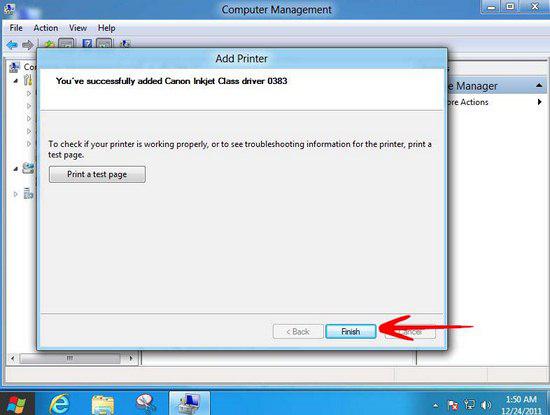
14 On the next page click on Finish button.