Adding new pictures to Windows 7 is very simple and can be done by anyone. If you want to know how to do add some cool wallpapers to your new Windows 7 theme, read our guide after the break.

Add Pictures via Copy & Paste
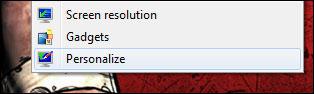
1. Step Right-click on the Windows 7 desktop and click on Personalize:
2. Step Scroll down to your Windows 7 theme. Click on the link Desktop Background at the bottom:

3. StepNext, write down the path or remember it. This path is important, because it contains all pictures. We have to add the pictures to this folder
4. Step Open the Windows Explorer (Windows key + E) and then find the pictures that you want to add to the theme.
5. StepNext, we are going to add the pictures that we’ve downloaded to the Windows 7 theme. To do that, copy and paste the pictures to the path that we remember from step 3.
Alternative: Browse for Pictures
Optionally, if you don’t want to add pictures via copy & paste, you can select a completely new folder with pictures.
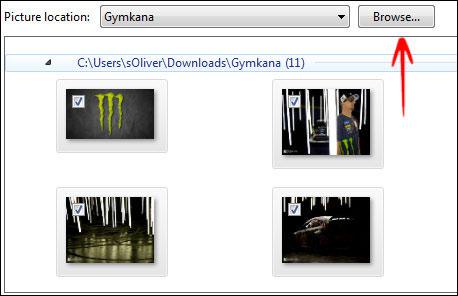
The picture browser allows you to add your own picture folders (located anywhere on your hard drive):
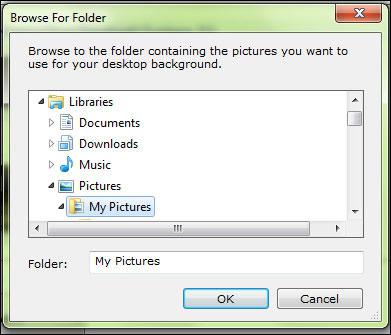
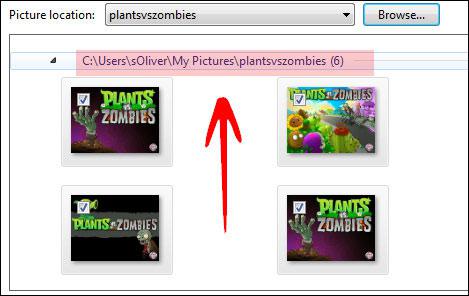
Select the folder with your pictures and all pictures in that folder will be added to your Windows 7 theme. After confirming the picture location, you can select which pictures and wallpapers should be used (you can manually tick them off if you want to).
Global pictures folder? Add pictures manually.
If you have a global pictures folder, but you don’t want to add all of the pictures to the Windows 7 theme, you can simply select the folder and then click on Clear All:

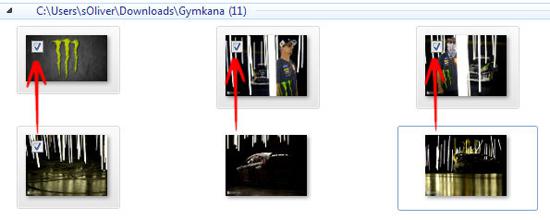
Then select all the pictures manually that you want to add to the theme: