If you are using AMD’s Eyefinity for the first time, you might run into problems arranging desktops, here’s a short guide.
Before you use AMD Vision Control Center, here are some general tips. First of all, do not click too many times, I experienced quite some issues when you try to do things to fast here. Also, the Windows Explorer may crash on you, nothing to worry, this is a common issue that they will hopefully address. If you are trying to connect more than 5 monitors, you may run into problems with your setup – only is supported, is not supported by AMD’s Eyefinity technology. A very important step is to save your desktop arrangements as so called “Presets”. You can assign shortcuts to Presets (click on Preferences, Hotkeys to do that)
Arranging Desktops
1. Step Open the AMD Vision Engine Control Center. Simply open it via the tray icon or enter AMD Vision into search bar on Start Menu and hit enter
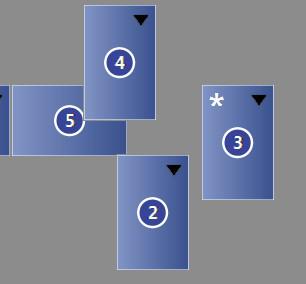
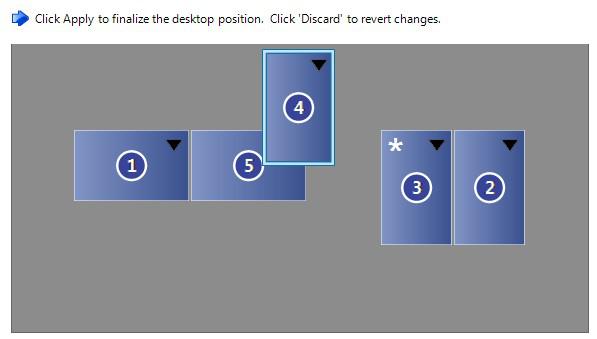
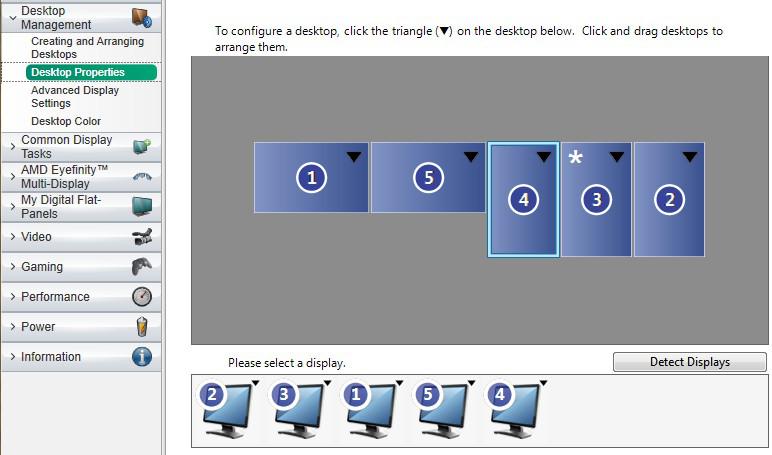
2. Step Inside the Control Center click on Desktop Management, then make sure that all desktops are identified and correctly displayed. Now click on a blue desktop and drag it to arrange your desktops:
Changing Desktop Rotation: Landscape vs. Portrait Mode
3. Step Click on Desktop Properties as seen below
4. Step At the very top click on the blue icon Desktop 1 and select the Desktop that you want to change the rotation for
5. Step Select Portrait, Landscape, Landscape (Flipped) or Portrait (Flipped) from the dropdown field Rotation
Tip: Create Eyefinity Display Group For Games
If you intend to use your Eyefinity setup for gaming, it is recommended to setup an Eyefinity Display Group
You will find the option under “AMD Eyefinity Multi-Display” inside the AMD Vision Engine CC
AMD supports plenty of layouts!

