Here’s the next Photoshop tutorial explaining the basics of installing Photoshop brushes + actions

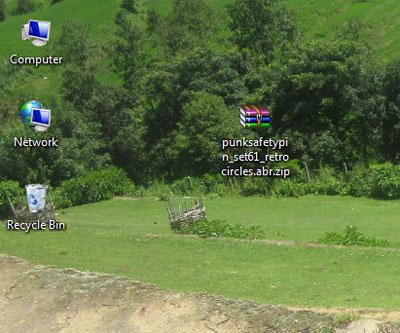
1. Step Before you install Photoshop brushes, you have to download them – obviously. You can search Photoshop brushes in Google. Here i have downloaded few brushes from http://www.brusheezy.com/Brushes/1651-Retro-Circles. Then, I saved the zip file to my desktop.
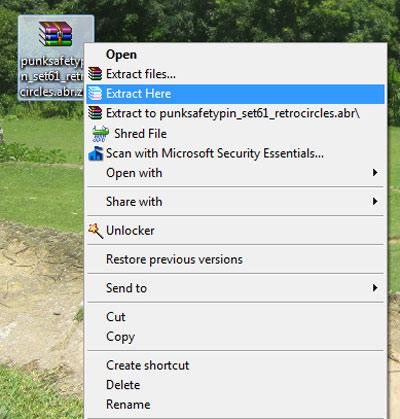
2. Step Right click on the downloaded ZIP file and select ‘Extract Here’.
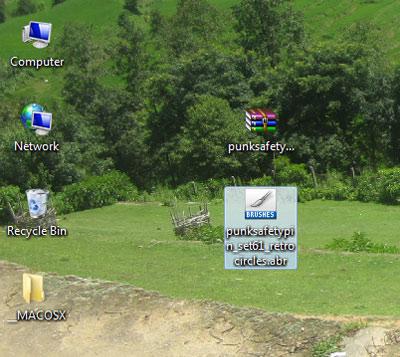
3. Step Now you will notice the Photoshop brush file with the extension ‘.abr’. In my case, we have punksafetypin_set61_retrocircles.abr
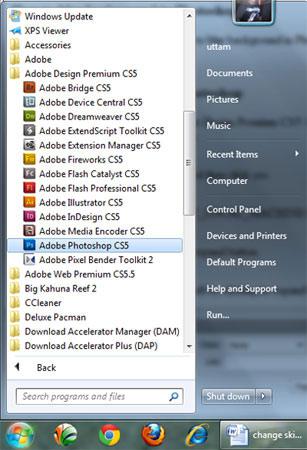
4. Step Start the Photoshop program. Click on the Start >> All Programs >> Adobe Design Premium CS5 >> Adobe Photoshop CS5.
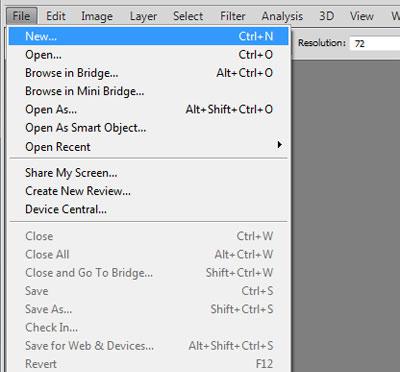
5. Step Create new document by clicking on the File >> New and then OK.
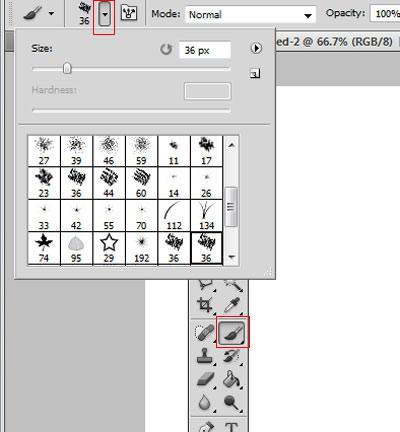
6. Step Click on the Brush Tool (Shortcut – B). Then in the option bar click on the Brush Preset picker dropdown.
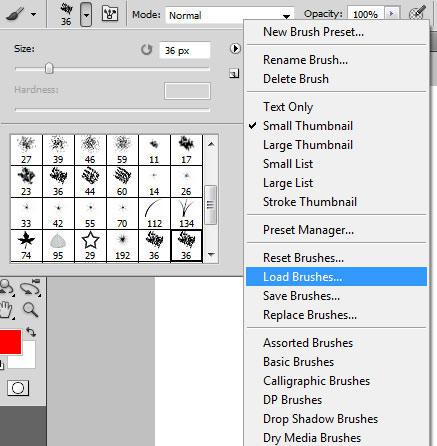
7. Step Click on the Brush option and select Load Brushes.. in the option bar.
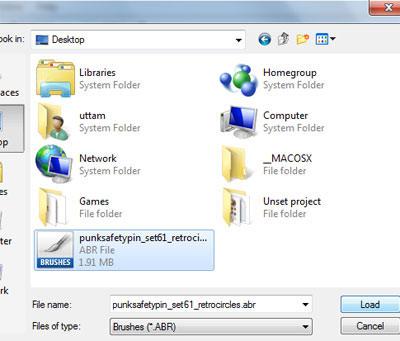
8. Step Select the brush file (.abr) you have just downloaded and click on the Load button.
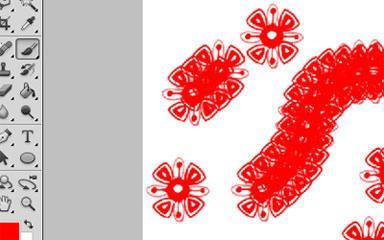
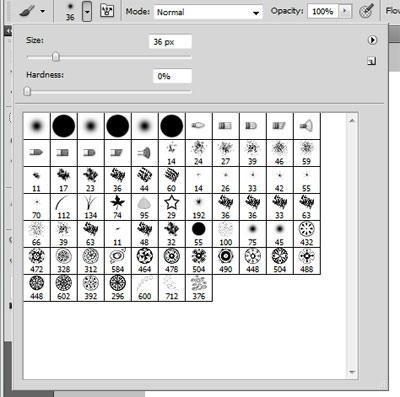
9. Step Now in the brush preset, you will see the brush shapes that are in the brush file (.abr) you have just installed.
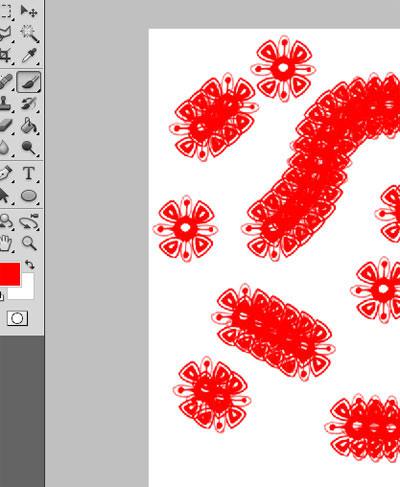
10. Step Select the brush shape and start paintaing in the document. That are the complete steps to install Photoshop brushes.
Conclusion
You will find many brushes on the internet which will make your Photoshop better and easier to use. For example, instead of creating butterflies yourself you can just use the brush which makes a butterfly and create it instantly.