Changing the host file is not always easy, sometimes even new viruses revoke access to the file so that you can’t change it. Here’s how to change the host file.

IMPORTANT: The following tutorial explains how to change and replace the hidden hosts file manually. This is strongly recommended. However, if you believe the tutorial is too complicated for you, you may want to check out this guide that provides a little tool to automatically modify the hosts file via a graphical user interface: Edit Hosts File Tool
On a sidenote, I am personally using a different method to change the hosts file (I do it via an elevated command prompt), but this tutorial is intended for beginners
The Host file in windows 7 is a system file, located in system32 folder on the local drive, where the OS is installed. The path to this Host file is: C:\windows\system32\drivers\etc\hosts
Step 1: Open The Hosts File Folder
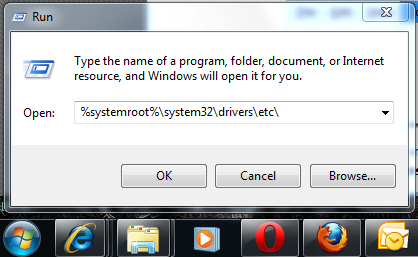
Press the Windows button on your keyboard followed by R, which will open the Run Console. Here on the run console you need to enter the specific path, where the Host File is located. C:\windows\system32\drivers\etc\hosts
After entering the path press Enter.
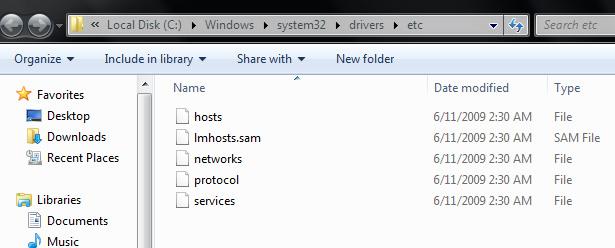
After entering the path, a folder will be displayed, where you will find different files, and the first one will be the HOST FILE of the system.
STEP 2: The Hidden Hosts File
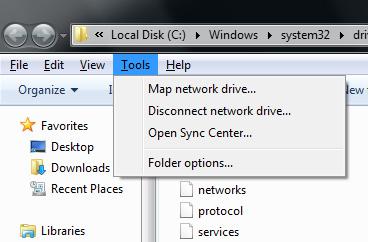
In some cases (by default) the Host Files is hidden and you won’t be able to actually see it. In this case, you have to follow the first step and then press the Alt key on your keyboard, which will display the toolbar of that particular folder.
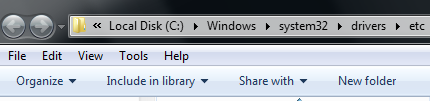
Now click on the option “Tools” on the toolbar and click on the Folder Option in the tab, which will open another window tab known as Folder Option.
In the Advanced Settings Option you need to select the option “Show hidden files, folders and drives”
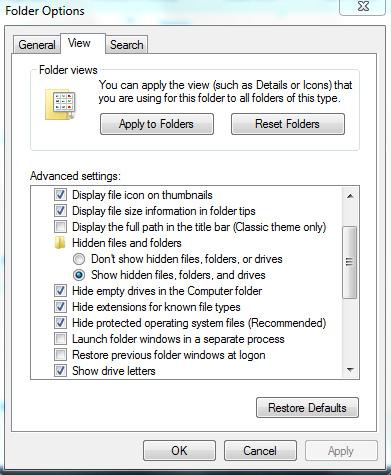
After selecting it just Apply and click on OK button. Now you will be able to see the host file in the folder.
STEP 3: Open & Edit Hosts File
Open the hosts file by double clicking on it.
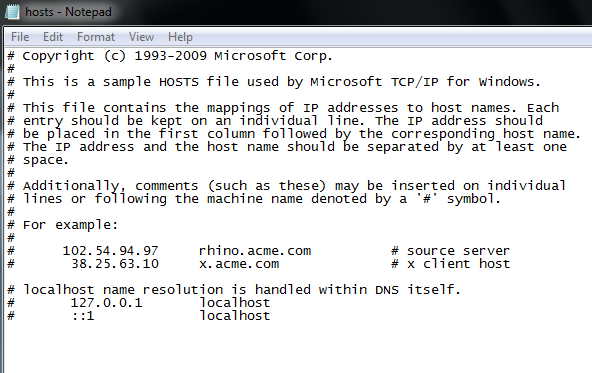
Make the necessary changes you desire to.
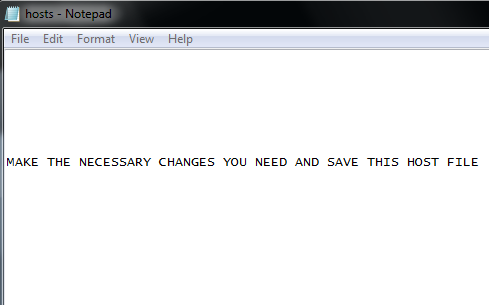
After incorporating the changes just click on the File option on the upper land section on the notepad file.

Click on the option “Save As”. Important: Make sure to select All Files from the dropdown “Save as type” And save it on the desktop providing the necessary path to it.
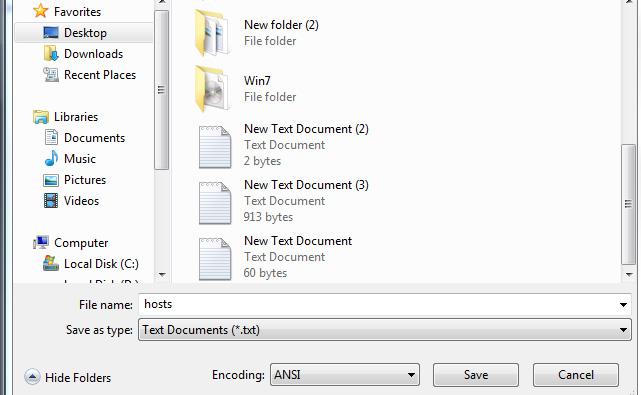
You won’t be able to save the Host File directly as this file is a system file. Just save it somewhere else on your hard drive e.g. on your desktop.
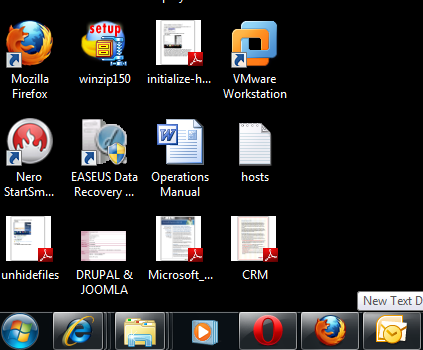
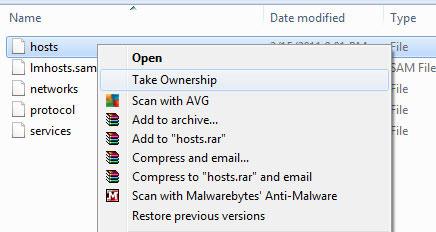
Now take ownership of the real hosts file and replace the hosts file with your newly saved host file on the desktop. Don’t know how?
Download this script: Download TakeOwnership.zip and double-click on the .reg (registry) file to add an option “Take Ownership” to your contextual menu (the right-click menu).
You can then right-click on your system files and take ownership of them. After that, you can rename all files and replace the system file / explorer.exe easily.
Read more: https://www.howtoguides.org/how-toreplace-explorer-exe-in-windows-7
Right-click on the hosts file and you will see an option Take Ownership, click on it, then rename the hosts file and drag the hosts file from the desktop into the folder.