A gamma correction is sometimes needed for the best visual appearance. It defines the mathematical relation between the colors red, green and blue which are sent to display units like monitors. Follow the steps after the break to change the gamma in Windows 7.

Steps to change gamma on Windows 7
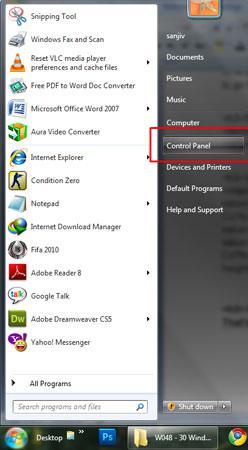
1. Step Click on Start >> Control Panel
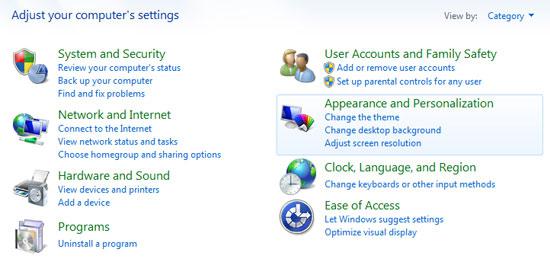
2. Step Click on ‘Appearance and Personalization’ on next step.
3. Step Click on Display.
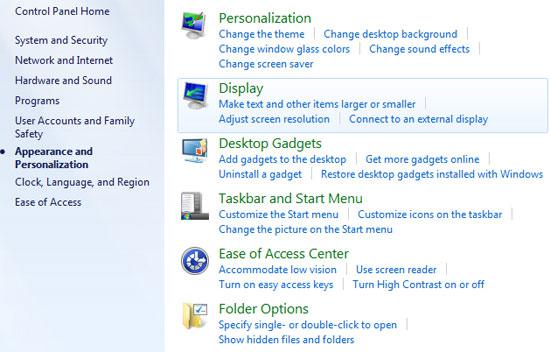
4. Step Next, click on ‘Calibrate color’.

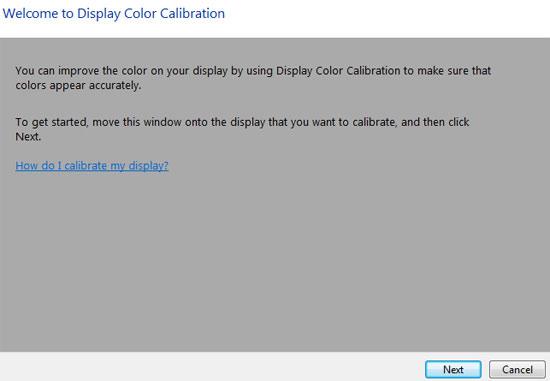
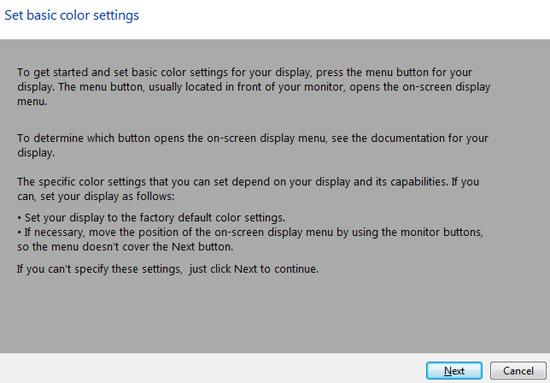
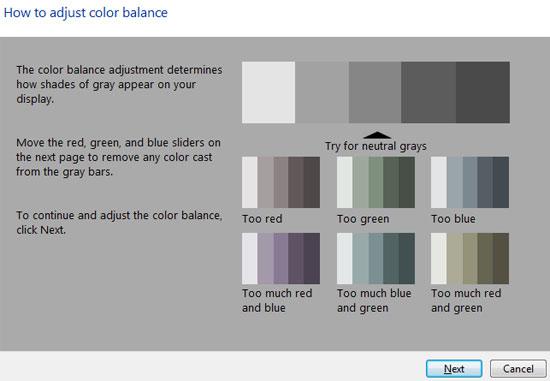
5. Step Now click ‘Next’
6. Step Again click ‘Next’
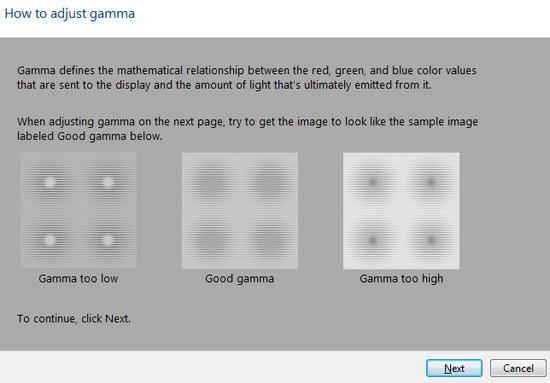
7. Step A low, good and high gamma sample:.
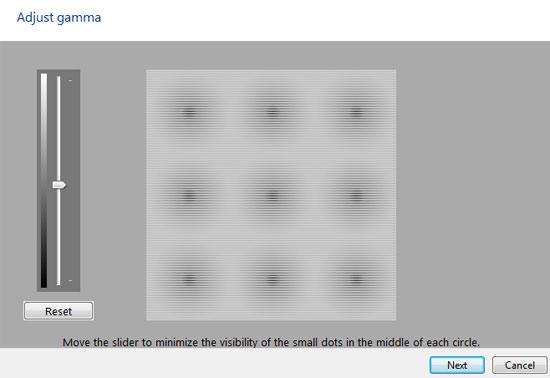
8. Step You can move the slider to increase or decrease the gamma. If you want to reset, you can click the reset button located below the slider. Then after you finish changing the gamma, click on ‘Next’
9. Step Now click on ‘Skip brightness and contract adjustment’.
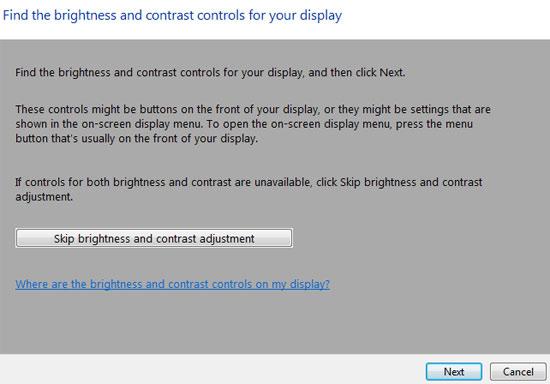
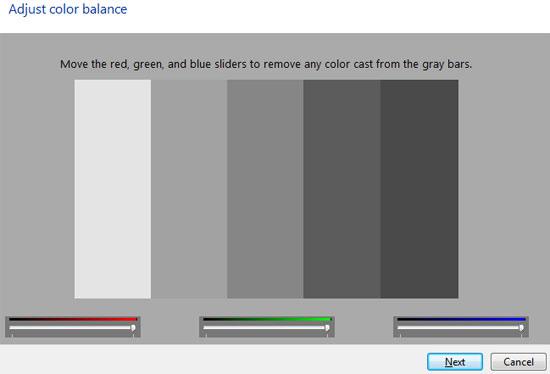
10. Step Now click on ‘Next’
11. Again click ‘Next’
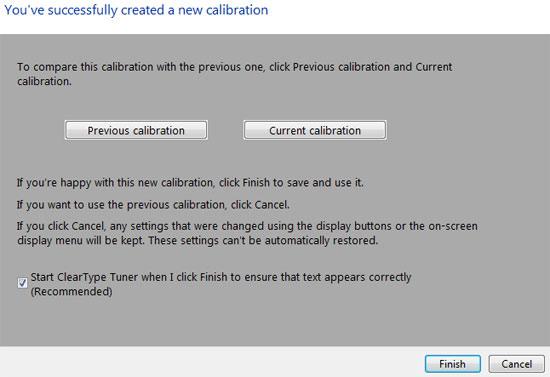
12. Finally, click on ‘Finish’
Video
Conclusion
It’s good to get a good gamma on your monitor. Follow the simple steps as instructed above to change gamma on Windows 7.


This doesnt work for me when i move the gamma slider it looks like the gamma changesbut then ones i release the left mouse button even if the slider is high up my gamma goes back to the default and its driving me crazy!