Usually on CRT monitors screen flickering can be a problem which might not be pleasant for your viewing. To reduce flickering we have to change the refresh rate. Follow the steps with this tutorial to change refresh rate in Windows 7.
Steps to change refresh rate in Windows 7
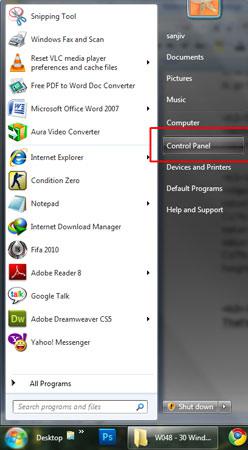
1. Step Click Start >> Control Panel
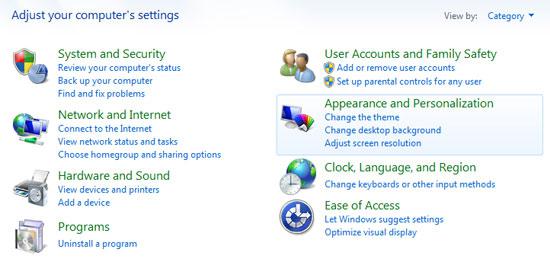
2. Step Click “Appearance and Personalization” in control panel box
3. Step Click “Display” in next box.
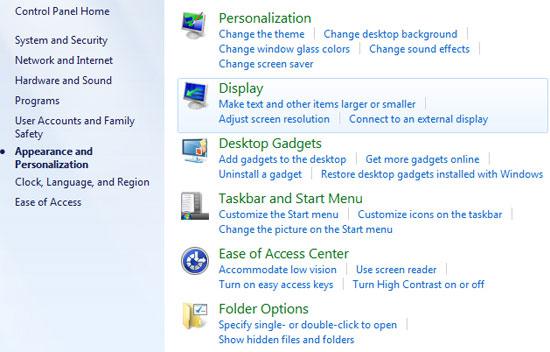
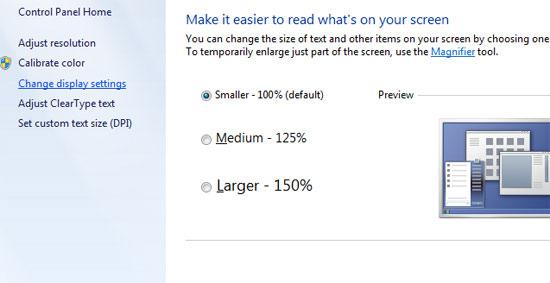
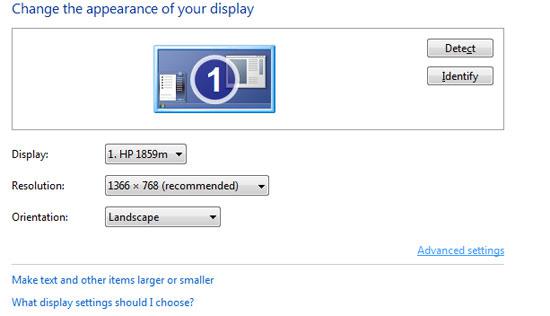
4. Step In next appeared window, click ‘Change display settings’ on the left side.
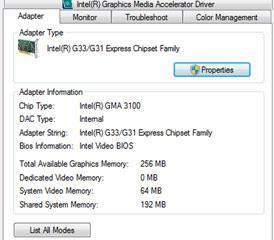
5. Step Now click ‘Advanced settings’
6. Step In the opened window, click ‘Monitor’ tab at the top.
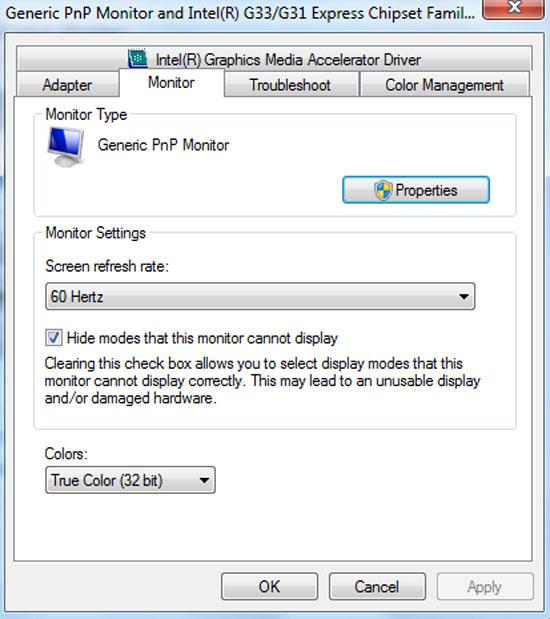
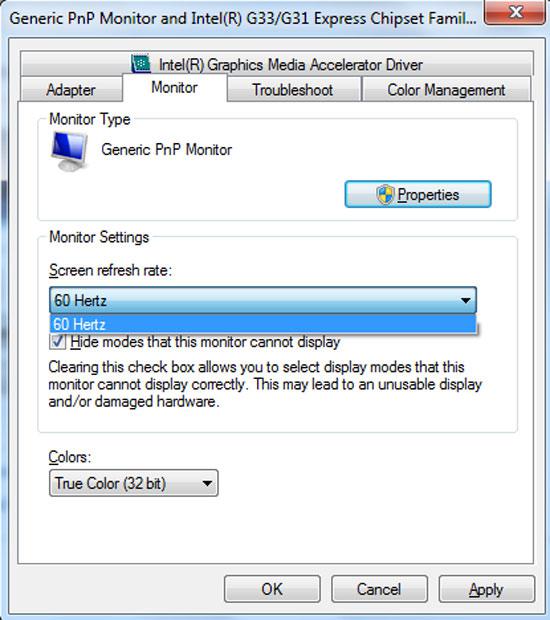
7. Step Under Monitor Settings, in Screen refresh rate drop down list menu, select the screen refresh rate you want to choose. If you can see only one rate over there then it means, the one that is shown there, is only supported by your screen. Finally Click Apply and OK. That’s all.
Video
Conclusion
Usually screen flickering can be a problem on CRT monitors. LCD monitors (also called flat-panel displays) don’t create flicker.
Too much flickering causes eyestrain and headaches.
Note that, A refresh rate of 75 hertz (minimum) generally produces less flicker. (Because LCD monitors don’t create flicker, they don’t need to be set at high refresh rates.)

