
Before you start using Windows 8 Developer Preview, you might want to know how to create a system restore point in Windows 8. Here’s how.
Why You Should Not Use The System Restore Feature
Important for beginners: I do NOT approve of the Windows 8 system restore feature. Yes, in some situations it might be helpful for beginners, but in general you should learn how to boot into safe mode and then use tools like sfc.exe /scannow to repair your system files.
Creating A Restore Point Properly
1. Step Click on the Windows 8 Start button and then click on Search: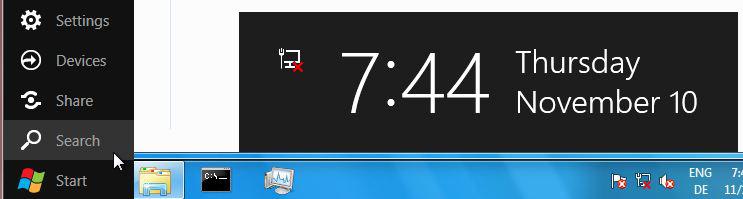
2. Step Enter “restore point” into the search and make sure to click on Settings
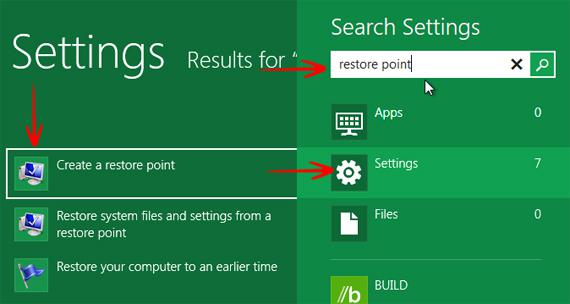
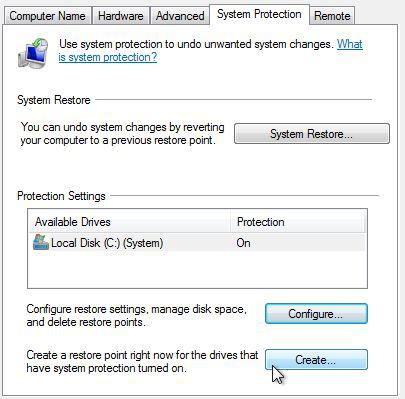
3. Step Click on the item Create a restore point
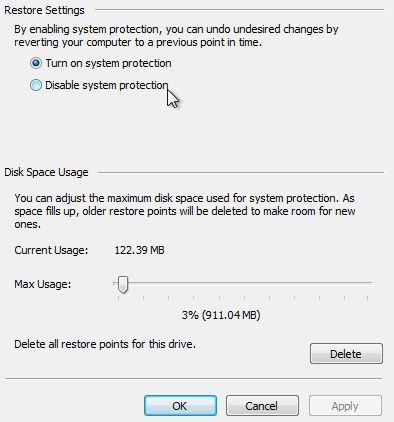
4. Step Make sure that system protection is actually turned ON for your drives
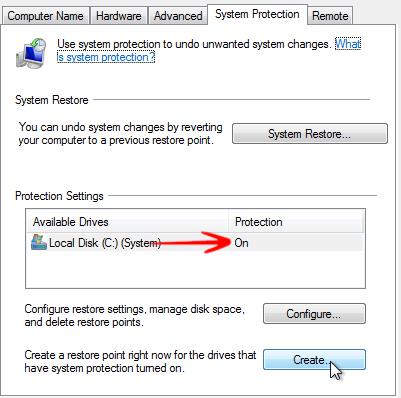
If system protection is not turned ON for your drives, then you should click on the Configure button and check the option Turn on system protection – you should also configure the amount of disk space the system restore feature can use. To do that move the slider to the right:
5. Step Now system protection is turned ON and configured for your hard drive, go back to the first screen and click on the button Create
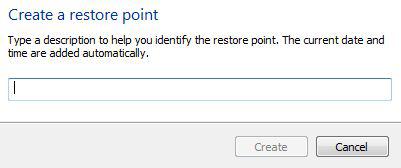
6. Step You should now enter a name for your system restore point:
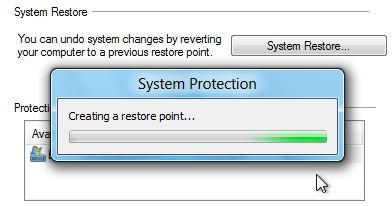
7. Step Windows 8 will finally create your restore point for you and you will be able to identify it later on
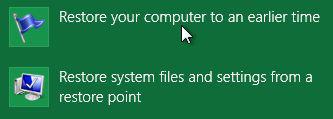
8. Step To use that system restore point to reset your system, you should simply enter “restore” into the Metro search and click on Restore your computer to an earlier time. You can then pick the restore point we created above