A lot of people ask me how to create Windows 7 themes or themepacks. If you want to make some simple themepacks in Windows 7, you have to know that Microsoft made creating and sharing themes really simple, thanks to a new file format “.themepack”

Themepacks vs Custom Shell Themes
Themepacks are basically a special ZIP format that includes cursors, sounds, wallpapers, icons, colors and more.
If you are not interested in making simple themepacks with screensavers and icons you can try your hands at creating custom 3rd-party themes:

Creating Themepacks
First of all, to create Windows 7 themes open your “Personalize” Control Panel. To do that right-click on your desktop and click on “Personalize”:
On the following windows, you will be able to create, customize and share Windows 7 themes.
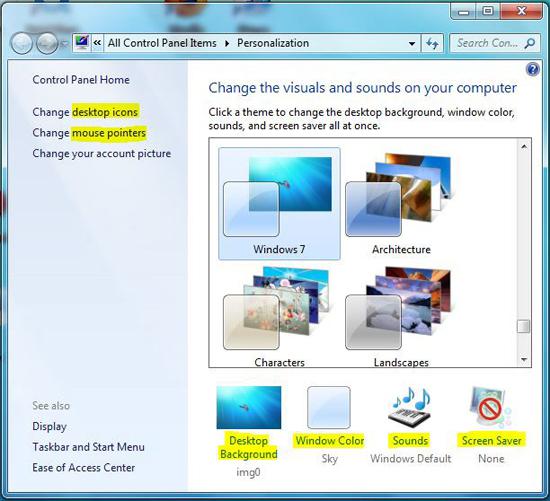
The highlighted items are the most important entries. You can change “Desktop Background”, “Windows Color”, “Sounds”, “Screensaver”, “Desktop Icons” and “Mouse Pointers”.
How to change Windows 7 Wallpaper
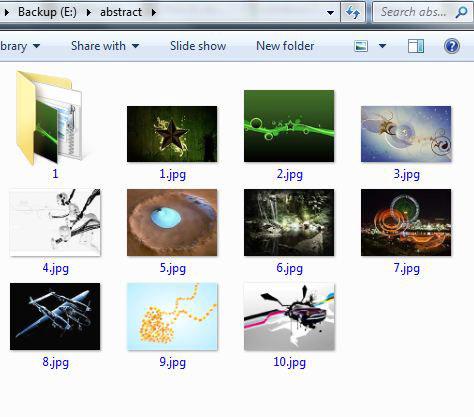
First, we will change the Windows 7 Wallpaper. For this example, I downloaded a few abstract Wallpapers (you will find plenty of wallpapers on our site here).
I downloaded the wallpapers to E:/abstract:
Next, I’m going to click on the link “Desktop Background” on our Personalization Control Panel:
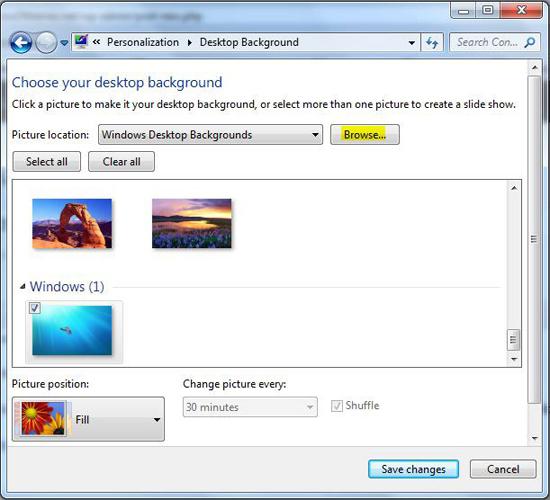
I’ll browse to the folder E:/abstract and select it. Once you confirmed the folder, you can define a picture position. I usually select “Stretch” from the dropdown field (highlighted), because it will stretch smaller wallpapers to fit my entire screen (a widescreen 19″):
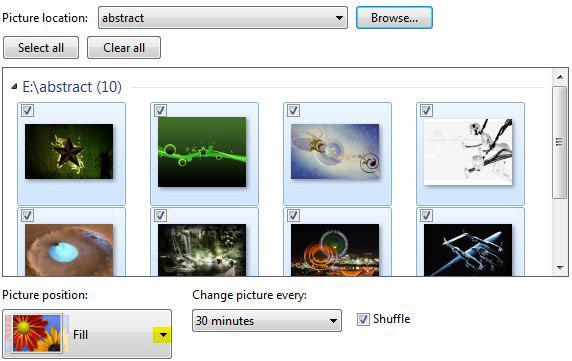
Click on save changes and we are done with step 1 (changing our Windows 7 desktop wallpaper)!
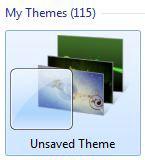
We now have created our first unsaved Windows 7 theme! The first step of creating a Windows 7 theme has been completed.
How to change Window 7 color scheme
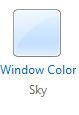
We can now change the Window color to fit the desktop background. Because most of our abstract wallpaper seem to be dark and green, I will select a darker Window color:
Before:
I decided for a dark green with a low color intensity:
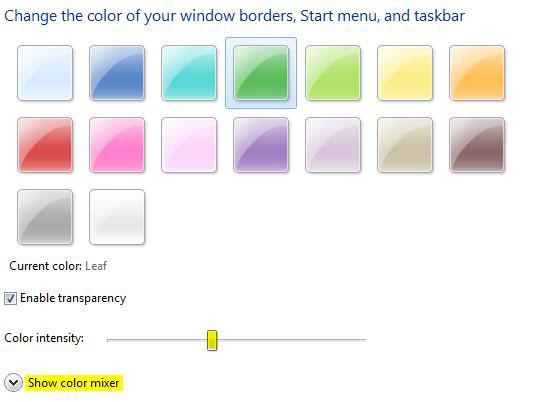
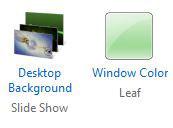
If you like playing around with colors (like me), then you can open the Color mixer and create new Window colors. Ok, now we have a new desktop wallpaper and a different Window color!
After:
But of course, we want to customize it a little bit more. Let’s proceed to the next step and change the sounds.
How to change Windows 7 sounds
As usual, click on the link “Sounds”:
Here, you will find all saved Windows 7 sound schemes:
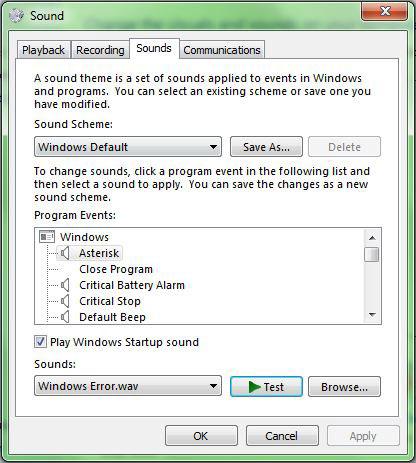
Most of our themes come with new sound themes, which can be changed and customized here. If you want to apply a new sound file for “Critical Stop”, you simply click on “Browse” and locate the sound file that you want to assign for this error.
You can apply any WAV sound files as a replacement sound for:
“Asterisk”, “Close Program”, “Critical Battery Alarm”, “Critical Stop”, “Default Beep”, “Device Connect”, “Device Disconnect”, “Device Failed to Connect”, “Exclamation”, “Exit Windows”, “Low Battery Alarm”, “Maximize”, “Menu Command”, “Menu Pop-up”, “Minimize”, “New Fax Notification”, “New Mail Notification”, “Open Program”, “Print Complete”, “Program Error”, “Question”, “Restore Down”, “Restore Up”, “Select”, “Show Toolbar Band”, “System Notification”, “Windows Change Theme”, “Windows Logoff”, “Windows Logon”, “Windows User Account Control”, “Blocked Pop-up Windows”, “Complete Navigation”, “Empty Recycle Bin”, “Fax error”, “Fax sent”, “Feed Discovered”, “Incoming call”, “Information Bar”, “Move Menu Item”, “Search Provider Discovered”, “Start Navigation”.
Often you will also be able to customize sounds for special applications like iTunes or VNCviewer for example. So, there are quite a lot of sound files that you can change and customize.
If you are new to this, I would start with the most important sounds:
Asterisk, Critical Stop and Default Beep
Where can I download WAV sound files for my Windows 7 theme?
You can find, search and download sound files for Windows 7 here:
www.wavcentral.com/
www.ilovewavs.com/
www.moviewavs.com/
There are many sites out there, where you can download WAV files. You should also be looking for sound files that are SHORT, because it would be pretty annoying to hear a 12 minute long sound every time you receive an error message.
How to change Windows 7 icons
To create a really cool Windows 7 theme, we are going to change our Windows 7 icons
![]()
For our theme we need some new .ico files. “.ico” is the Windows file format for icons. All Windows icons are saved as .ico files. So, you will have to convert some images to .ico files before you can use them.
At the website http://www.iconspedia.com/ you will find many .ico files that are free for personal use. So download some icons for our new theme. Personally, I like to convert images to .ico files. So, I will downloaded a “blue peace” icon for our theme. With a photo-editing tool of your choice you should remove all the white space and save it as a transparent .png file.
After removing all the white areas, I came up with this transparent desktop icon:

Next, I convert the bluepeace.png file via http://www.convertico.com/ to a .ico file that I can then use a a desktop file.
Select the “Computer” icon and click on “Browse” and locate your new .ico files.
![]()
Voilà, I assigned my “blue peace” icon:
![]()
How to change Windows 7 Cursor
The Windows file format for cursors is “.cur” or “.ani”. Keep in mind, .cur files are static cursors, while .ani files are animated Windows 7 cursors. You will find loads of new cursors at the website: http://windows7cursors.com
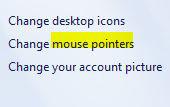
To change your Windows 7 cursor, click on “Change mouse pointers”:
On the following screen, you can assign a new cursor for every mouse pointer. There are plenty of mouse pointers, but if you don’t want to change them all, you can only change a few of them.
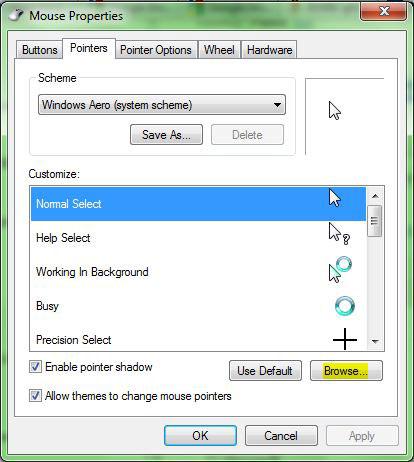
In this example, we are only going to change one of them:
How to save Windows 7 themes
Ok, we changed our wallpapers, colors, sounds, icons and cursors. Next, we want to save our newly created Windows 7 theme.
Windows 7 introduced a new file format called .themepack, it allows you to create zipped Windows 7 themes that contain all of the files that we just changed. Great, huh? Yep it is a real time-saver! Creating themes becomes REALLY easy.
1. Step To do that, we right-click on our unsaved theme, click on “Save theme” and enter a name for your theme.
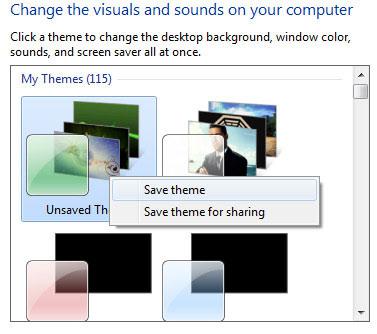
2. Step After saving your new theme, right-click on it again and this time click on “Save theme for sharing”:
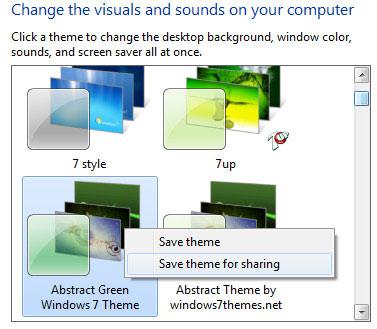
Now, Windows 7 will create a package of all our files (cursors, sounds, icons, wallpaper, colors) and create your first Windows 7 theme. It will save this theme as a “.themepack”.
Now you can send this .themepack file to all of your friends and they can install by double-clicking on the file! Note: This won’t work on Vista. If you try to install .themepack files, you first have to extract all file and then install them manually.
7. Share your Windows 7 theme!
Well, you just created your very first Windows 7 theme, how about you share your new theme with us and millions of Windows 7 fans out there.
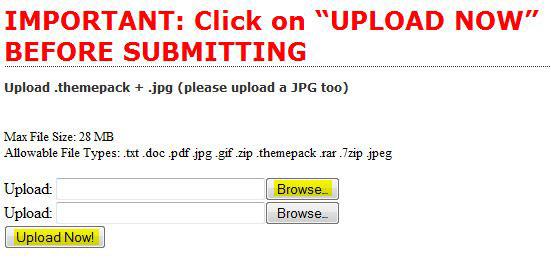
Go to this page: Upload Theme
If you want to upload a theme, click on “Browse” and THEN click on “Upload”. Don’t send your theme without uploading first.


My spouse has just upgraded – new computer with Windows 7 Professional. I say “upgraded” with tongue in cheek. He teaches blind and vision impaired kids to utilise their computers effectively. For them, a computer is first and foremost a tool, not an integrated “theme” park. In Vista, he could alter all aspects of a screen to suit each and every individual kid. Most need larger fonts of varying sizes, different contrasts, weird colour schemes. In Vista, he had developed a “theme” for each student, which they could then copy to a USB, and activate it on any computer – but not in Windows 7 it turns out. In 7, there are very few things you can change. If you change a colour, it is applied universally across everything – couldn’t have discordant colours, now could we? You can string together a set of pretty pictures which follow a theme, and have them scroll as wallpaper – very conducive to helping a vision impaired kid (or adult) see whatever it is they are trying to do!
Windows 7 is a step backwards – and yes, we have tried the Ease of Access options to no avail. For a start, you cannot even read the screen with the instructions, the print is so small, and the one clever thing ctrl+scroll, no longer works. Then the vision impaired person is only allowed to choose a high-contrast set that Windows has decreed – they cannot alter things to suit their own eyes. As with the AERO, you can only change 5 things – wallpaper, icon, pointer, colour (overall colour that is)and sounds; you can no longer close active title bars etc.
Windows 7 has been developed for the games generation – but it is a tool first and foremost. It’s a bit like someone coming up with a better hammer – by painting the handle red!
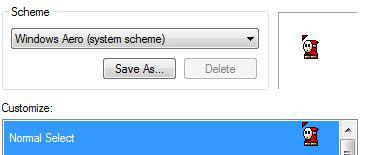
The silly Aileen person above doesn’t know how to get into the normal (a la win98) window color settings, apparently ^^
( Since I’m feeling helpful: Rightclick on Desktop ~> Personalize ~> Window Color ~> Advanced appearance settings… ~> change settings as you see fit. )
Still, her tirade proved mildly amusing~
Anywho, in addition to the built-in stuff, there’s plenty of non-official means of customizing Windows out there. From simply changing colors to replacing window constructs to completely replacing the shell.. if you can imagine it, it’s probably out there.
Aileen~! Look a bit before ranting, kay? ^^
I know, I know, I’m a geek. But c’mon, google really isn’t that hard to use!
<3 and no hard feelings
~ Ashley
not helpful at all! it’s just customizing win7 them and not creating a new one!!!
i know that too figured it out myself but i want to customize the sounds. i downloaded a harry potter theme and the sounds were from harry potter movie and i want to make one like that with sounds which are not from the windows 7 thingy how do i do that???