If you like tweaking and customizing your system, you will want to add new items to the folder context menu, right? Here’s how.
Customizing the folder context menu
1. Step Open up the registry editor by entering regedit.exe into the search bar on your Start menu
2. Step Once open, uncollapse HKEY_CLASSES_ROOT/Folder/shell
3. Step This is what it should look like:

4. Step If the folder shell does not exist, then create it
5. Step Next, right-click on Shell, click on New -> Key and give it a name. This name will appear on your folder context menu!
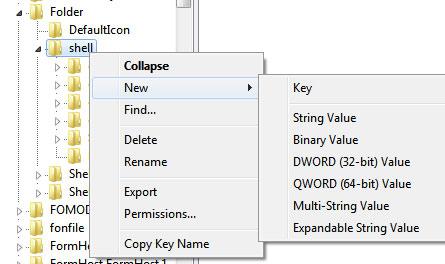
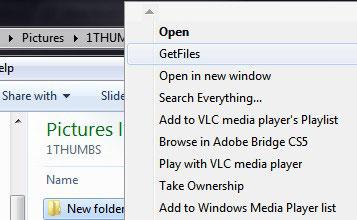
I called it “GetFiles” because that is the name of my script that I want to add to the folder context menu, but you can call it whatever you want.
6. Step Right-click on GetFiles folder and click on New -> Key again to create a subfolder called command
7. Step Select command and in the right pane double-click on Default and enter the path to your program. This can be Firefox, IE, Chrome, a bat file whatever you want:
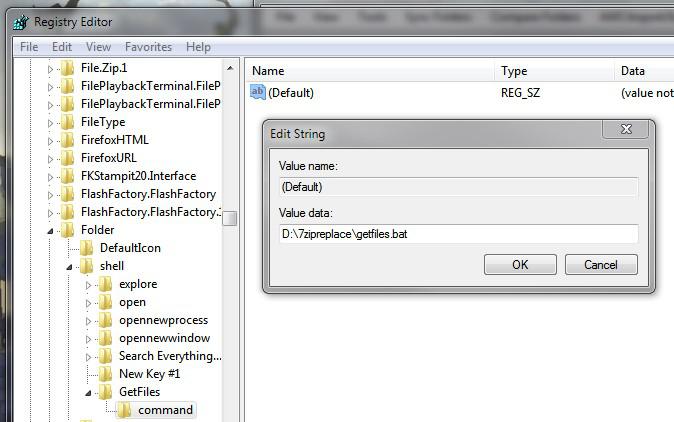
8. Step You should paste an existing path into the form or it won’t work, so double-check it!
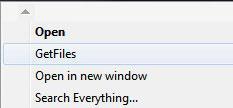
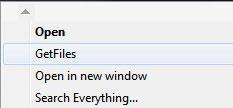
9. Step When done, open the explorer and you should see the newly added item as seen below:
If you have any questions, please post them below.
10. Step If you want to add a icon, click on the initial folder (in my case GetFiles) and in the right pane create an Expandable String Value with a path to a real .ico file
If you need more instructions for adding the icon, please read this: Add new items to context menu + icons