Do you want to disable Vsync, because it’s causing trouble? If so, here’s a short guide how you would disable it in Windows 7. On a sidenote, it’s also called vertical refresh. More after the break.

Well, since there are many graphic cards, I will only teach you how to disable Vsync for NVIDIA and ATI graphic cards. This should cover most PC’s, but obviously not all. If you have a different card, you’ll have to look into your manual.
Disable Vsync for ATI graphic cards (via CCC)
1. Step Open the CCC (Catalyst Control Center). Double-click on the red ATI tray icon in the right-bottom corner of your screen.
2. Step Check Advanced and click on Next

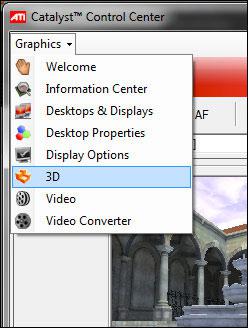
3. Step From the dropdown select 3D:
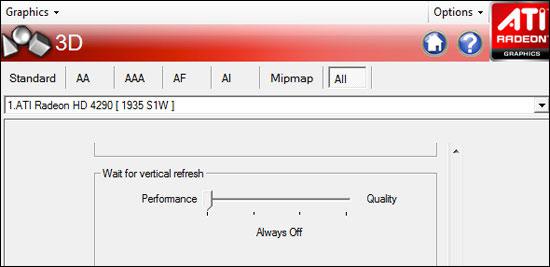
4. Step At the top go to the tab All, scroll down until you find Vertical refresh (that’s Vsync) and drag the bar to the left until it says Always Off:
Disable Vsync for NVIDIA graphic cards (NCP)
1. Step Right-click on desktop, click on NVIDIA Control Panel
2. StepUncollapse 3D Settings
3. Step Click on Manage 3D Settings
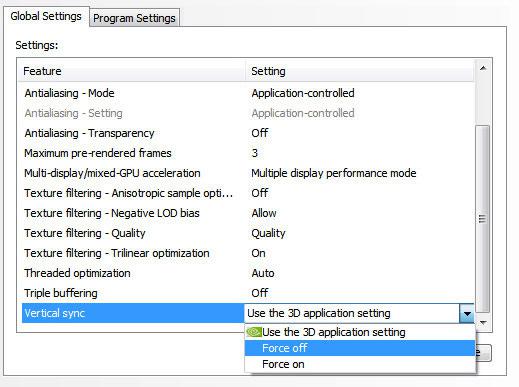
4. Step Scroll down to the bottom and click on the text Use the 3D application setting
5. Step From the dropdown select Force Vsync off (this will make sure that no applications can use Vsync and that it will be disabled even if a Vsync requires it)
Since the ATI and NVIDIA Control Panel tools are constantly updated this will be different in the future. If you can follow this tutorial step-by-step simply check out all the options in the Control Panel until you either find Vsync or Vertical Refresh.


Ok this covers NVIDIA and AMD, but how about Intel integrated graphics? Disabling DirectX vsync is quite difficult on those.
windows 7 is not ati or nvidia contol pannel nerd!!!! change the title of the post!!!!i have a sis mirage 3 and i cant turn it of and nobody tells how the do it
Come on! I was looking for disabling vertical sync in system, not in 3d games! It’s obvious that everyone who has brains can find an option in nvidia panel or catalyst! Give me something useful, not obvious, dear “professionals”.
I found a trick that works:
Change to a basic theme, then back to premade like United States, or Nature. Should put you in vsync.