Downloading and installing fonts is a simple task. Here’s a short how-to guide for everyone who’s interested in using some other fonts in Windows 7.
Download Fonts
1. Step First, download some fonts from the internet or copy them from a font library. You can download our font package here: Download Windows 7 Fonts.
Installing Fonts Automatically
2. Step Next, extract the fonts files into a folder, e.g. C:\Fonts\
3. Step Select all fonts that you want to install. Right-click on a font while the other fonts are selected:
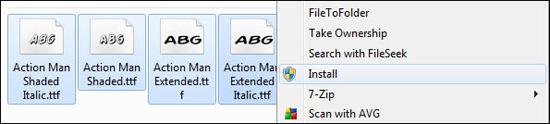
4. Step Click on Install
5. Step Confirm the UAC prompt
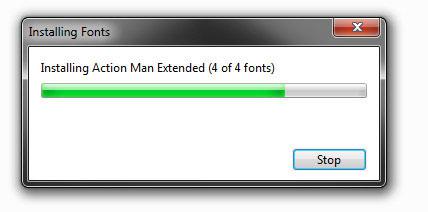
6. Step Wait while Windows 7 is automatically installing the fonts
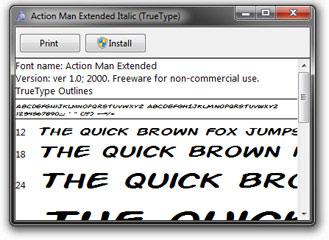
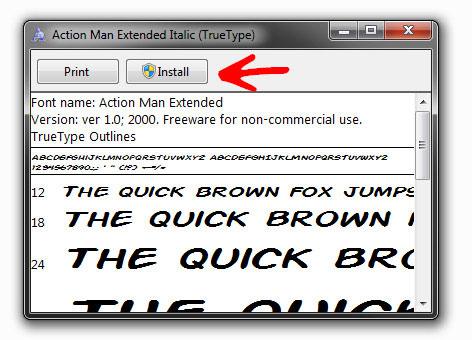
Tip: If you only want to install a single font on Windows 7, you can simply double-click a .ttf font file and click the Install button:
Installing Fonts “Manually”
There is another way to install fonts in Windows 7. It’s basically the manual way to install fonts.
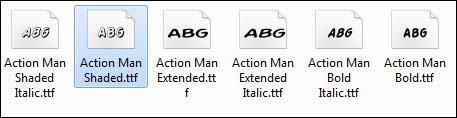
1. Step Open the folder with your fonts (typically .ttf files, true-type fonts)
2. StepSelect all fonts that you want to install or press CTRL + A to select all fonts
3. Step Copy them via CTRL + C
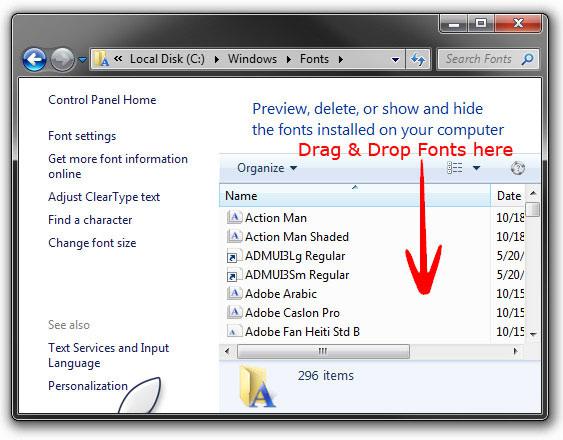
4. Step Open C:\Windows\Fonts
5. Step Hold down CTRL + V to copy and install all fonts. Alternatively you can also simply drag all fonts into the the folder and they will be automatically installed