In this guide I will take a look at the Raspberry Pi, one of the cheapest computers on the market and a great little tool to do all sorts of things.
Raspberry Pi has been around for a while, but there’s little promotion on Windows sites. I believe more young people should buy one to learn Linux and programming. It’s cheap, accessible and easy to learn and you have much to gain from getting into Linux.
Raspberry Pi: Linux, Linux, Linux
Learning Linux is something you should do, it will help you to cope with a lot of other problems you may have in the future at work or at school, including a better understanding of programming. Also, Ubuntu (one of the most popular Linux distributions) is free!
It’s also very easy to learn. I suggest you read everything about Linux packages and how Linux handles packages. Learn everything there is about RPM, apt, yum, pico, terminal, chmod, chown and sudo. Google those terms and you will already know more than most beginners who often give up after minutes of using Linux. Don’t stray off, it’s worth your time to learn this.
Getting into Linux is often the first step for many beginner developers and even entrepreneurs can benefit from it. Also, let’s say you’re studying biology or archaeology, you won’t believe how extremely helpful it will be with your work if you know a little about programming and it is often expected.
Personally, I got into Linux when I first started programming and it helped me a lot to understand how computers worked. It’s also extremely helpful if you intend to run a website, because someone has to manage the server a website is hosted on. 90% of all servers run Linux (OK, I’m exaggerating probably), quite commonly a distribution called CentOS.
What You Need: Motherboard, Case, HDMI Monitor/Cable, NOOBS SD Card
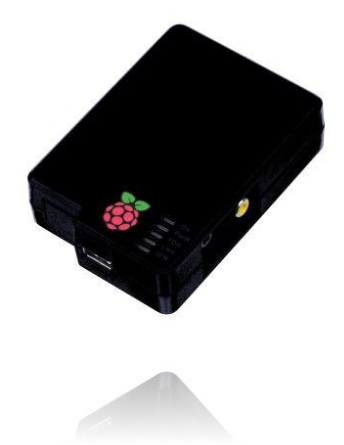
1. The Motherboard.
This is the key component. On this small board you get a sophisticated little computer that you can use for all sorts of things, including office work, streaming, coding and more.

2. Recommended: A Case.
To protect your motherboard you should get a case. This is not necessary and many hackers use solely the Raspberry Pi motherboard and hook them to their external drives and devices.
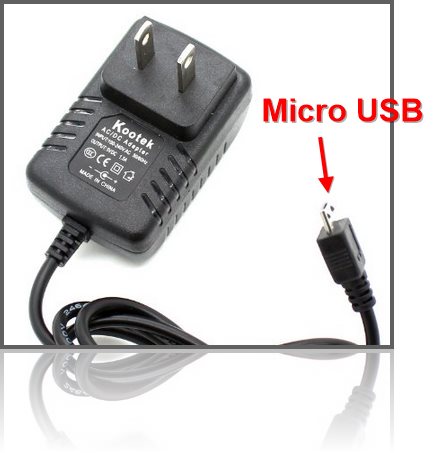
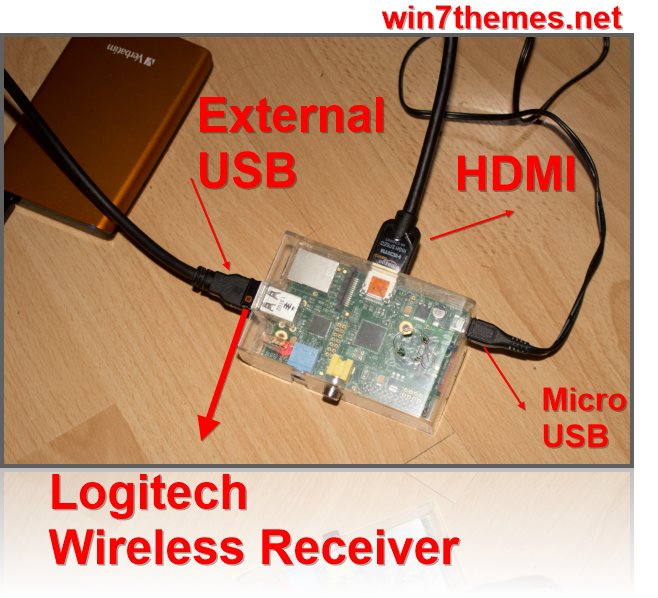
3. A Power Supply Micro USB Charger.
Raspberry Pi’s use a 5V Micro USB Charger. You may have one of those chargers if you own a decent smartphone, but if you don’t you need this.
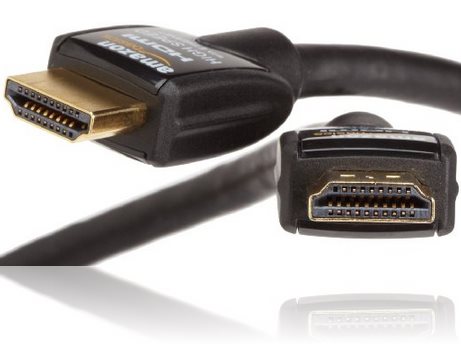
4. A HDMI monitor and cable.
Raspberri Pis work best with HDMI monitors and cables.
5. A NOOBS SD Card (8-32GB)
. Although you can install your own operating system, it is easier to get a preloaded NOOBS card to get started right away. NOOBS cards can include up to 6 operating systems at once. For 12 bucks! So, if you have no time to waste, get the full NOOBS card.
6. Recommended: An External USB! Hard Drive.
Although the SD card can store some of your files, it is obviously recommended to have an external hard drive that you can then plug in via USB (regular USB, not Micro)
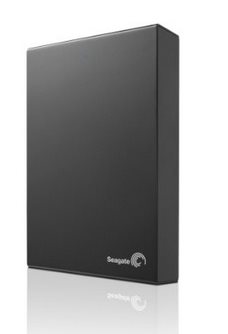
A good drive is the Seagate Expansion 2TB drive. It’s cheap and reliable:
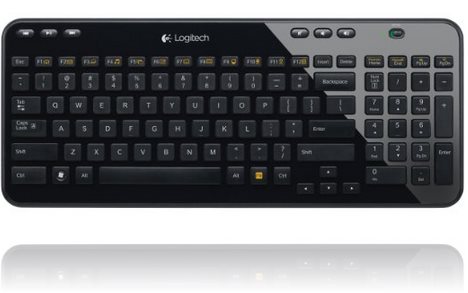
7. Recommended: Wireless Logitech keyboard (e.g. K360)
Putting It All Together
Once you have everything, you can start putting it all together. First, open the case. You may need a screwdriver for this, they can be quite difficult to open. Add the motherboard and close the case. Make sure it fits nicely before closing it. Put the NOOBS card into the SD card slot and connect the remaining USB and HDMI cables.
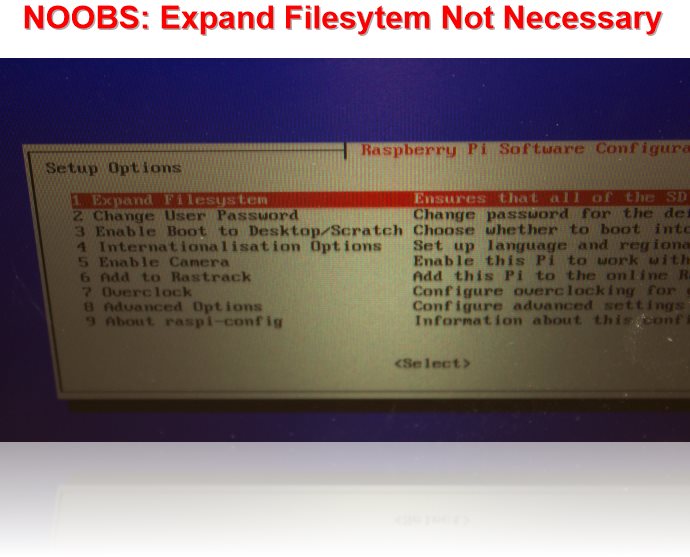
1. Step If you have a NOOBS card, you don’t need to expand the filesystem as some sites recommend, skip this step, select Finish on the first screen to boot your new Raspberry!
2. Step After selecting Finish, you are dropped off at the Linux terminal. You’re now ready to go. However, you may want a little GUI as well instead of a simple terminal only to test out the Raspberry Pi graphic capabilities.
Logging In
3. Step So, enter: sudo su – root and hit Enter to switch to the root user (apparently the default user doesn’t have permission to perform this operation). Now, enter REBOOT into the terminal and hit Enter once more. Great, it’s now rebooting. You can also simply enter sudo reboot next time to save some time, but I wanted you to learn to switch to the root user which is always handy to know :)
4. Step Now hold SHIFT while you boot and you will get a bunch of operating systems to choose from. Feel free to experiment with all OS’s. If you are a beginner, it is recommended you start with Raspian. Raspian is based on Debian and is specifically optimized for the Raspberry Pi.
Things To Know: Raspian Default Password and User
When you start Raspian you may be asked for a username and password.
- Username: pi
- Password: raspberry
On some cards it may be REVERSE: Username raspberry and Password Pi!
Video Guides
Watch this video as well:
You can do all sorts of things with a Raspberry Pi like setting up a webserver, streaming, programming, tinker with LED’s. It’s a very cool tool to quickly learn a lot about tech and get into the world of programming.

