

To add new tiles we first need to know what this new tile is supposed to launch, e.g. to create a shutdown tile we obviously need a shortcut to the shutdown process.
1. Step Create a desktop shortcut to whatever you want to add to the Metro desktop. If you do not know how, read the tutorial how to create new shortcuts in Windows 7,8
2. Step Once you have a shortcut on your desktop, open up the Windows 8 explorer by hitting Windows-key + E.
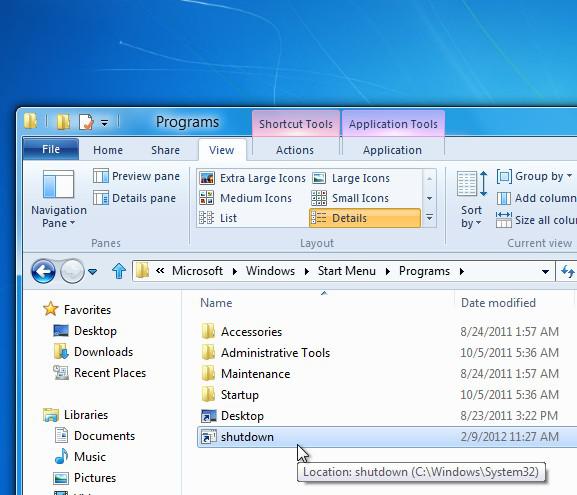
Browse to C:\Users\yourusername\AppData\Roaming\Microsoft\Windows\Start Menu\Programs
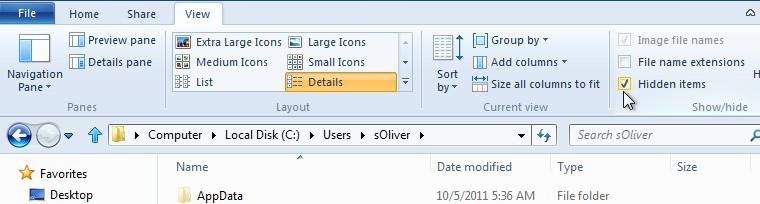
To see this folder you have to make sure to unhide hidden files and folders first as seen below:
In the folder Start Menu\Programs all user tiles shortcuts are stored. You will find various subfolders here, but that doesn’t matter for now.
4. Step You can now drag the shortcut from your desktop into that folder:
5. Step When that is done, click on Start and then Search
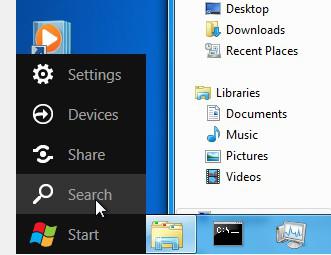
6. Step Click on Apps at the bottom of the right sidebar to search for apps
7. Step Do not enter anything, instead browse the apps screen and find the letter R-S for Shutdown (if you gave your shortcut another name e.g. Exit then you will have to look for letter E)
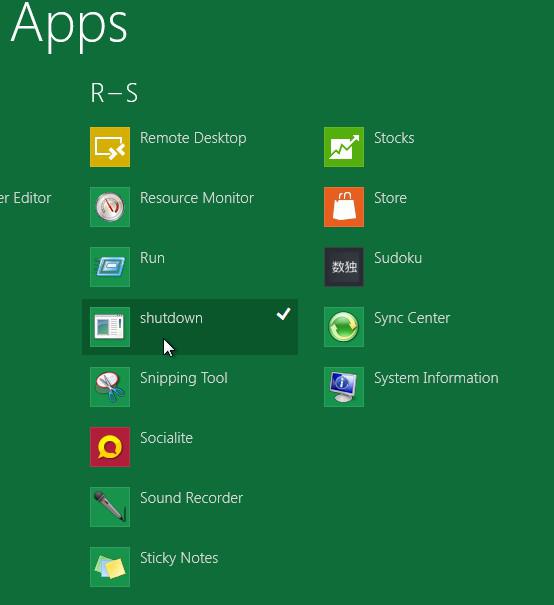
8. Step Click on the shortcut to pin this as a new user tile
9. Step Finally, you have successfully added a new user tile to your Windows 8 metro desktop! It’s added to the very right end (scroll right on the Metro desktop)
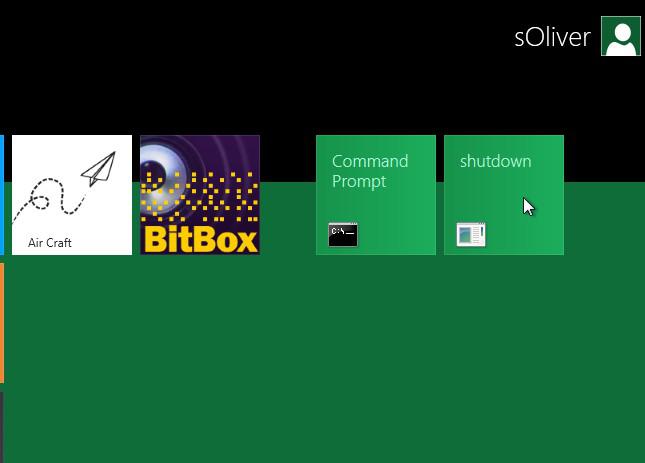
10. Step You can now click on the user tile, hold down the mouse button and drag it to the left so it will be amongst the first user tiles of the desktop if you don’t like it at the very end