Glares can be annoying, then it’s good to know how to get rid of them in Photoshop.

Steps to get rid of glare in photoshop
1. Step Open Photoshop program. Click on Start and type ‘photoshop’ in Search programs and files and press Enter. Alternatively, you can also open the Photoshop by clicking Start >> All Programs >> Adobe Photoshop

2. Step Open the image which has a glare on it. To open image, click on File >> Open

3. Step In the opened “open dialog box” locate and select the image you want to open. Then click Open
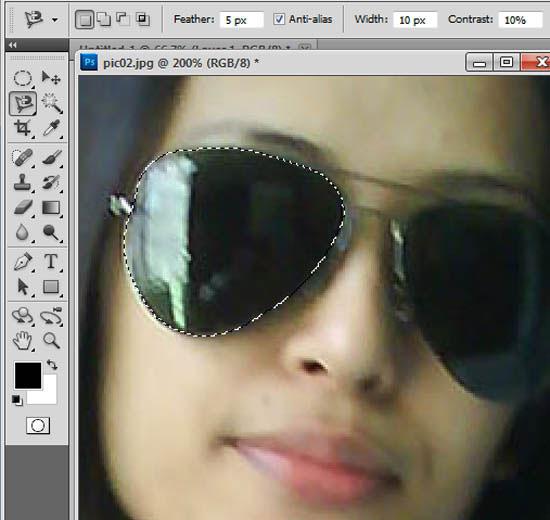
4. Step Click on the Magnetic Lasso Tool (Shortcut – L), put Feather = 5 in the option bar and make selection around the shade (spect).
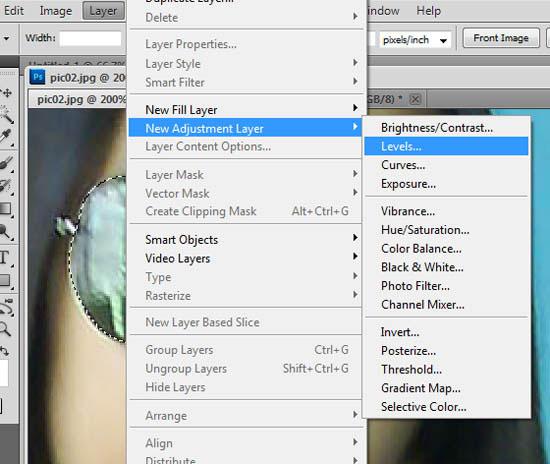
5. Step On the menu bar, click on the Layer >> New Adjustment Layer >> Levels
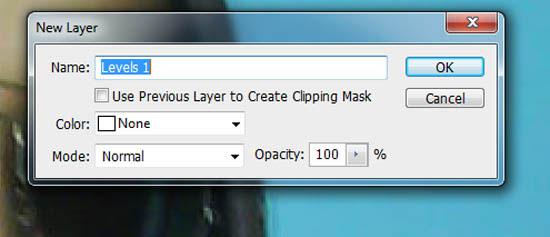
6. Step Click OK
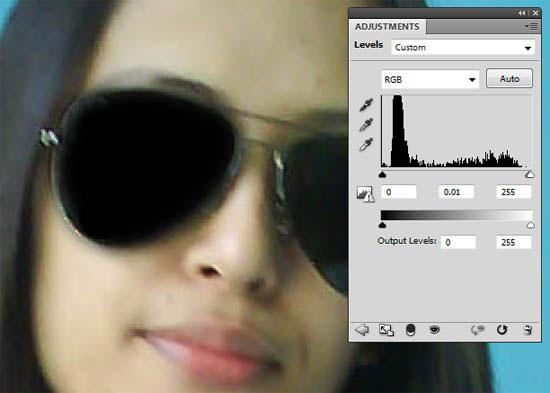
7. Step Now in the Adjustments Palette, put midtone (middle) value = 0.01. If you dont see your Adjustments palette then click on Window >> Adjustments to show it.
8. Step Repeat the same process for another eye’s shade (spect). Repeat from Step – 4 to 7. That are the complete steps to get rid of glare in Photoshop

You might have noticed unnecessary glare in some pictures. You might want to remove it to make it more attractive. Try steps given with this tutorial to easily remove glare in Photoshop.