
Some of you might use SSD’s by now and want to know how to move the “My Documents” folder. Moving system folders can be a lot of trouble, but in Windows 7 it’s really easy!

Via Explorer
1. Step Open up the Explorer (Windows Key + E)
2. Step Uncollapse the Documents folder to see the folder My Documents in the sidebar: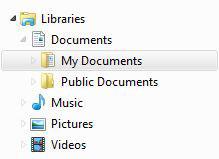
3. Step Right-click on the folder My Documents and click on “Properties”
4. Step Go to the tab “Location”:
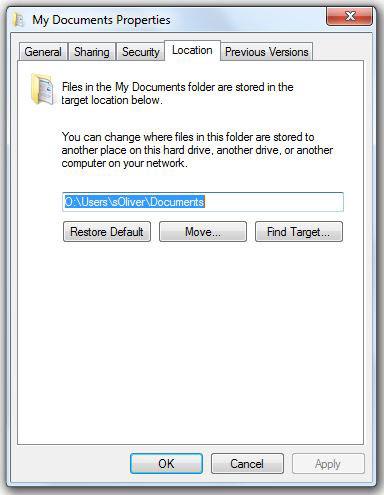
5. Step Click on the button Move:
![]()
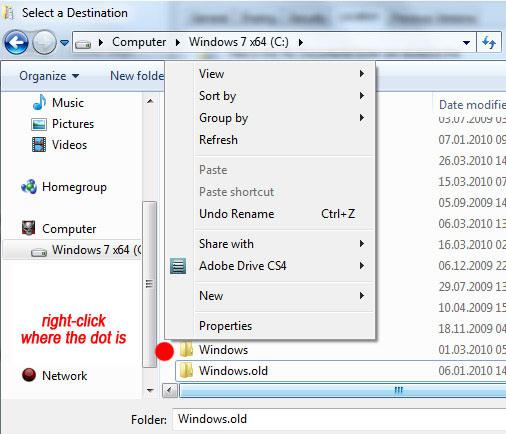
6. Step Navigate to the folder where you want to move your “My Documents” folder to.
If you haven’t created the folder yet, don’t worry. Right-click just left of the folder list and click on “New” – “Folder” to create a new folder, e.g. Documents. Finally, click on Select Folder!
7. Step After clicking on Select Folder in (6) we’re back on the folder location screen. Eventually, to move the My Documents folder, click on Apply:
![]()
8. Step Confirm the prompt with yes if you are sure that you want to move the My Documents folder:
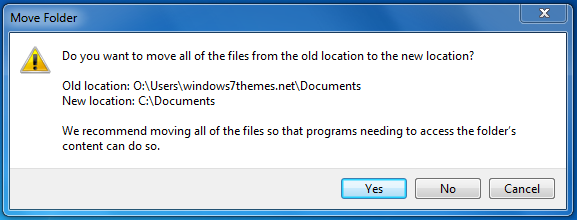
9. Step Done. No matter how you named the folder, the folder will now appear as My Documents: