I wanted to show you the OCZ Vertex 2 in pictures and give you some additional recommendations before you buy a SSD.

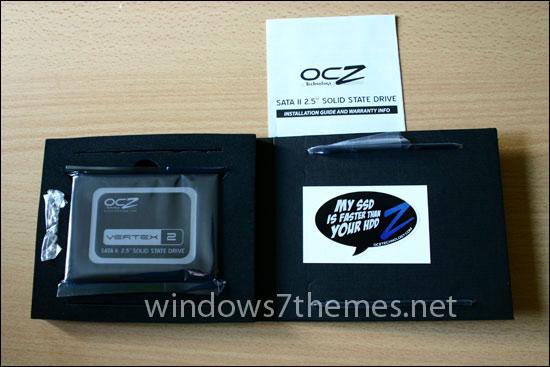
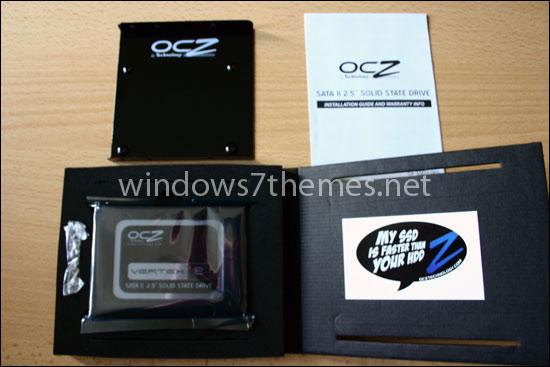
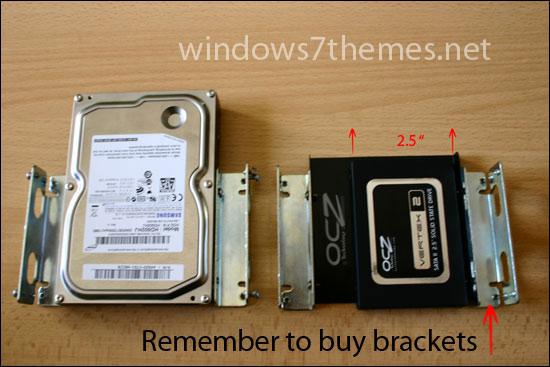
First, let’s take a look at what we get for $120. We get the SSD drive (in this case a 2,5″ OCZ Vertex 2), the warranty, an OCZ sticker and a 3,5″ adapter for desktops, including 4 screws.
Here’s a picture with the 3,5″ adapter that we’re going to use now:
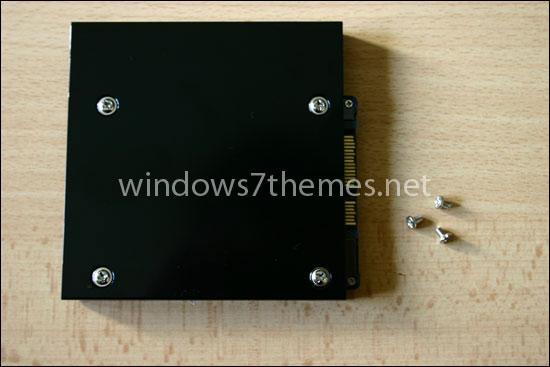
After putting it all together, you’ll have a nice 3,5″ SSD for your desktop, that you could theoretically also use for your laptop.
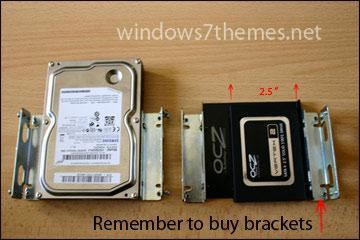
Unfortunately for me, I needed some additional brackets for my computer case. Let’s take a look at the end result:
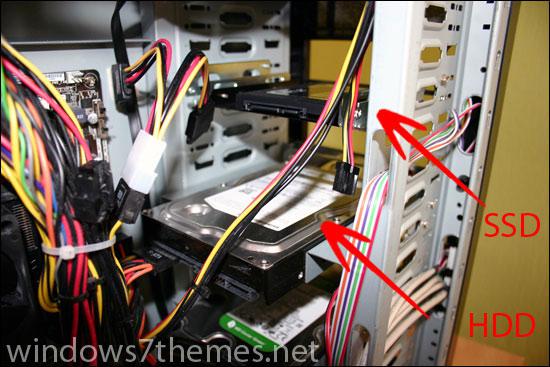
Ok, time to get this going! I recommend to keep a distance of 1 slot between each hard drive. Overall, I now have 3 hard drives in this PC and one SSD. The SSD with the OS and the main programs is at the top, then there’s my main drive with all other files, then a “green” backup drive and another backup drive at the bottom for the main drive (no, I don’t use RAID).
The OCZ Vertex 2 has a nice WEI score of 7.1 in my system:

I still have to do some benchmarks for the SSD. So stay tuned for some benchmarks of the OCZ Vertex 2.
Tip: Make sure to read our SSD optimization tutorial and buying guide before you use/buy a SSD.