The Aero feature does not work on all Windows 7 or 8 PC’s, but you can force enable Aero to enjoy the best Aero themes from our site!
What is Aero?
Windows Aero feature was first introduced with the release of Microsoft Windows Vista. With the help of this feature Windows provides a glassy look of all menus and boxes. This glassy transparent look adds eye soothing beauty to the interfaces offered by Microsoft Windows. However sometimes Windows Aero is not by default enabled and even if it is manually enabled by the users it doesn’t work at all. In such cases Windows administrators are required to force enable this feature from Windows registry.
Same is the case with Microsoft Windows 8 in which if you want to force enable Windows Aero feature through registry are required to follow the steps given as below:
1 Logon to Windows 8 computer with administrator account.
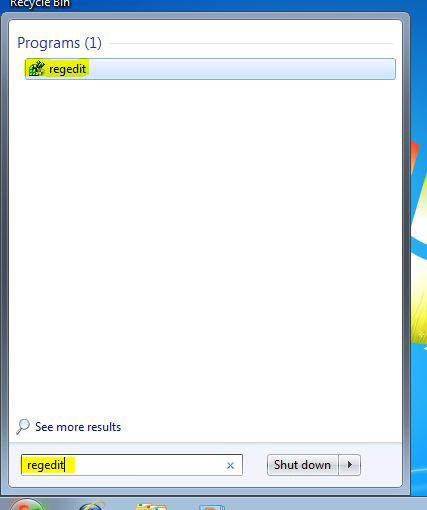
2 Press Windows + R keys simultaneously to initiate Run command box.
3 In the available field in the box type in REGEDIT command and press enter key.
4 On User Account Control box click on Yes button to confirm.
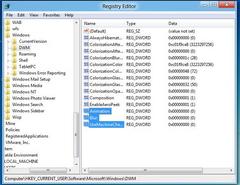
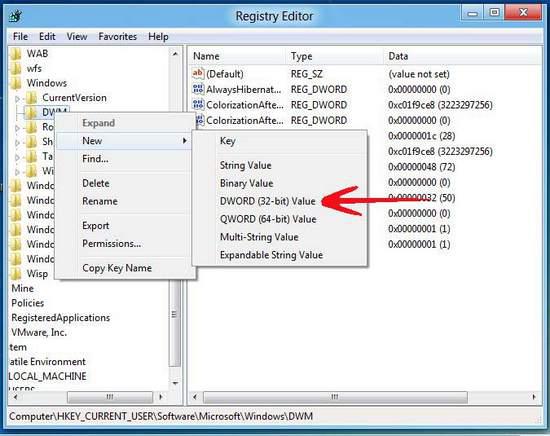
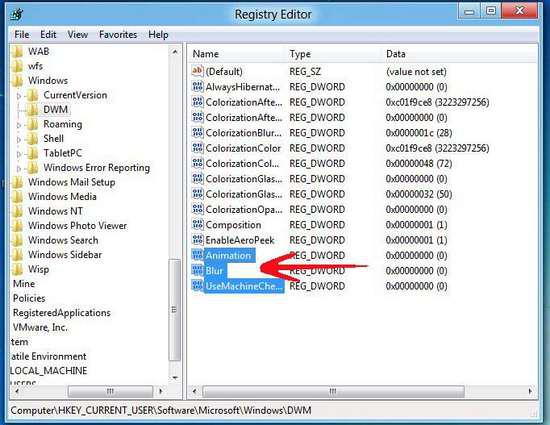
5 On Registry Editor Window go to HKEY_CURRENT_USER\Software\Microsoft\Windows\DWM from the left pane.
6 Once selected, right click anywhere in the right pane and go to New.
7 From the appeared submenu click on DWORD (32-bit) Value.
8 Rename the new DWORD (32-bit) Value as UseMachineCheck and double-click on it to set its value as 0.
9 Repeat steps 6 and 7 for two more times to create Blur and Animations DWORD (32-bit) Values and set their values as 0.
10 Once done, close Registry Editor Window.
11 Restart your computer to allow the changes to take effect.
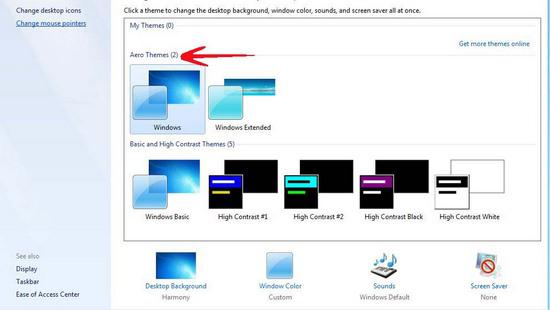
12 Once the computer is restarted you can now go to Personalize option to apply Aero Theme.