
Did you take some photos with your new digital camera only to notice that all people have red eyes? In Windows Vista, you were able to remove red eyes via the Windows Photo Gallery. The equivalent in Windows 7 is the Windows Live Photo Gallery, which you have to download from Live.com.
Download & Install Windows Live Gallery
1. Step So, to remove red eyes in Windows 7, you’ll first have to download the new Windows Live Photo Gallery. Do that here:
Download Live Gallery
2. Step Next, open Windows LIVE Photo Gallery: Start -> All Programs -> Windows Live -> Windows Live Photo Gallery
Find and Fix Red Eye Photo
3. Step Find your photos via the built-in file browser.

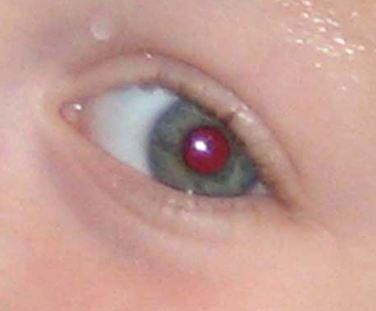
4. Step Select the “red eye” photo and click on “Fix” at the top.
![]()
Save Red Eye Photo as TIFF
5. Step If you receive the error “Windows Live Photo Gallery can’t fix this photo because of its file format”, then you will have to save the image as a TIFF. To save the image as a TIFF, proceed with step 6.

6. Step Click on “File” and select “Make a copy..”. Then save the photo as a TIFF, you can select this option from the dropdown field:

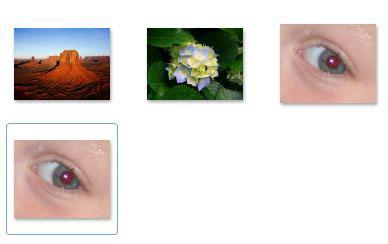
7.Go back to the gallery:
![]()
8. There you will find two of the red eye photos now:
9. Step Double-click on the last image. Now you can fix the photo and remove the red eyes:

Finalize: Remove Red Eyes
10. StepDraw a rectangle around the red eyes:
11. Now, the red eyes are removed and you can save the photo now.
The final result, could look like this:
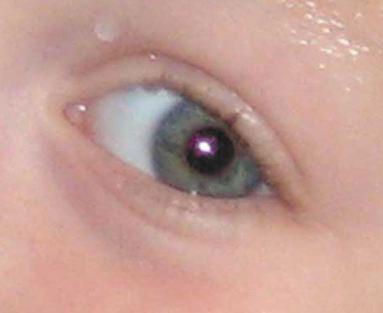
Unfortunately, the Windows Live Photo Gallery is not the best tool to remove eyes, so the result won’t always be that good. If you want to do it professionally, you should try removing the red eyes with Photoshop. If you want to learn more about Photoshop, get this free tutorial: Learn photoshop online