To remove system tray in windows 7, follow the steps provided in this tutorial.
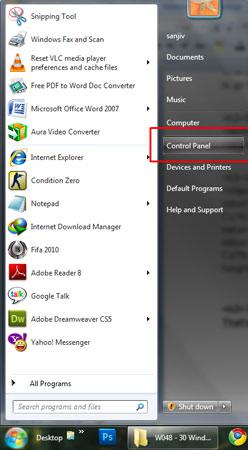
1. Step Click on the Start and Control Panel.
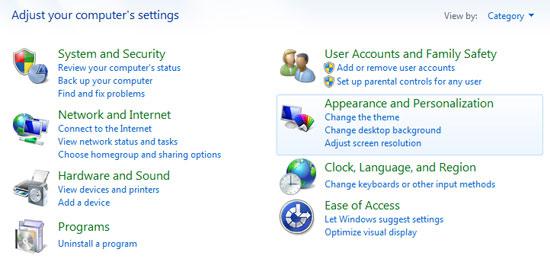
2. Step Click on the Appearance and personalization.
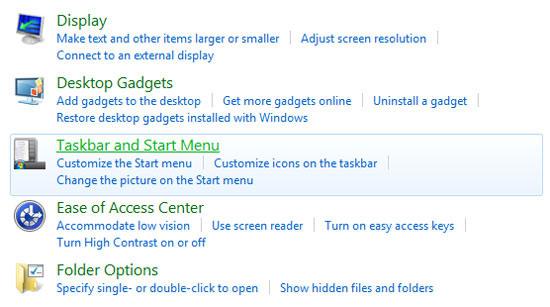
3. Step Click Taskbar and Start Menu.
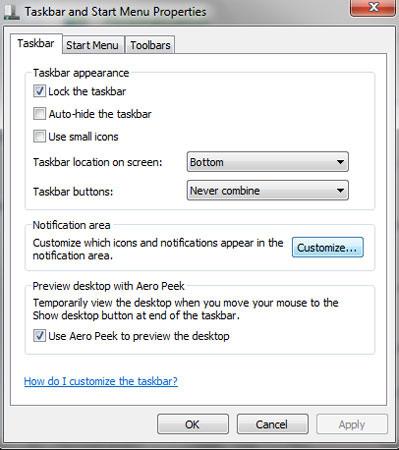
4. Step In the opened Taskbar and Start Menu Properties window, click Customize.
5. Step Now in the Notification Area Icons window, set all icons Behaviors to Hide icons and notifications. You have to select Hide icons and notifications from the drop down for all the icons and lastly click OK

6. Step Finally you will see the system tray icons removed from your task bar. Alternatively, we can also remove system tray by editing registry entries.

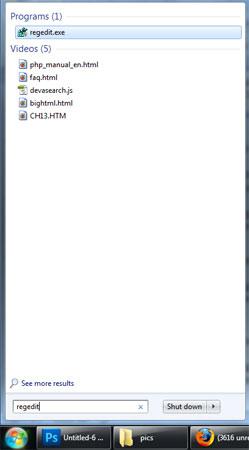
7. Step To remove system tray by editing registry entry, first click Start and type regedit in the ‘Search programs and files text box and press enter..
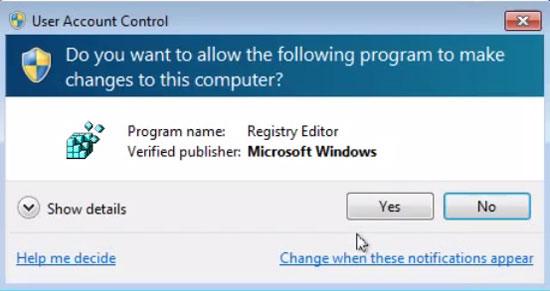
8. Step If you are asked for user access control then click yes.
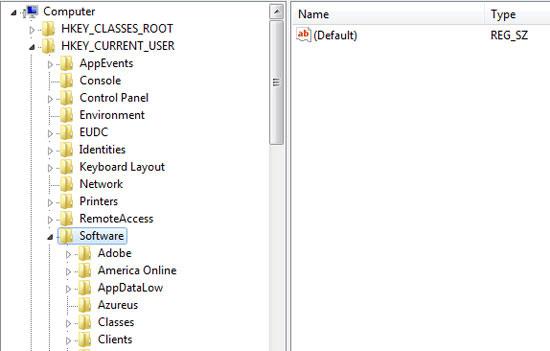
9. Step In the Registry Editor, Expand HKEY_CURRENT_USER and then Software by clicking on its expand icon located at its left.
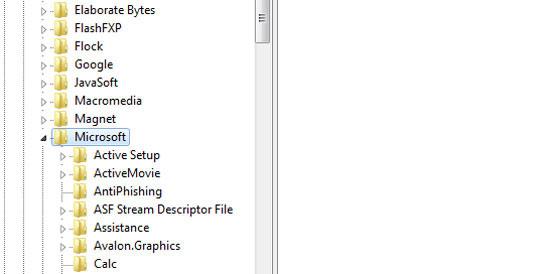
10. StepNow, expand Microsoft.
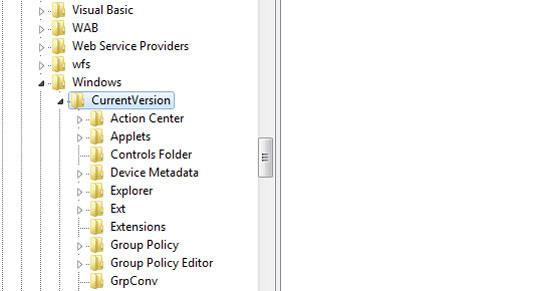
11.Under Microsoft, expand Windows and under Windows expand CurrentVersion.
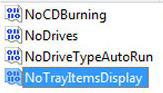
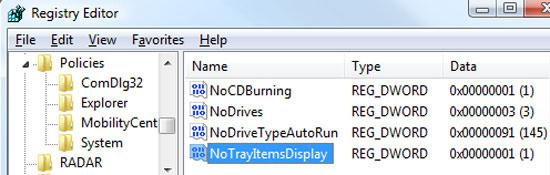
12.Finally inside CurrentVersion navigate to Policies and inside it, you will see Explorer. To it’s right side, there is NoTrayItemsDisplay. Double click on it. Change the value to 0. That are the complete steps to remove system tray in Windows 7 by editing registry entry. Please note, in some computers this might be missing. In that case just try to remove system tray icon with the steps provided in Steps 1 – 6.
Videos
Conclusion
You may be annoyed by seeing lots of icons in your system tray. You might want to turn it off.