If you have assigned too much space to a partition, you might want to undo that and shrink it to a smaller size.
How would you do that? It’s not complicated, but it will take a few minutes to shrink your partition.

Shrink Partition via Disk Manager
1. Step Open the Windows Explorer (Strg+E)
2. Step Right-click on “Computer” and click on “Manage”
3. Step Uncollapse “Storage” and click on “Disk Management”
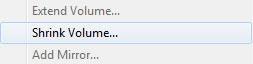
4. Step Right-click on the partition that you want to shrinkg and select “Shrink Volume”
5. Step Get a cup of tea or coffee and wait a few minutes..
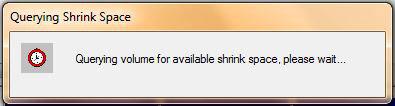
6. Step Windows will now calculate how much space you can shrink. Of course, there are some unmovable files that’s why you can’t shrink all of it.
7. Step Enter the amount of shrink space.
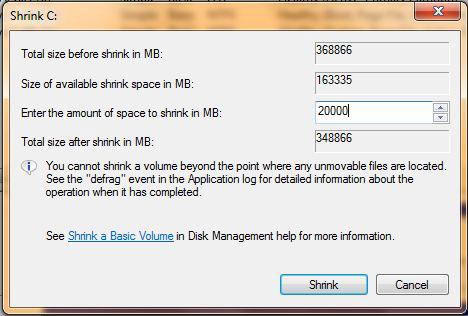
If you want to shrink your partition by 20GB, you can simply enter 20.000 and Windows will then automatically shrink your partition. Well, 20.000MB is not 20GB, but it’s close. If you want it to be exact simply multiplicate the amount of GB with 1024.
Example: 20*1024 = 20480 MB
Allocate new space
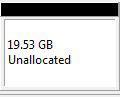
You can now create a new partition, using the unallocated space, e.g. you could create a 10GB partition for another OS:
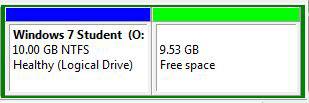
(picture: Allocating space for Windows 7 Student Edition)