 If you are new to Windows 8 and wondering how to get the Skype app and have it sit right on your Start screen for easy access follow this quick guide for beginners
Open the Windows 8 store and install Skype app properly
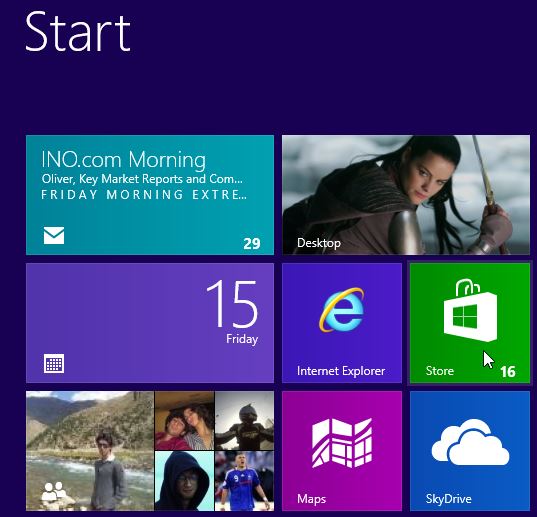
1. Step Open the Start screen by hovering over the left corner of your screen
2. Step Click on the store tile and if you are on a desktop PC use the mouse wheel to move to the right. If you’re on a tablet, use touch gestures to go to the right
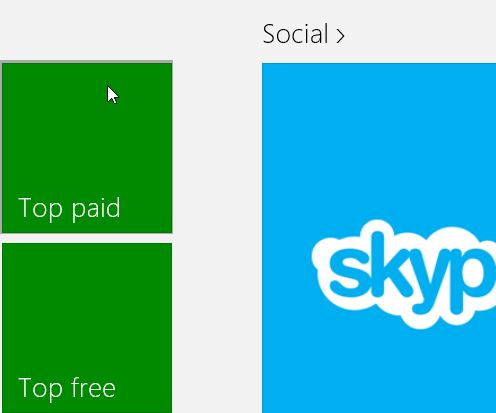
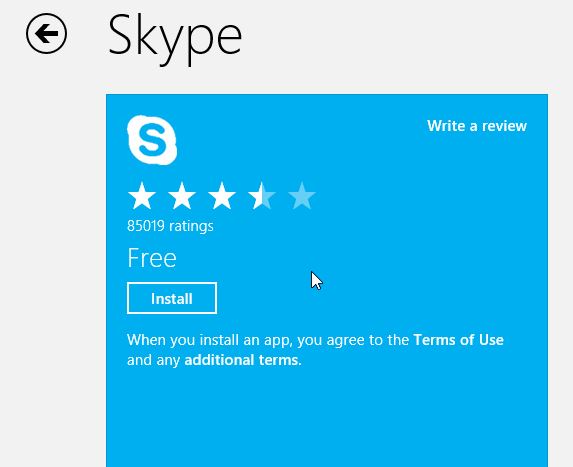
3. Step Click on Skype listed under Top Social apps and click the Install button
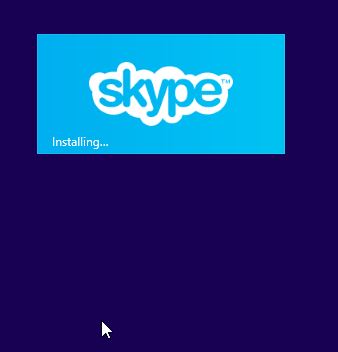
4. If you open the Start screen now and go to the very right using gestures or the mouse wheel you will see that Windows 8 is downloading and installing Skype right now
5. Step You will get a message that Skype was installed and it now sits on the far right. Obviously you may want to move the title to beginning for easy and quick access

6. Step Click on the tile and HOLD the left-mouse button and then move the mouse to the left while holding the button. If you are on a tablet, hold your finger on the tile and make a moving gesture while holding your finger glued to the tile (don’t let go or it will drop the tile)
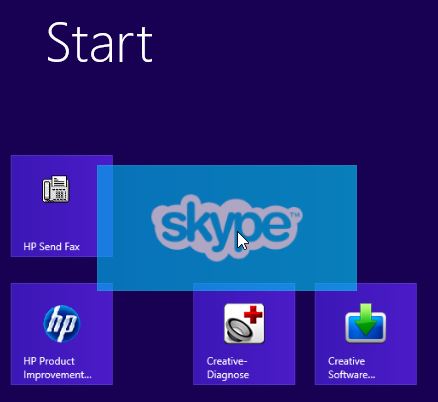
7. Step Move the tile around until you found a good spot, it will neatly snap to the existing grid on your Start screen – handy!