
(Guest Post) Follow the steps provided in the tutorial to whiten teeth in Photoshop.
Steps to whiten teeth in photoshop
1. Step Click Start >> All Programs >> Adobe Master Collection CS3 >> Adobe Photoshop CS3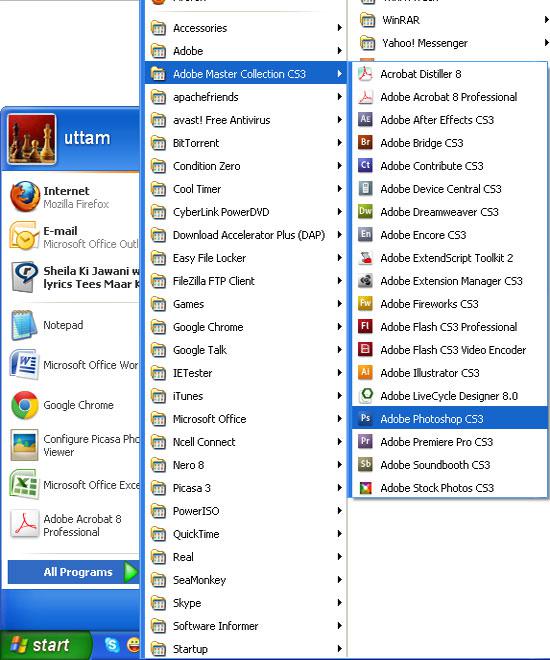
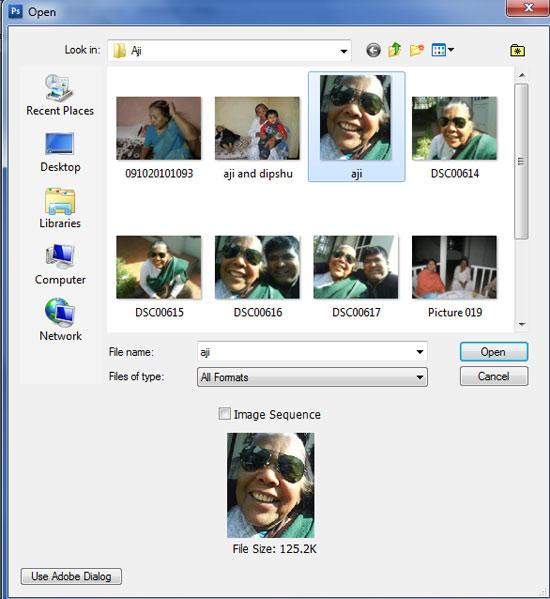
2. Step Click File >> Open and select the file you want to open and click Open.
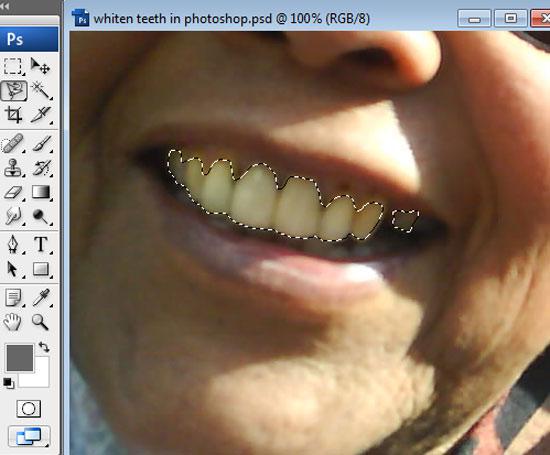
3. Step Select ‘Magnetic Lasso Tool’ (Shortcut – L) and make selection around the face where you want to change the skin color. ‘Zoom In’ your picture to zoom to your teeth portion so you can make selection easily. To ‘zoom in’ click View >> Zoom In (Shortcut – Ctr ++)
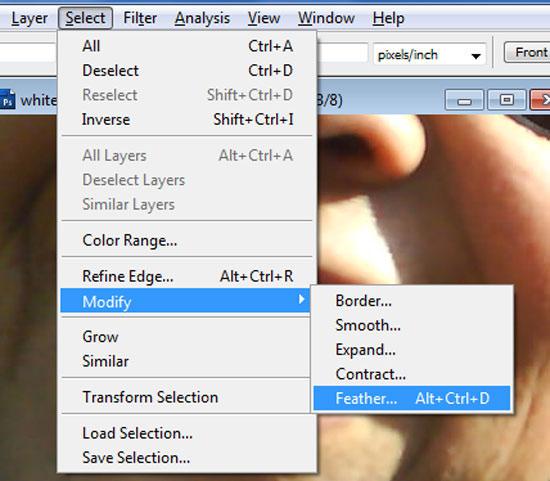
4. Step After making selection, add a little feather to the selection. To add feather, click Select >> Modify >> Feather and in the opened box, put Feather Radius = 3 pixels and click OK.
5. Step Add an adjustment layer. To add, click Layer >> New Adjustment Layer >> Hue / Saturation.. And click OK twice. Alternatively, you can click Create new adjustment layer icon in layer palette.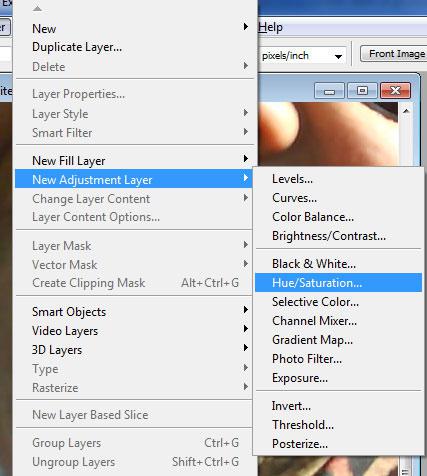
6. Step In the opened Hue / Saturation window, put Saturation = -60 and Lightness = +20.. And click OK.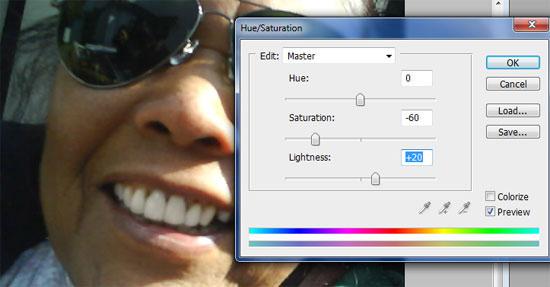
Video
Conclusion
You might be feeling bad to see your teeth yellow in your favorite picture. Now what to do? You can go back, brush your teeth and take the same picture again. The best option over here is to whiten your teeth.
TOP: Download our Photoshop sample files below for this tutorial and many others:
- Download How To Resize Image In Photoshop
- Download How To Age Photo In Photoshop
- Download How To Blend Images In Photoshop
- Download How To Whiten Teeth In Photoshop
- Download How To Create Fire In Photoshop
- Download How To Resize Image In Photoshop
- Download How To Create Button In Photoshop