You want to write Korean, Japanese and Chinese in Windows 7? Learn more after the break.

Steps to write Korean, Japanese and Chinese in Windows 7
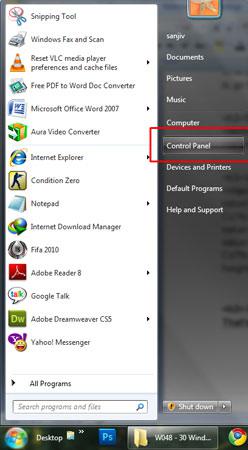
1. Step Click on the Start and Control Panel.
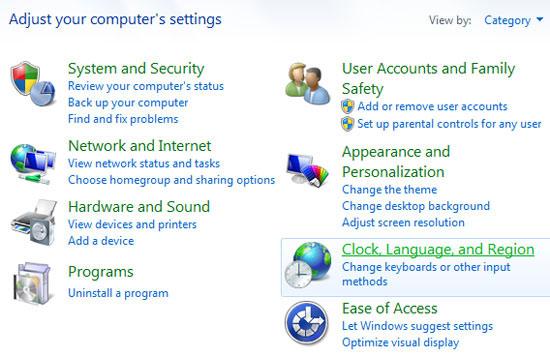
2. Step Click on the Clock, Language, and Region.
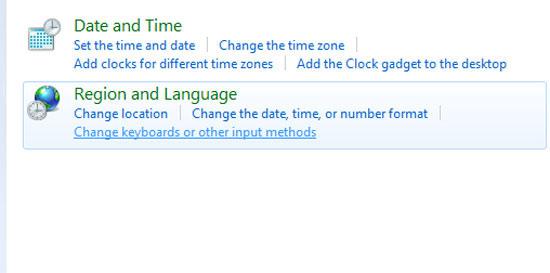
3. Step On the next window, click on the Change keyboards or other input methods.
4. Step In the opened Region and Language window, click Change keyboards.
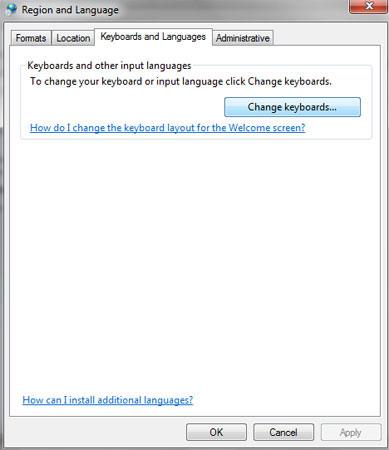
5. Step Then click Add in next window.

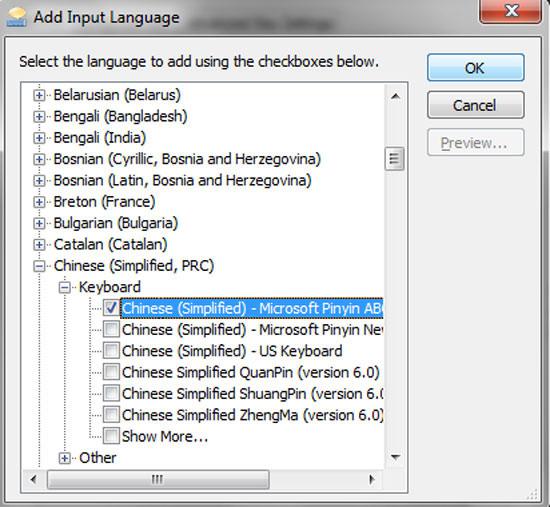
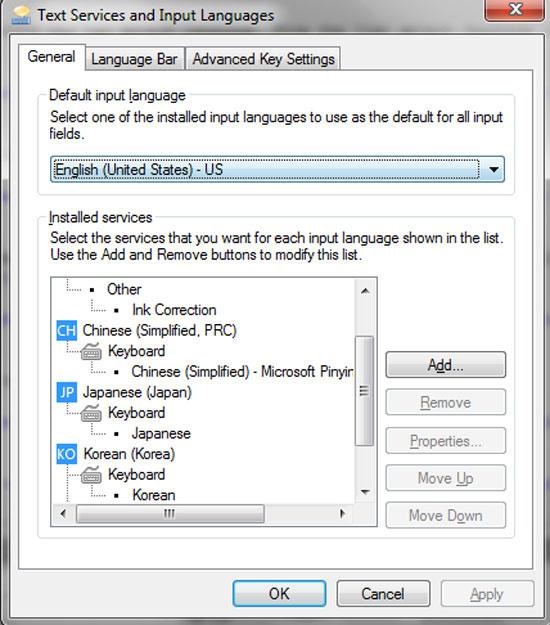
6. Step After you click Add, a window opens where you can select language. From the list select Chinese >> Keyboard >> Chinese (Simplified) – Microsoft Pinyin ABC Input Style and Click OK and then Apply.
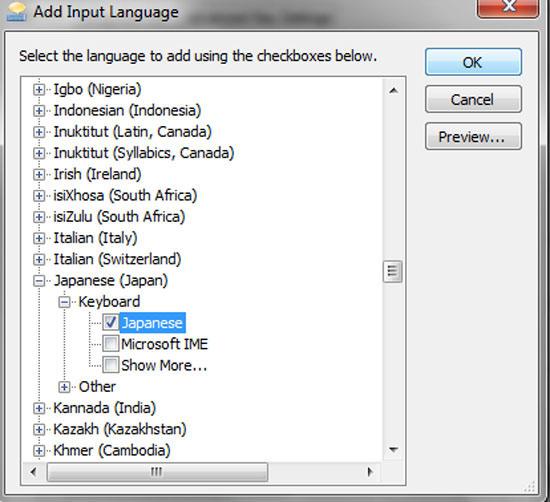
7. Step Again to add Japanese language, click Add.

8. Step Again window opens where you can select language. From the list select Japanese >> Keyboard >> Japanese (Japan) and Click OK and then Apply.
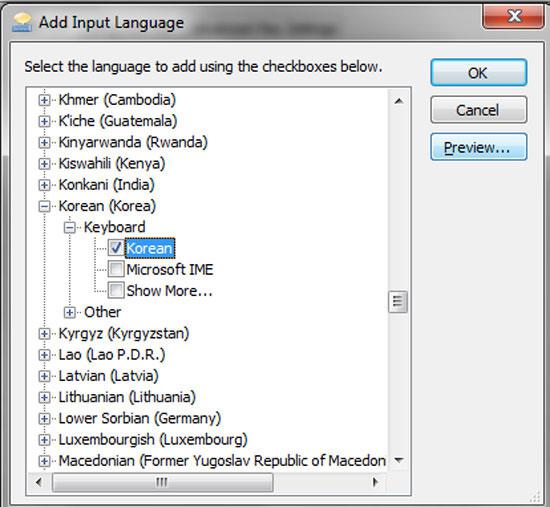
9. Step Finally to add Korean language, click Add.

10. Step A window like in step – 6 and 8 opens, where you can select language. From the list select Korean (Korea) >> Keyboard >> Korean and Click OK and then Apply.
11. As you can see all three languages are installed. Finally click OK.
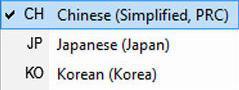
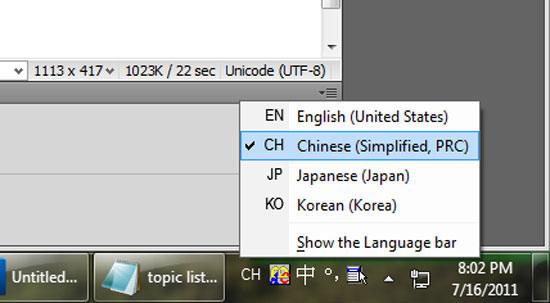
12. Now in your task bar at the bottom right of the Windows 7 screen just left to clock, you will see the Language bar. Click on the EN icon and in it’s drop down you will see the list of languages you have just installed.
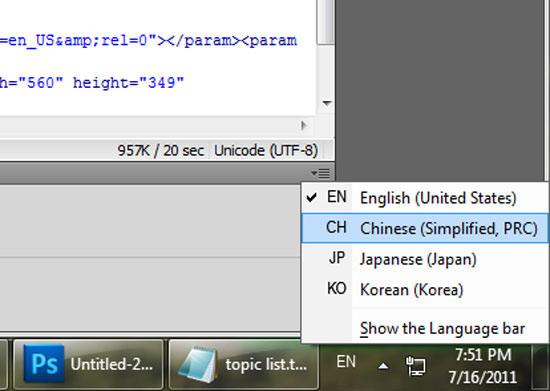
13. Select the language you wish to use by clicking on it and start typing in your language. That are the complete steps.
Writing in Korean or Japanese or Chinese in Windows 7 is easy. Follow the steps to add these language to your Windows 7.