
Uttam has written a great tutorial for all Photoshop addicts that explains how to feather in Photoshop. Read on!

If you’re really into customizing your PC’s, you should also learn how to use Photoshop, because it opens up a lot of new ways to customize everything. This tutorial is intended for beginners, if you have used Photoshop before, then this shouldn’t be new
Here’s how we can feather edges etc.
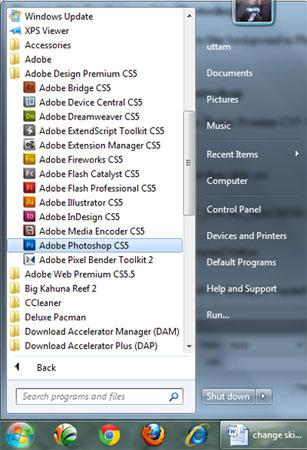
1. Step Open Photoshop program, click on the Start >> All Programs >> Adobe Design Premium CS5 >> Adobe Photoshop CS5.
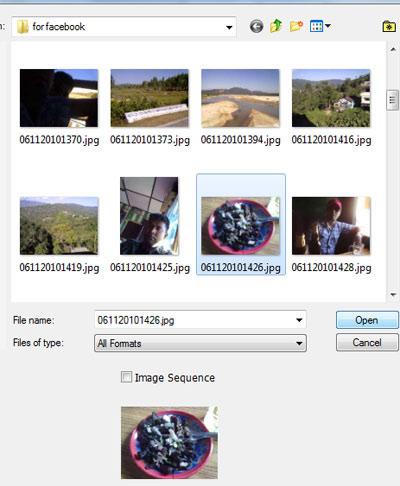
2. Step Open the image that you want to feather and want to have a more softer appearance. To open the image, click on the File >> Open and select the file you want to open. Then click on the Open.
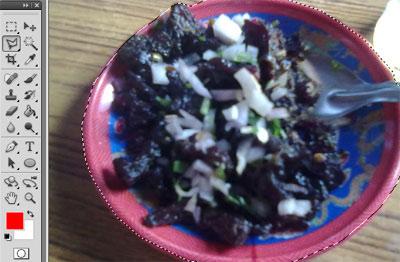
3. StepClick on the Magnetic Lasso Tool (Shortcut – L) and make a selection around the image. Pro tip: The polygon lasso tool requires some skills, but is a great tool to select an area
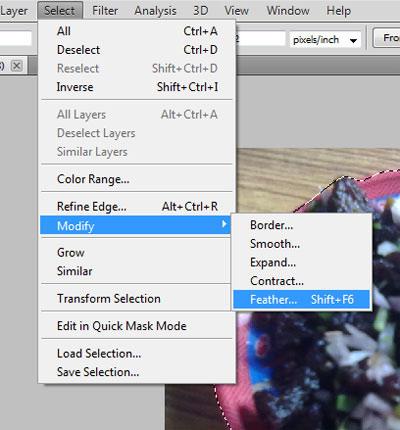
4. StepOn the menubar, click on the Select >> Modify >> Feather or just right click on the image and select Feather.
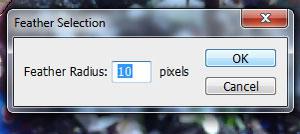
5. StepNext, increase the Feather Radius value to 10 pixels and click OK.
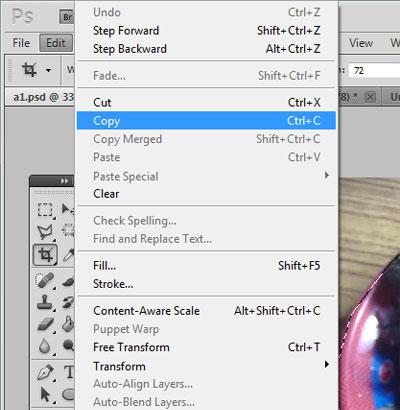
6. StepNow copy the selected image by clicking on the Edit >> Copy or just press Ctrl + C.
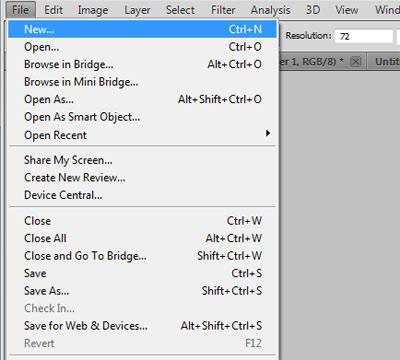
7. Create a new document by clicking on the File >> New and then OK.
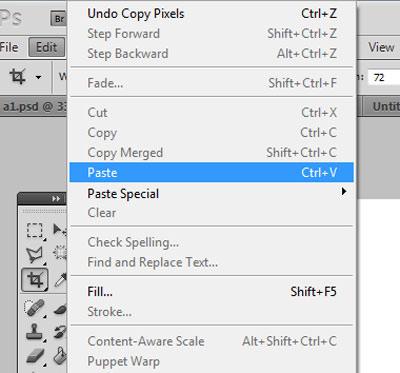
8. StepPaste the copied image. To do this, click on the Edit >> Paste or simply press Ctrl + V.
9. StepFinally, you will see the feathered image being pasted in the document. That are the complete steps.

Videos
Conclusion
Using the feather option in Photoshop will make the borders around an image softer which then blends into the background.