If you want to improve your sound quality, you might want to change the equalizer in Windows 7. Here’s how.
Steps to change equalizer on Windows 7
1. Step Click Start >> All Programs
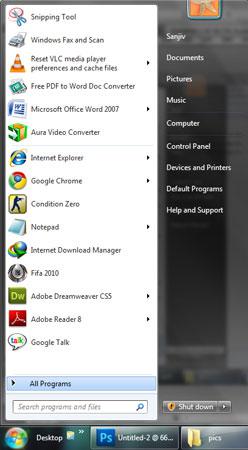
2. Step Click on ‘Windows Media Player’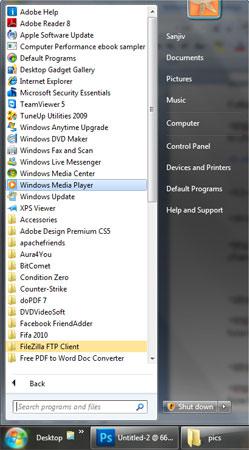
3. Step Now that the Windows Media Player is opened, click on ‘Switch to Now Playing’ icon located at the bottom right.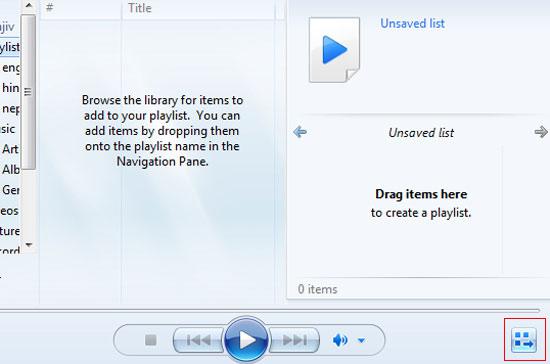
4. Step Right-click on the player area then select ‘Enhancements’ and then ‘Graphic equalizer’.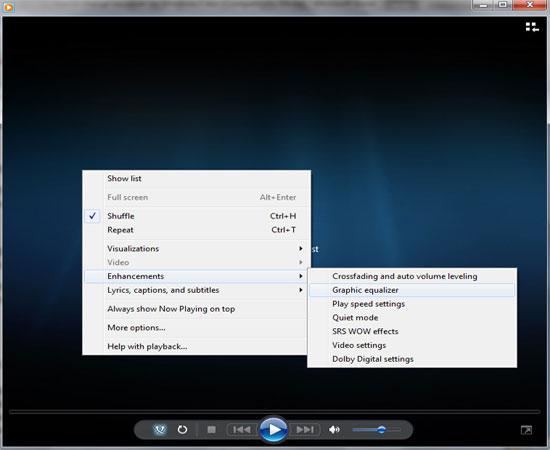
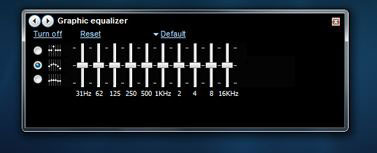
5. StepOn the ‘Graphic equalizer’ popup box, click on the ‘turn on’ link(equalizer needs to be off). If you see ‘turn off’ instead of ‘turn on’ then assume that the equalizer is already set to “on”.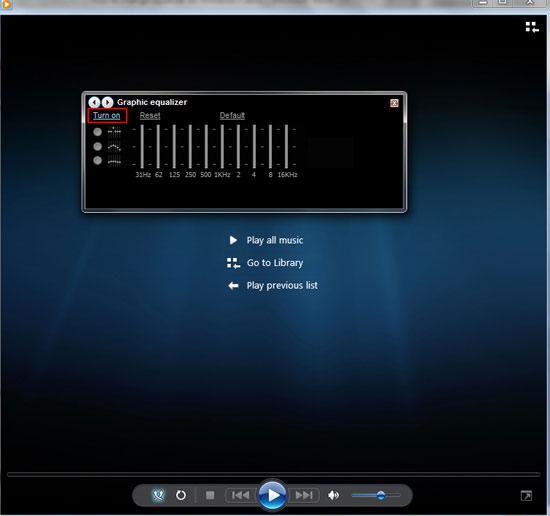
6. Step Now you can select preset options on the right side like rock, rap etc. You can also create your setting by moving equalizer sliders to levels that you want. Note, the changes you have made are saved automatically to a “Custom preset”.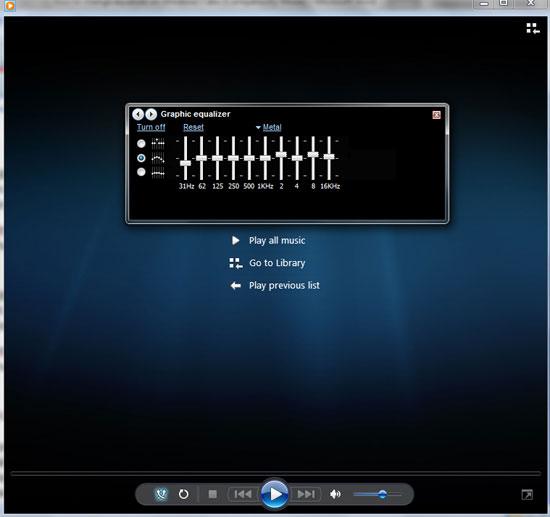
Video
Conclusion
It’s always fun to play around with the equalizer. Try making some exciting sound effects yourself. If you want to revert to the default settings, click the Reset link.