If you want to improve your sound quality, you might want to change the equalizer in Windows 7. Here’s how.

Steps to change equalizer on Windows 7
1. Step Click Start >> All Programs
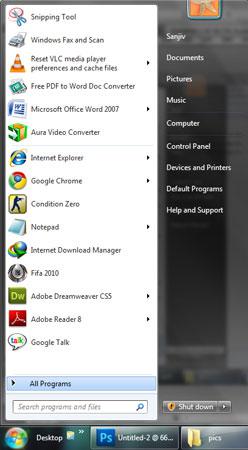
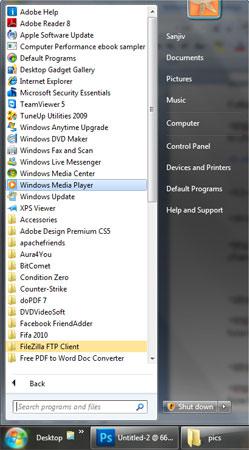
2. Step Click on ‘Windows Media Player’
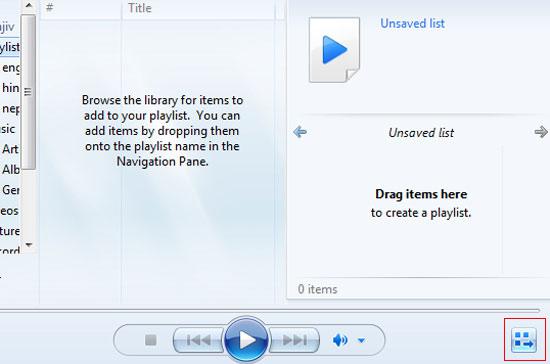
3. Step Now that the Windows Media Player is opened, click on ‘Switch to Now Playing’ icon located at the bottom right.
4. Step Right-click on the player area then select ‘Enhancements’ and then ‘Graphic equalizer’.
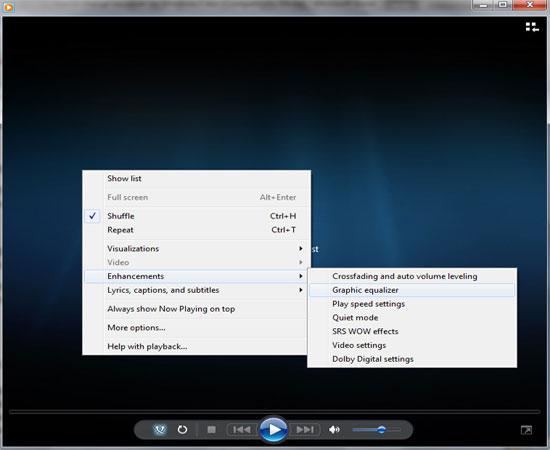
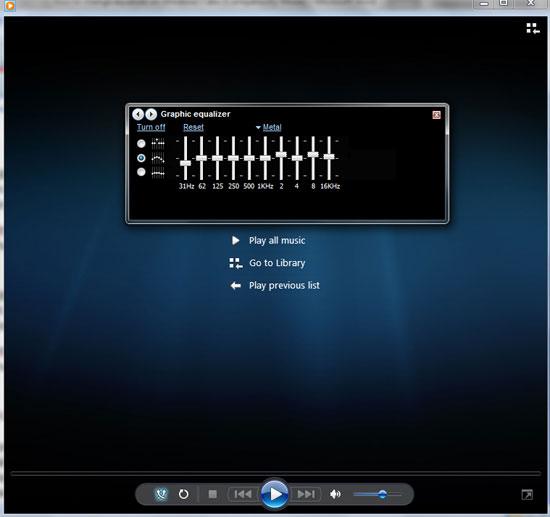
5. StepOn the ‘Graphic equalizer’ popup box, click on the ‘turn on’ link(equalizer needs to be off). If you see ‘turn off’ instead of ‘turn on’ then assume that the equalizer is already set to “on”.
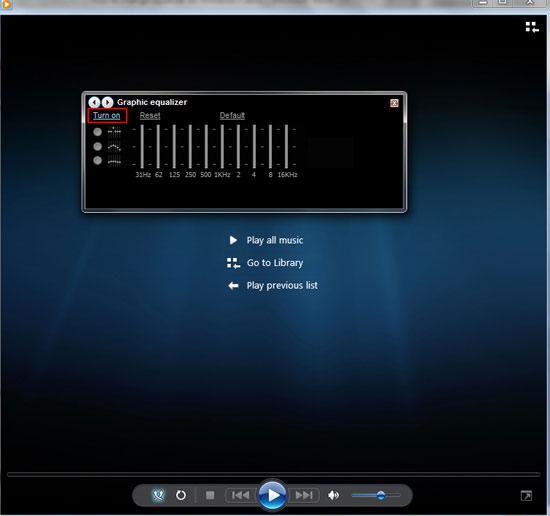
6. Step Now you can select preset options on the right side like rock, rap etc. You can also create your setting by moving equalizer sliders to levels that you want. Note, the changes you have made are saved automatically to a “Custom preset”.
Video
Conclusion
It’s always fun to play around with the equalizer. Try making some exciting sound effects yourself. If you want to revert to the default settings, click the Reset link.


What are you talking about? This article describes how to change the EQ in windows media player NOT the general windows 7 EQ as the title suggests.
If someone was fooled to come here, this is how you change the general EQ for windows 7.
a) Right-click the speaker icon in the system tray.
b) Go to playback devices.
c) Select speakers, then click properties.
d) Click the tab up the top called enhancements.
e) Scroll down to equalizer and put a tick to the left of it.
f) Then down the bottom of the tab pull down the settings drop down box to pick a preset.
g) Click the button to the right of the settings drop down box to get a proper EQ window.
As you can see in the enhancements tab you can change more than just the EQ.
Hope this has helped someone as this article is deceiving.
That was not my intention, but most people have the Windows Media Player as well. Thank you for the instructions for changing the general equalizer as well.
I will make sure to add some pictures for your instructions.
Equalizer is missing from enhancements. Windows 7 Home Premium
It’s not that people don’t have Media Player as well, it’s that any audio playing on the computer from other sources than media player would not go through the equalizer if you did this.
Equalizer is also missing from Windows 7 Ultimate.
It’s about time some BigWig topside in Microsoft HQ kicked a big fat ase sitting on a polished chair and told them to get their bum into gear and make an Equalizer as a BigFix quick time. I paid big bucks for ULTIMATE, I expect a bit of good software for over $450 bucks.
Are you listening Microsoft………..
If words don’t work, maybe a cartoon will get a positive responce.
The “enhancements” tab only allows EQ if your machine’s specific audio driver allows an EQ (very few do).
I just have Windows 7 Home Premium and it works for me…
You have to select a playback device and then click properties in the corner..then you’ll be able to edit the EQ and what not…
OKAY…..Everyone needs a little educating!
I have Samsung Intel on my Laptop and Realtek on my home pc. Both are Windows 7. My Samsung does not have an EQing option like the Realtek does. Realtek even shows you pictures for preset EQ’s. Like a picture of a stadium or a concert hall ,etc…It doesn’t matter that it’s Windows 7. It matters what’s running your soundcards. I too am very frustrated that I can’t have full EQing on my laptop. You would think that its such an easy thing to put in. Anyways I hope the dude up top realizes the difference between a master EQ and EQing in Media Player. Duh. Because this site is very misleading like the other guy said.