
Increase Virtual Memory
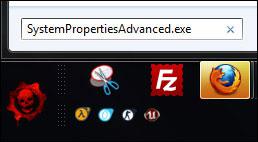
1. Step First, click on Start and enter SystemPropertiesAdvanced.exe into the search field or access the settings via Control Panel / System and Security / System / Advanced System Settings.
2. Step Next, click on the button Setting (field: Performance)

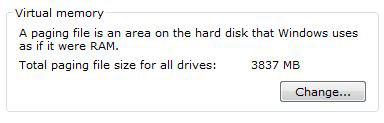
3. Step Go to the tab Advanced and at the bottom click on the button Change (field: Virtual memory)
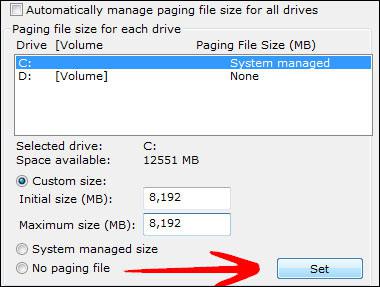
4. Step Uncheck Automatically manage paging size for all drives
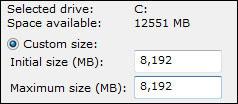
5. Step Select your primary partition e.g. C:, check Custom size, multiply your physical RAM by 2 and enter the number in MB. Let’s say you have 4GB “real” physical memory then you’d enter something like 8000.
Virtual Memory Optimization Tips
Rules:
- Do NOT store your paging file on a secondary or tertiary partition (separate hard drive recommend, if not possible then main partition) to avoid disk head movement
- If you can don’t store the paging file on the same hard drive as your main drive that runs Windows 7
- Store the paging file on the fastest hard drive, e.g. if you own one a SSD (Solid State Drive)
- Don’t compress your main partition or your paging file will also be compressed: Compression/Decompression takes time
- Free up disk space
How to check virtual memory size
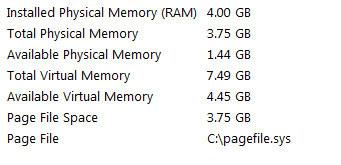
So, you increased your virtual memory and now you want to be sure that Windows 7 is really using that much virtual memory?
Enter msinfo32 into the search field. At the bottom it will list your installed physical memory as well as your virtual memory size:
Windows 8 Users
If you’re on Windows 8 or Windows 8.1, you will be able to increase your virtual memory in the same way.
Hit CTRL + F and enter SystemPropertiesAdvanced.exe and you will get the exact same System Properties dialog.