
1. Step Open the Windows Explorer, hold Windows key + E
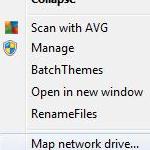
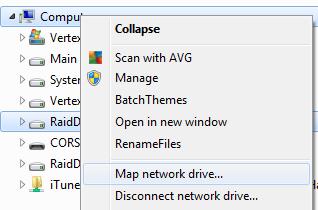
2. Step Right-click on the item “Computer” and click on Map Network Drive
3. Step You now have to enter a folder – you can either browse for it or enter it directly. Browsing for it works quite well if you have enabled network discovery, however some locations may be hidden intentionally, so you have to enter them manually
Example: \\CLOUDBACKUP\share
4. Step See this example – I entered the network device followed by one backslash and the share name:
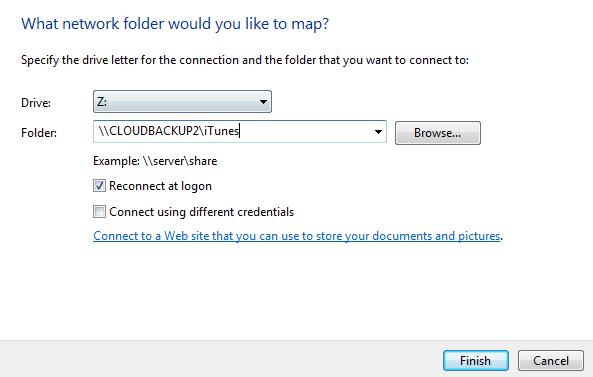
5. Step Click on Finish and you will see your newly created mapped network drive
Keep in mind, the more network drives you add the slower the Explorer becomes. I also noticed that the Explorer auto-refresh stopped working. This is incredibly annoying and I haven’t found a fix for this yet – the only viable workaround is pressing F% all the time
We will keep you posted how to effectively manage your mapped network drives and what you can do with it