
Modifying user accounts via command prompt
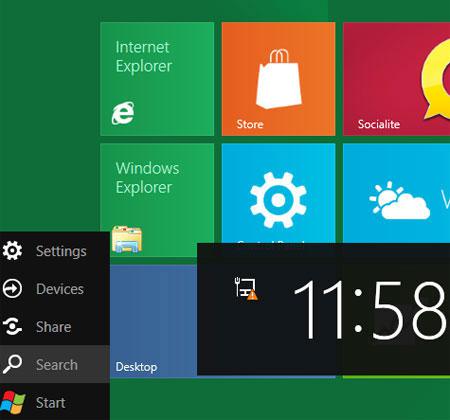
1. Step In your Metro Start Menu, click on the lower left corner and the Start menu pops up. Click on Search.
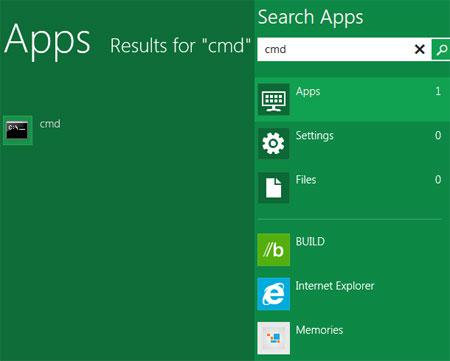
2. Step Next, type CMD in the Search App box.
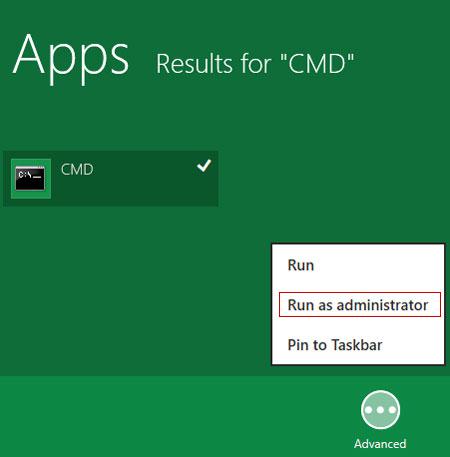
3. Step Right click on the CMD icon on the left side. Then you will see Advanced on the bottom. Click on the Advanced and select Run as administrator.
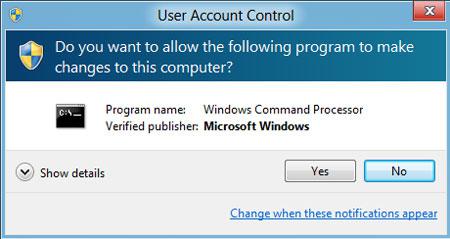
4. Step Next, click on the Yes button in the User Account Control box.
Creating User Accounts
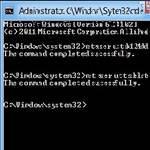
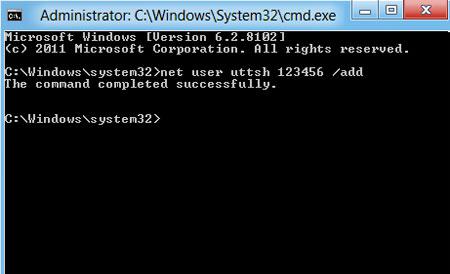
5. Step Next, to create user via command prompt, type net user username password /add and press Enter. Then you will see a message ‘The command completed successfully’. Note: Replace username with your a custom name and the password with your own password to secure your account)
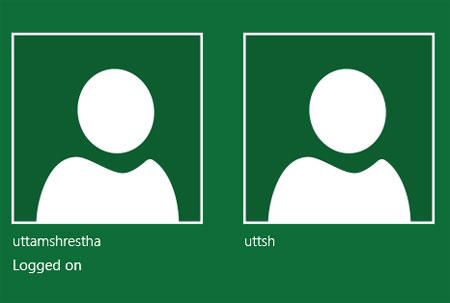
6. Step Now, to check the user account you have just created, logg off or simply press Windows key + L. There you will see your new user account being listed.
Deleting User Accounts
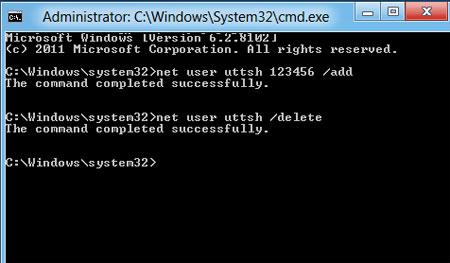
7. Step Next, to remove user accounts via command prompt, again open command prompt and type net user username /delete. Note: Replace username with the user you have created earlier. That are the complete steps to add and remove user accounts via command prompt.
It is always recommended to create an user account with strong password as the user account defines the actions a user can perform in your Windows.
A related tutorials explains how to change the user account password via the Control Panel