If you want to assign a static IP in Windows 7, read this beginner tutorial for Windows 7.

Steps to assign IP in Windows 7
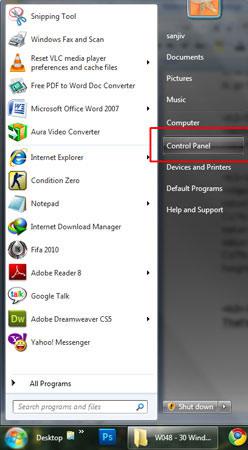
1. Step Click on the Start >> Control Panel.
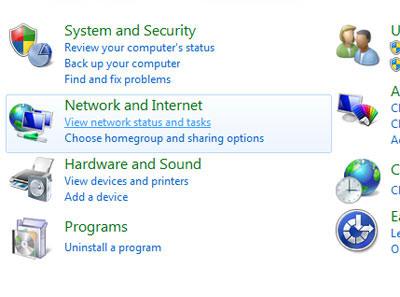
2. Step Under Network and Internet, click on ‘View network status and tasks‘.
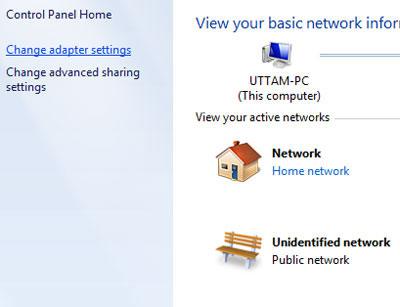
3. Step Click on ‘Change adapter settings‘ located at the left-hand side.
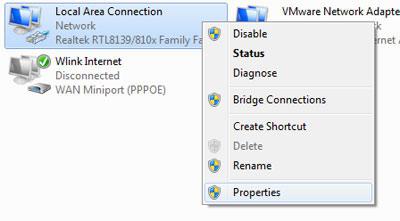
4. Step Right click on Local Area Connection and select Properties.
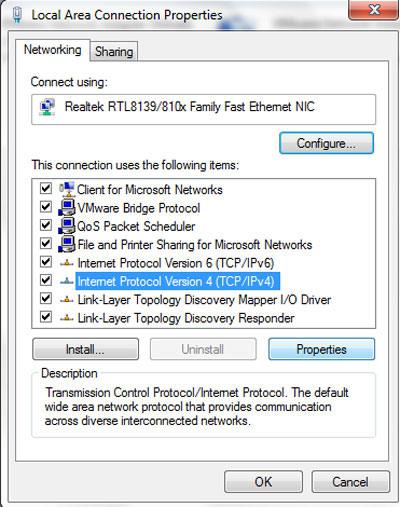
5. Step Select ‘Internet Protocol Version 4 (TCP/IPv4)’ and click on Properties.
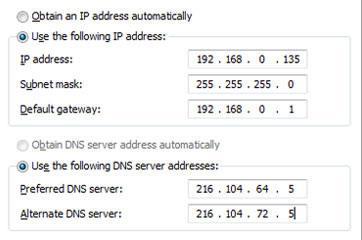
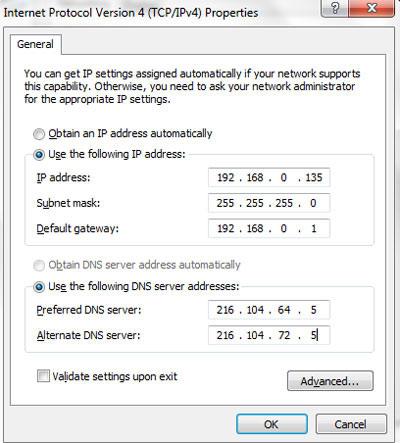
6. Step You can enter a static IP now. If you are using a broadband router, you need to know what IP your router is using for the network, e.g. 192.168.0.1. However the field IP address should use an IP between 2-155 and make sure no one else is using the same static IP in your network.
In the second fieldset you can enter the static IP of a DNS provider e.g. GoogleDNS, OpenDNS, etc.
If you have questions what static IP addresses you have to enter, post your questions below.