
Creating HDR photos is not as difficult as many think
1. Step Start the Photoshop program, click on the Start >> All Programs >> Adobe Design Premium CS5 >> Adobe Photoshop CS5.

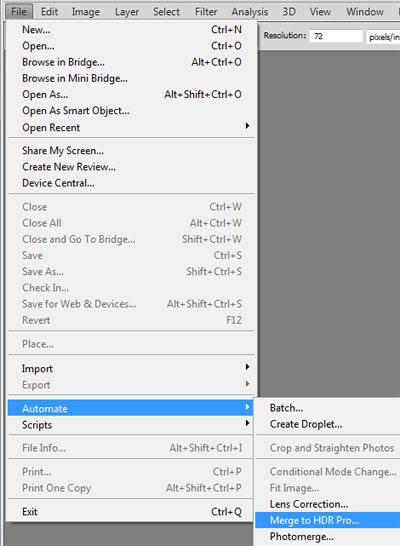
2. Step Click on the File >> Automate >> Merge to HDR Pro.
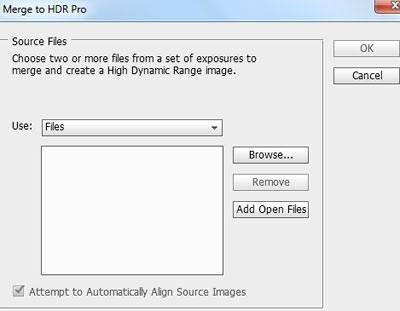
3. Step Select the files that you want to Merge to HDR pro by clicking on Browse.
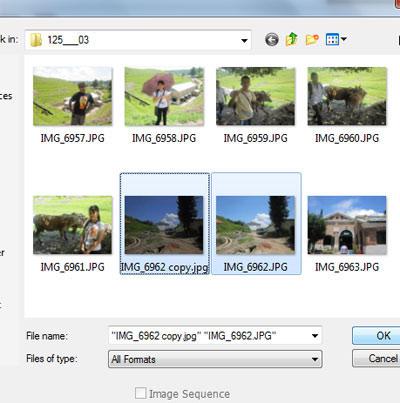
4. Step Select multiple files by holding Ctrl and click on the OK button. Then again click on the OK button. Make sure the images you have selected to open are exactly the same but with different lighting or exposure etc. If the image is different then your final photo might become a bit blurry
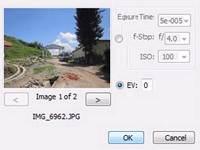
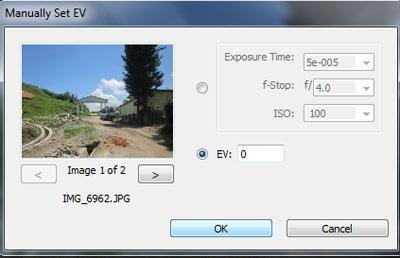
5. Step Now the images are merged. Manually set EV value then click on the OK button. If the OK button is not highlighted then change value and revert back to the original value or set EV to 0.
6. Step Then, change the Mode to 16 Bit. Set Radius to 35 px, Strength to 2.00, Details to 70% and Saturation to 5%

7. Step Finally, you will see the HDR image like the one shown in the screenshot. That are the complete steps to create HDR photos

Conclusion
HDR means High Dynamic Range. HDR is a post-processing of multiple images combined and adjusts the contrast ratio to create a high quality image that is virtually impossible to achieve with a single shot. HDR images allow you to create special pictures with better lightning