
Steps to access system restore
1. Step Open the Charms bar by moving your mouse pointer over the right corner of your screen. Alternatively you may press Windows key + C on Start screen to open Charms bar. Then select Search.

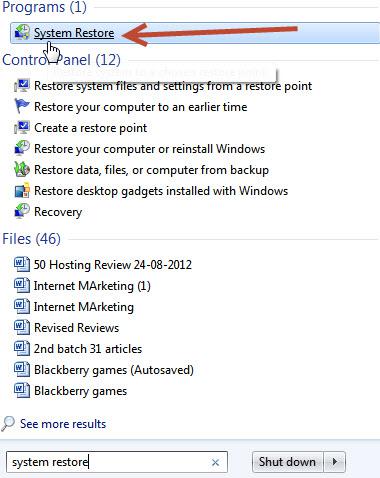
2. Step Next, type ‘Control Panel’ into the search box and click search button. Then click on the Control Panel icon on the left side of the pane.

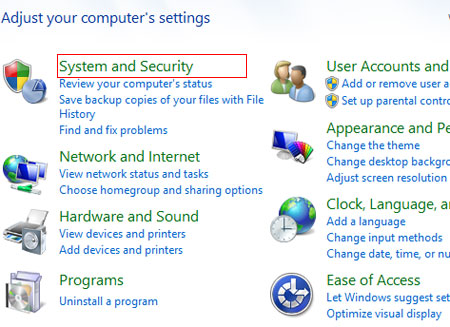
3. Step Next, click on the System and Security.
4. Step Next, click on System Restore.
5. Step Next, click on System Protection on the left side of the pane.
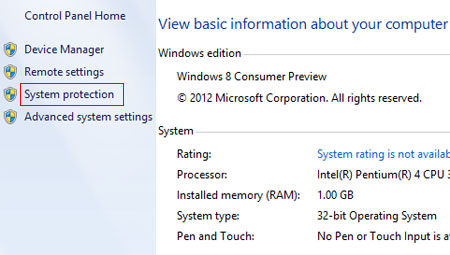
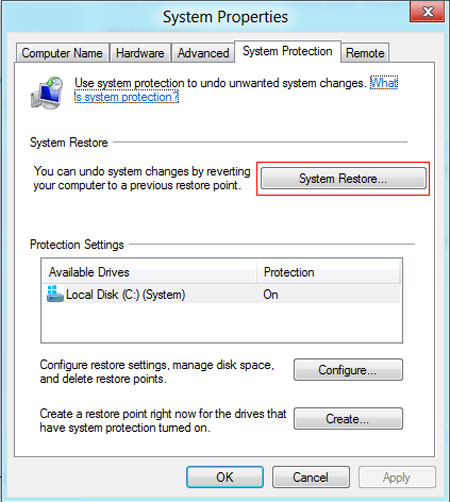
6. Step Next, click on the System Protection tab and click on the System Restore button.
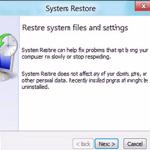
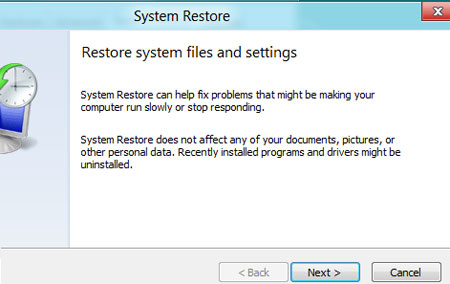
7. Step Click on Next. Make sure you have already created a restore point otherwise you will be asked to create a restore point. You can create a restore point on the System Protection tab by clicking the Create button.
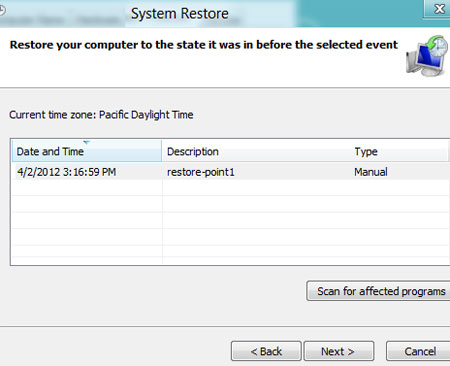
8. Step Choose the restore point you have created earlier or is created automatically. And click on the Next button.
9. Step Next, click Finish to confirm your restore point to begin the System Restore.

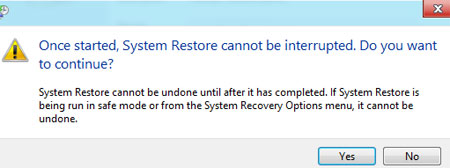
10. Step Finally, click yes to start System Restore process. Once you click yes, the System Restore process cannot be interrupted.
Conclusion
Most serious issues in Windows 8 are caused by problems with the Windows Registry, device drivers, or DLL files. When a restore point is created, a copy of the most important settings and other important system files in Windows 8 are stored and can be later restored using System Restore, therefore it does make sense to create restore points.
HOWEVER, many problems cannot be fixed using the System Restore feature – therefore you should learn a little about fixing your PC using the command prompt – read through our many tutorials on the subject!
If you have problems launching Windows, you should read the following tutorial: