
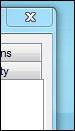
Default Border Padding
By default the border padding in Windows 7 looks like this:
Thin Border Padding
That’s not very beautiful, so we want to make it a lot thinner. Let’s get to it:
1. Step Right-click on your desktop and click on “Personalize”
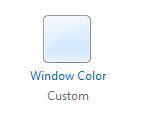
2. Step At the bottom click on “Window Color”:
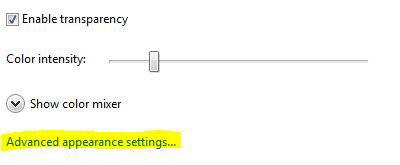
3. Step At the bottom click on the link “Advanced Appearance Settings
4. StepNow, from the dropdown select “Border Padding” and change the size to “1”:
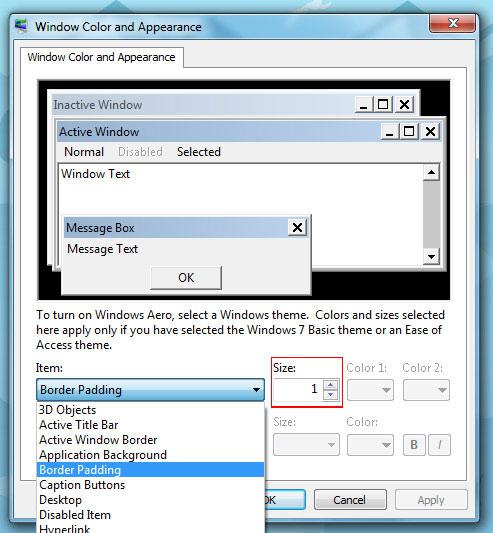
Voilà, you just changed the border padding in Windows 7. If you want to completely remove the border, you’ll need to apply a 3rd-party theme, but a 1px value should be ok for now.