
Find Out Name and IP of your NAS (Copy)
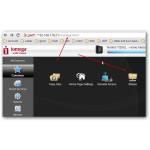
1. Step Open your router configuration and check what IP your router assigned to your NAS
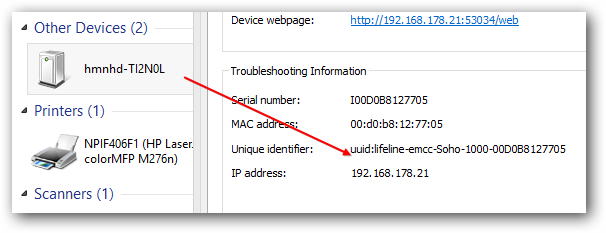
2. Step If you can’t log into your router, open the Windows explorer (Windows key + E) click on Network on the left hand and then right-click on your NAS. Click on Properties and you will get something like this:
3. Step Copy and paste the IP address into your browser
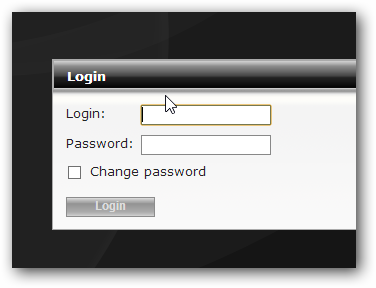
4. Step You will most likely be asked to log in. Enter the default username and password as detailed in your NAS manual. Usually something like “admin” for both username and pass
Configure NAS: Add Windows Shares
5. Step Next, configure your NAS and add some shares (shares are basically individual shared folders on your NAS e.g. for movies, music, files etc you should add one share each)
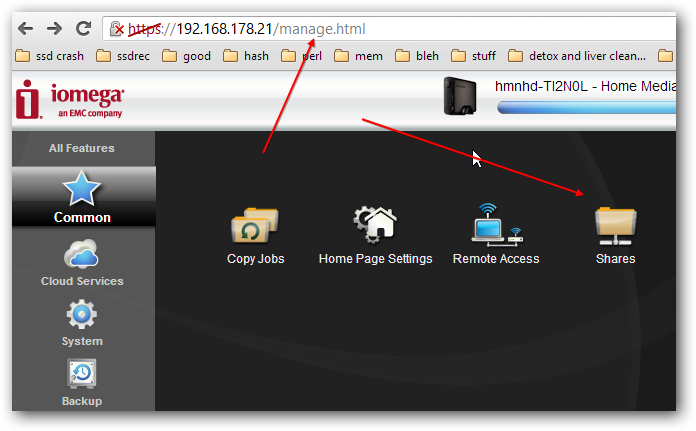
(Picture: Configuring an Iomega NAS. Go to https://IP/manage and click on Shares to add new Windows Shares where you can copy files, movies and music)
6. Step Go back to the Windows Explorer and copy the name of your device (a NAS from IOmega that I use is called hmnhd-TI2N0l, yours will be called differently)
Access NAS directly
7. Step Paste the exact name with two leading backslashes into the address bar of a browser like this:
\\\\hmnhd-TI2N0L
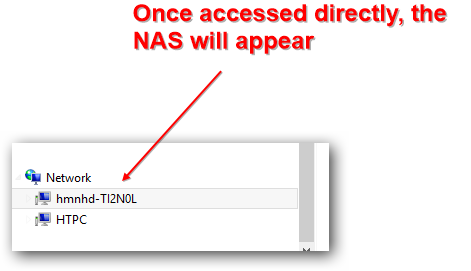
8. Step You are now accessing the drive directly and should see all shares that you created in step 5
9. Step Once you’ve done that, the NAS will automatically appear under your Network
10. Step You can now pin this NAS drive to your Start screen
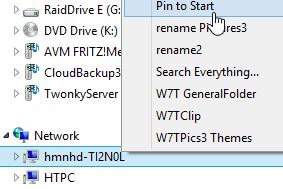
I’ve described how to add a NAS to your Start screen in another tutorial, it’s very simple
11. Enjoy your NAS – stay tuned for more tutorials on the subject. If you own a My Book Live drive, you should also read our tutorials how to enable the Twonky server