 If you have a good NAS drive you can stream content throughout your home. The MyBook Live is a popular choice, here’s how to enable Twonky, DLNA and iTunes on it
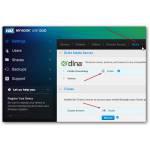
Quickly Enable DLNA, iTunes and Twonky Server
1. Step Log into your router if you do not know the IP address of your My Book Live. Do you have a CISCO router or similar? If so, it will list all connected network devices including their IP address
2. Step Copy the IP address of your MyBook Live e.g. http://192.168.178.20
3. Step Paste it into the address bar of IE10, Chrome, Firefox and hit Enter
4. Step It will redirect you to http://192.168.178.20/UI/#
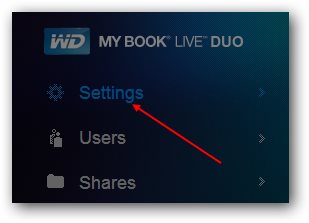
5. Step Go to the Settings page
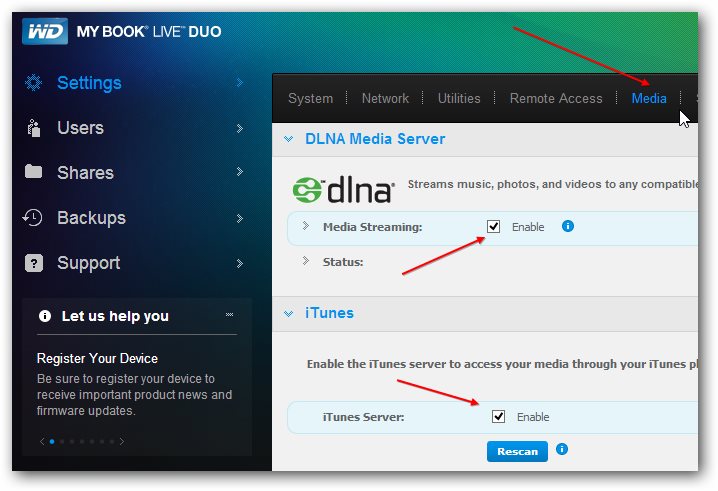
6. Step Click on Media and then check all boxes, including DLNA, iTunes and if you’re on a MyBook Live also check the Twonky box. I have a MyBook Live DUO which does not include a Twonky server as far as I know
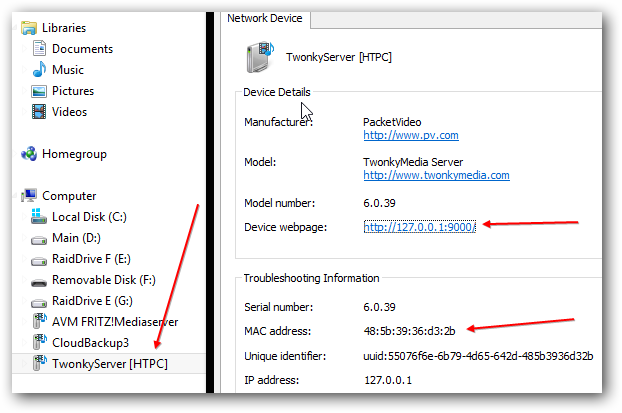
7. Step Open the Windows Explorer via Windows key + E and if you’re lucky the Twonky Media will already show up. If not, hit F5 on your keyboard to refresh the list after clicking on “Computer”
8. Step When you right-click on Twonky and click Properties, you can see the MAC address and the local IP address including the port e.g. http://127.0.0.1:9000/
9. Step When you open http://127.0.0.1:9000/ in a browser you can configure Twonky

