Sepia can give you photos a nice touch in some cases – I suggest you use it sparingly because a lot of people actually dislike it A LOT. Anyway, here’s how to do it.
Steps to do sepia in photoshop
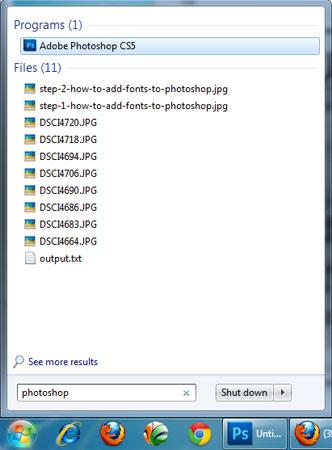
1. Step Open Photoshop program. Click on Start and type ‘photoshop’ in Search programs and files and press Enter. Alternatively, you can also open the Photoshop by clicking Start >> All Programs >> Adobe Photoshop
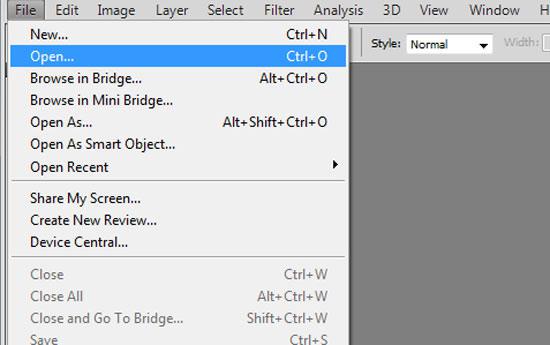
2. Step Open the image where you want to add sepia effect. To open image, click on File >> Open
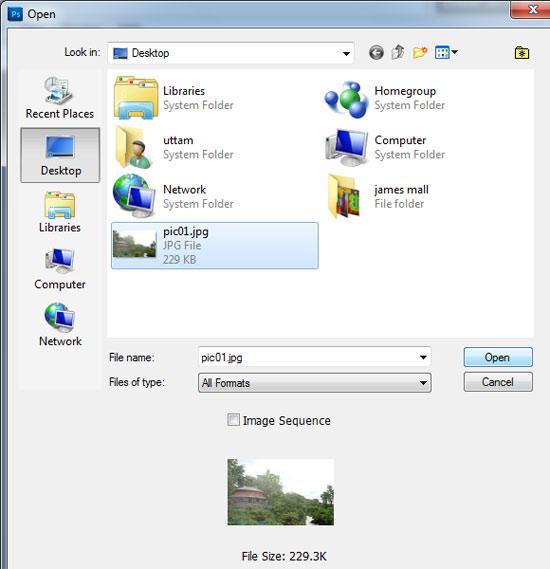
3. Step In the opened “open dialog box” locate and select the image you want to open. Then click Open
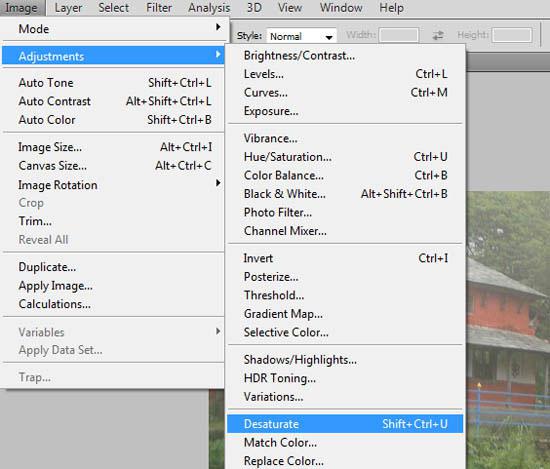
4. Step Make sure the opened image is color. Now we have to desaturate it or you can also make it black & white. To desaturate, on the menu bar, click on the Image >> Adjustments >> Desaturate (Shortcut – Shift + Ctrl + u)
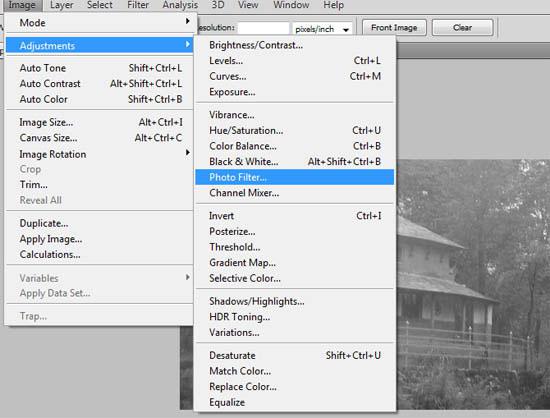
5. Step After your image is desaturated, click on the Image >> Adjustments >> Photo Filter..
6. Step In the opened Photo Filter dialog box, choose ‘Sepia’ in the ‘Filter’ section.
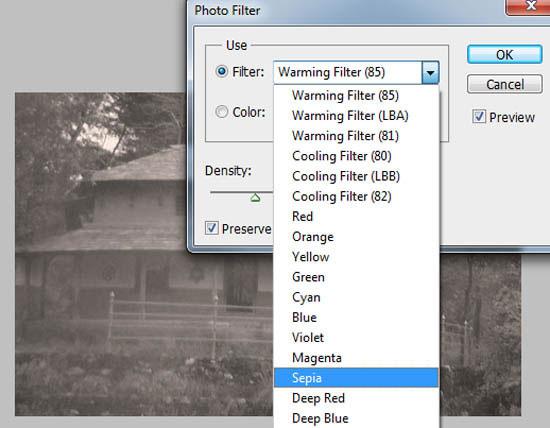
7. Step Increase the Density upto 90% and make sure Preserve Luminosity is checked or clicked otherwise your image might look bit darker. Finally click OK

8. Step That are the complete steps to add sepia in photoshop.
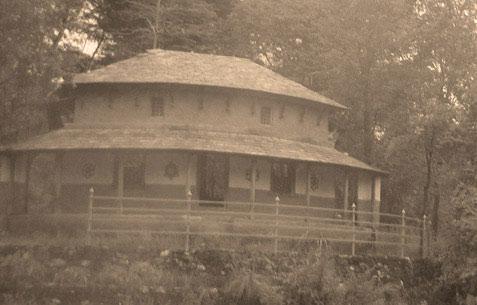
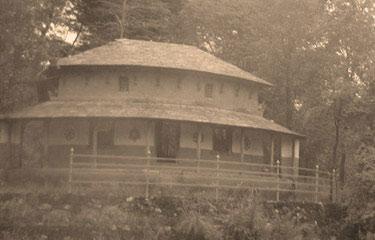
A sepia tone is usually applied to black and white or desaturated image. It is a reddish brown monochrome tint. When sepia is applied to a photo, it gives the picture a warm, antique or classic feeling.

