Of course, you should be careful if you disable services in Windows 7, but overall it’s a pretty good way to speed up your system if you disable unnecessary services.
This tutorial will teach you how to disable services in Windows 7 completely.
Try to google the service name before you disable any services in Windows 7; find out what the service is good for and then disable it if you don’t need it. Many services can be disabled safely, but some should not be disabled, because they can dramatically lower your system performance.
Windows 7 Service Manager
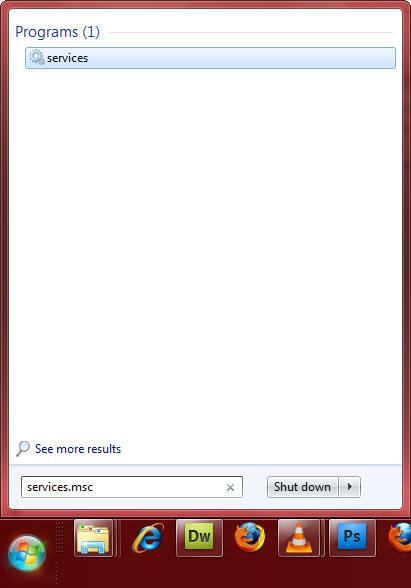
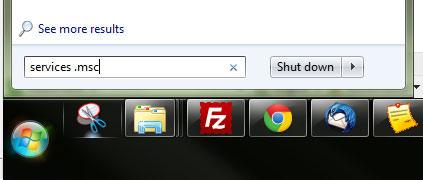
1. Step First open up the start menu and enter services.msc into the search field:
2. Step Next, click on it and you will open the Service Manager of Windows 7:
3. Step Find the service that you want to disable. If you don’t know the exact name, I suggest that you quickly skim through the list of services. Alternatively, you can always use a tool like “ProcessHacker” (Top Windows 7 Apps) to find out the name, but it should be pretty straight forward to find it.
4. StepDouble-click on a service and select “Disabled” from the dropdown menu:
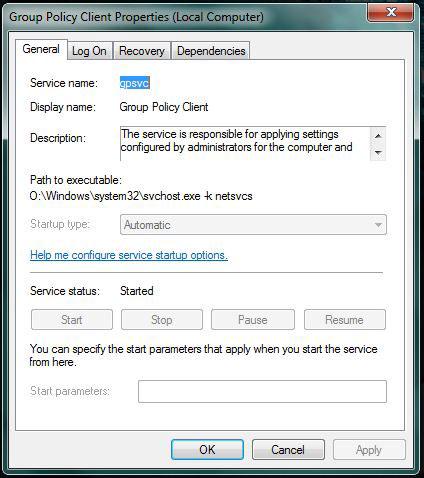
5. Step Click on “Apply” and the service will be disabled! You can easily undo it.
I will be adding a list of services that can be safely disabled shortly. Stay tuned.


I hope my 7 so fast with services off………,
thank for shared informations… !!!
Or use batch scripts to stop/start your services.
::start= {boot | system | auto | demand | disabled | delayed-auto}
To set a service to start manually and then start it up:
SC config ServiceName start= demand
SC start ServiceName
To stop a service and disable any startup of it:
SC stop ServiceName
SC config ServiceName start= disabled