 Do you share your PC with other users or administrate a Windows PC for others? If so, you can use the disk quota feature in Windows 7 and 8 to limit the disk usage by a single user, this is easy to do.
1. Step Open the Windows Explorer by hitting the Windows key + E
2. Step Right-click on a drive and click on Properties
3. Step Go to the tab Quota – this one exists in Windows 7 and 8
4. Step Confirm the UAC prompt
5. Step Most likely it will say Disk quotas are disabled, check the option Enable quota management
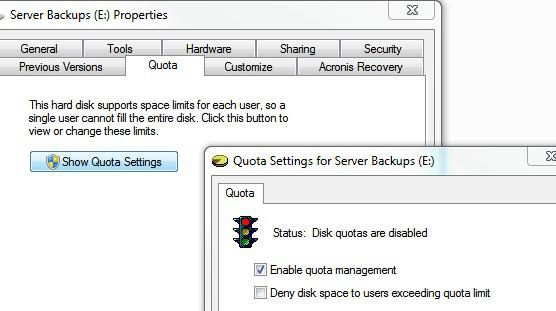
6. Step Now select the radio box Limit disk space to and then select GB from the dropdown field
1000GB = 1TB (TeraByte)
1000MB = 1GB (GigaByte)

Let’s say you have a hard drive that is 900GB large and you have 2 users and only want each of them to use 450GB, you can enter something similar to the values above. Simply do some calculations how much disk space each user will need and you should be set, this is not too complicated even if you’re not familiar with MB.
This works almost identically in Windows 7 and 8 – so limiting disk space usage by a single user should really be no issue any more.

