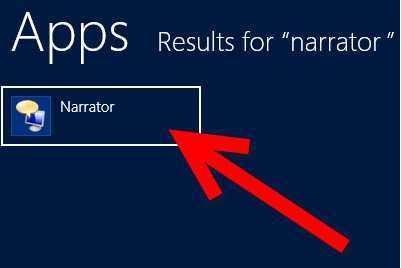
Do you want to know how to disable Windows 8 narrator? Well this should help. Here is two simple guides for disabling the feature.
Disabling Windows 8 Narrator (Part 1)

1. Step
Select “Control Panel” (right click on a blank area on the screen; click “ALL APPS” on the menu bar that appear at the bottom, under “Windows Accessories” click “Control Panel”).
2. Step
The Control Panel window opens on the desktop, click the “EASE OF ACCESS” option.
3. Step
Window will appear displaying “Ease of Access Center”; click “Make the Computer Easier to See”.
4. Step
Uncheck the “Turn on Narrator” box.
5. Step
Click “Apply” and then click “OK”.
6. Step
Restart the system and your good to go.The feature should know be disabled.
An Alternative Way to Disable Windows 8 Narrator
This method requires you to change the configuration settings of that application within windows:
1. StepYou have to type the path below in the run window (press Window key and R key)
“C:\Windows\ system 32” (no spaces).
2. Step
The system32 file opens, and within that file , you will see an icon called “narrator.exe”.
3./strong>
Right click on that icon; click “Properties”, then “Security” and finally to “Advanced”.
4. Step
Now you have to change the Owners name. Within the Advanced setting, change the Owner Name from “SYSTEM” to your name by clicking the Change Icon in the Owners Field. When completed click OK and accept the warning on modifying security and system files, by clicking YES.
5. Step
Remain on the Properties Option, you need to click EDIT and then add yourself in the “GROUP OR USERNAMES:” region.
6. Step
You can restrict the access of “READ AND EXECUTE” and “READ” options for the narrator.exe.
Then click “OK”, a warning will be shown about modifying security on system files, click “YES” and move on.
8. Step
Now you have re-change the owners name, from your name to “SYSTEMS”. So click on the Change Icon and make the necessary corrections.
9. Step
When completed, click on “OK” button. This will save all the changes you have just made.
7.

