Creating a batch process in Photoshop can help you to become more productive. More tasks can be automated these days than you think.

About Batch Processess
Batch files on Windows are known to be of great help. The same principles apply to Photoshop. You can automate entire product creation steps. For example if you often create box art for clients you can record your steps and automate the process. After the batch has run you can then customize the product. All in all, batch files help you to complete tasks in record time.
How It Works
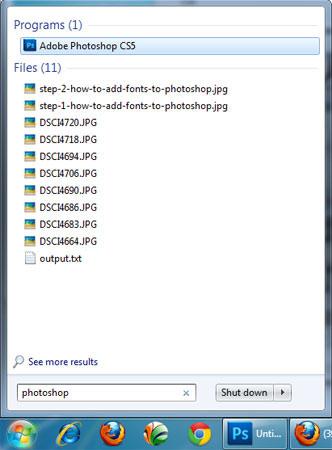
1. Step Open Photoshop program. Click on Start and type ‘photoshop’ in Search programs and files and press Enter. Alternatively, you can also open the Photoshop by clicking Start >> All Programs >> Adobe Photoshop
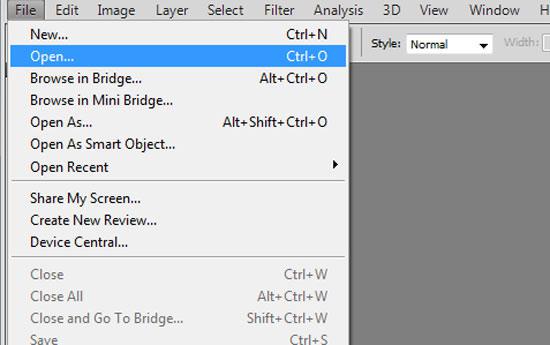
2. Step Open the image which will act as an example for batch processing. To open image, click on File >> Open
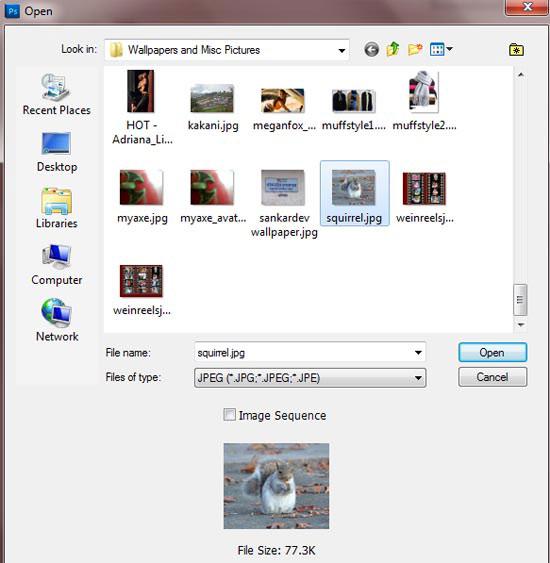
3. Step In the opened “open dialog box” locate and select the image you want to open. Then click Open
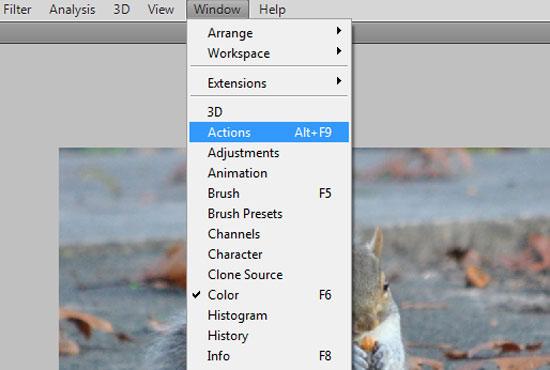
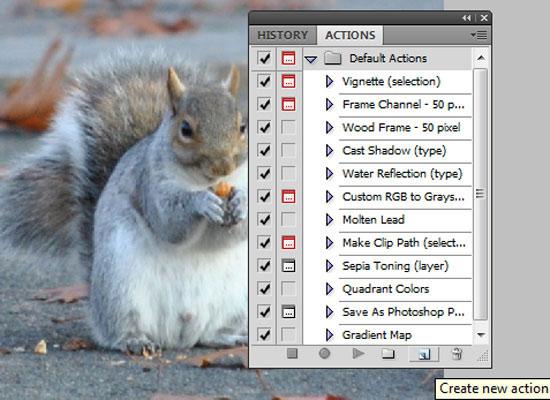
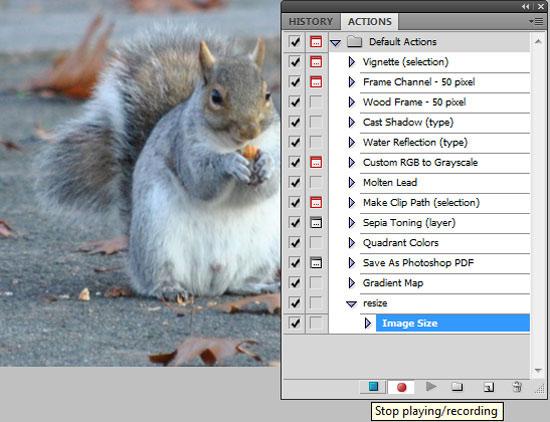
4. Step Click on the Window >> Actions (Shortcut – Alt + f9)
5. Step In the Actions palette, click on the create new button.
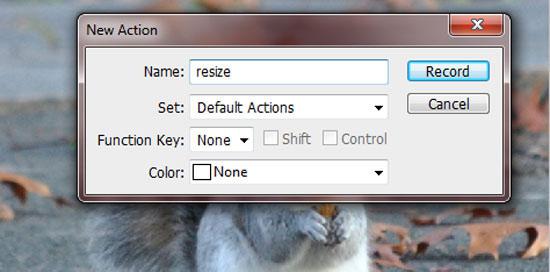
6. Step In the New Action window, give the name resize or any name and click Record button.
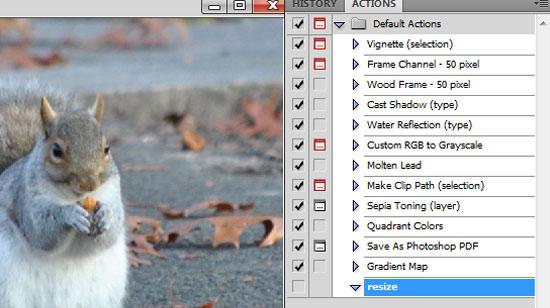
7. Step In the Actions palette, you might have noticed new action which is named as resize.
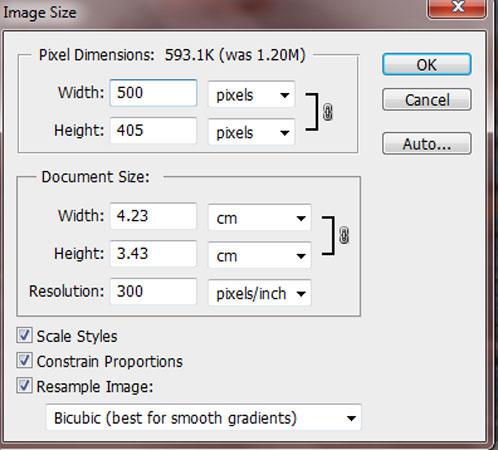
8. Step Now we shall use resize images in batch. To do that, we have to resize the image we have opened (atleast one image needs to be resized) so Photoshop can record what it needs to do for batches of images. To resize, click on the Image >> Image Size.

9. Step Now in the Image Size window, set Width = 500. Make sure Constrain Proportions is checked or ticked so that the height is set automatically when width is changed.
10. Step Let’s check Actions panel. If it is hidden or gone then click on the Window >> Actions or just press Alt + f9. In the Actions panel, you might have noticed that Image Size is added just below resize. Now click on the Stop recording button at the bottom (left most side).
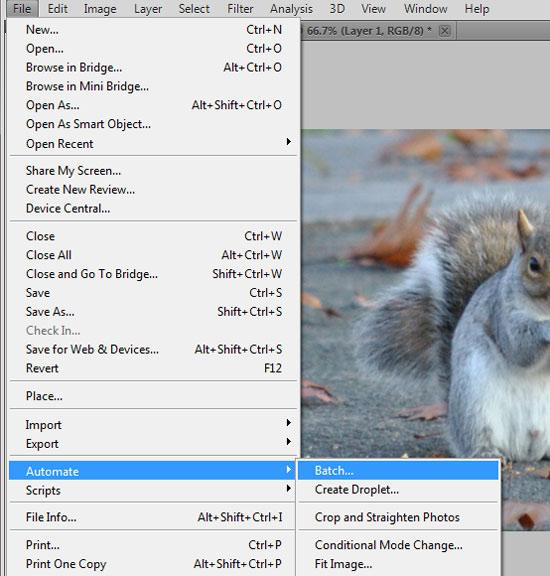
11. Now we have to use the batch process action we have just created. To use it, click on the File >> Automate >> Batch..
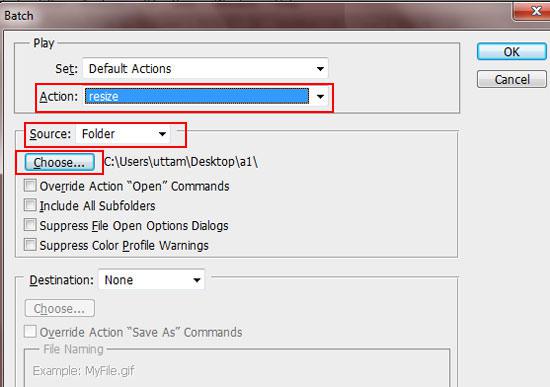
12. In the opened Batch window, select the action name you have just created few moment back in the Action dropdown, in source section select folder. Then click on the choose to select folder where your group of images are located. And finally click on the OK. That are the complete steps to create and use batch process in Photoshop.
Conclusion
Batch processing is useful when you require some of your jobs to be executed automatically in batches without manual intervention. That means, lets say if you want to resize your 100 images automatically then using batch processing is useful as it can resize 100 images automatically.

